|
|||||||


| Interior, Stereo, Body kits, etc... Place where you could talk about car care, body kits, painting your car, Carbon Fiber, Thumping Stereo, etc.. |
 |
|
|
Thread Tools | Display Modes |
|
|||||||
| Interior, Stereo, Body kits, etc... Place where you could talk about car care, body kits, painting your car, Carbon Fiber, Thumping Stereo, etc.. |
|
|
|
Thread Tools | Display Modes |
|
|
 07-07-2010, 01:11 PM
|
#1 |
|
Home-brew Rotary

Join Date: Feb 2008
Location: GooseCreek SC
Posts: 552
Rep Power: 18  |
Body work, '89 rx7 gtu.
So I finally did something about the dents in my fenders on my gtu.
This was done rough. At first I thought I was going to paint the whole car too, but that has to be postponed. Anyway. There was a bracket that was disconnected from the frame that held part of the fender. I fixed that. 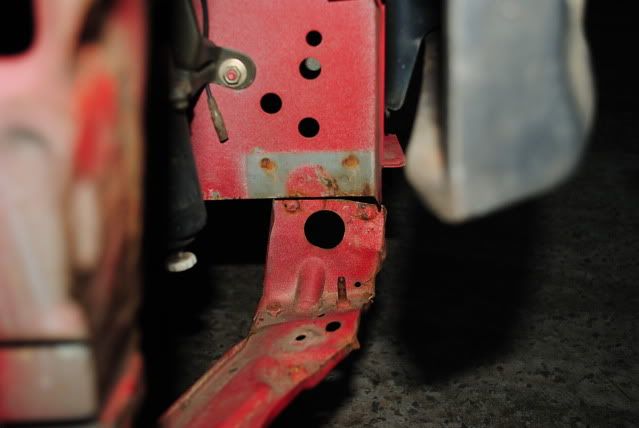  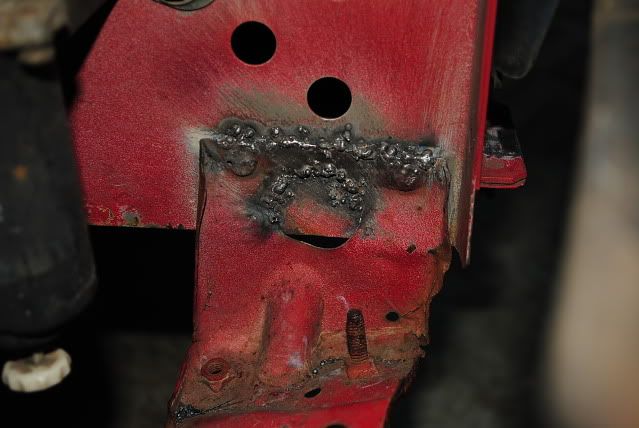 Crappy welds, I know. Haven't been welding long. But it holds, I can shake the car with it. 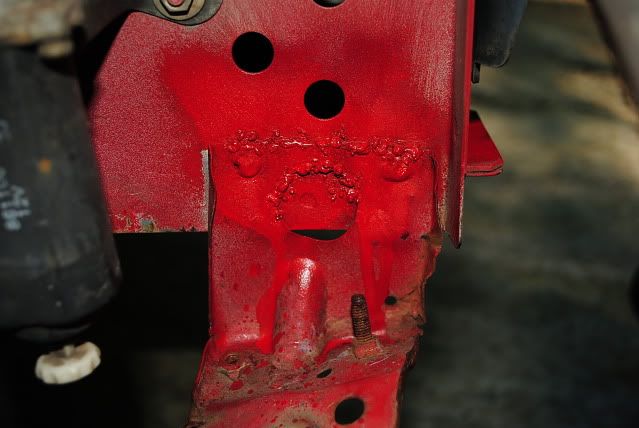 I missed the color match a little. lqtm. Ill be back.
__________________
'89 RX7 GTU, half-Bridge-port S4/S5 NA, E6K, Full RB exhaust, weekend warrior. '83 RX7, The "this might take awhile" project. '87 RX7 GXL, Rest In Pieces. '98 Subaru Impreza Outback-sport, rx7 rescue vehicle, down for repair. '94 Ford Ranger, daily. |

|

|
|
07-08-2010, 09:30 AM
|
#2 |
|
Home-brew Rotary
Join Date: Feb 2008
Location: GooseCreek SC
Posts: 552
Rep Power: 18 |
Fender dents removed.
Before an after. 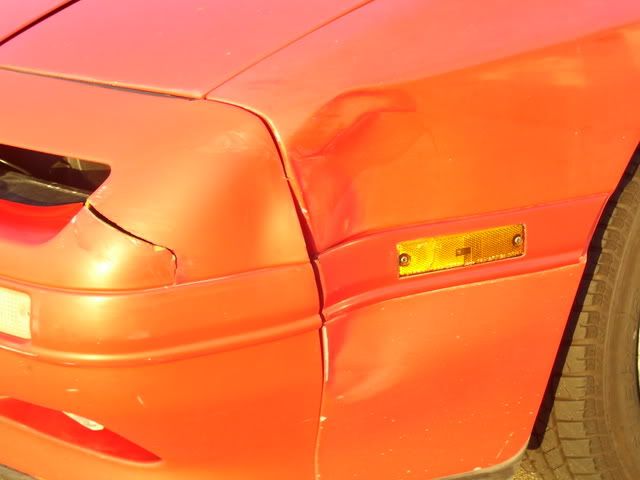 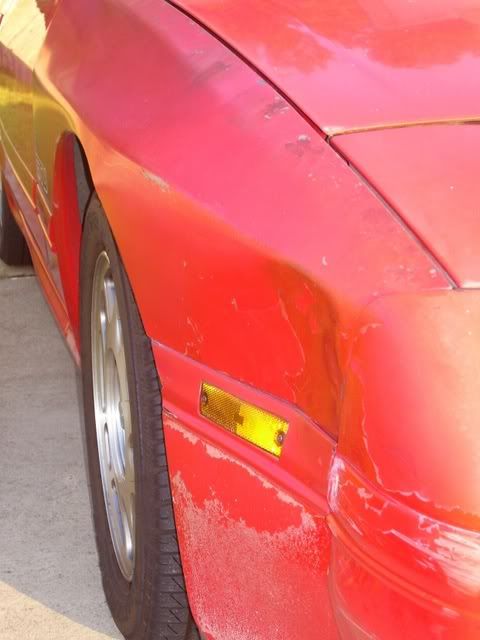 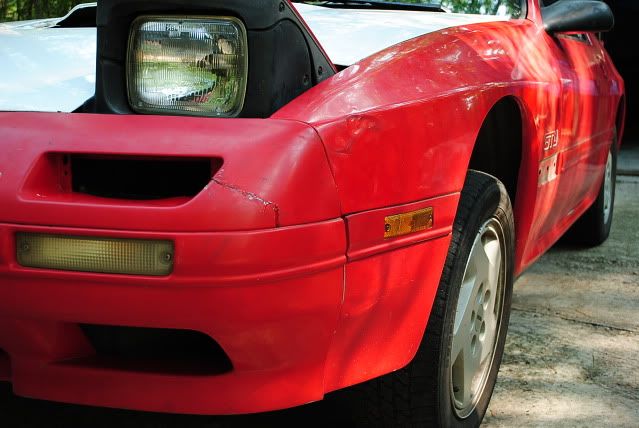 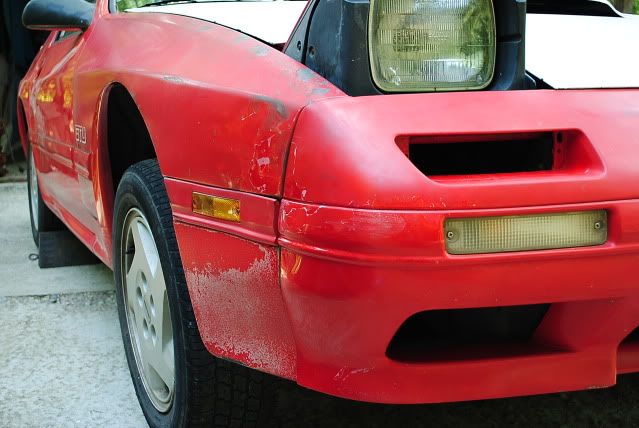 All I did was take a hammer to the inside of the fenders. Also epoxied the crack.
__________________
'89 RX7 GTU, half-Bridge-port S4/S5 NA, E6K, Full RB exhaust, weekend warrior. '83 RX7, The "this might take awhile" project. '87 RX7 GXL, Rest In Pieces. '98 Subaru Impreza Outback-sport, rx7 rescue vehicle, down for repair. '94 Ford Ranger, daily. |
|
|
|
|
07-09-2010, 12:29 AM
|
#3 |
|
Can't.Make.Up.My.Mind.

Join Date: May 2009
Location: Murfreesboro, TN
Posts: 1,377
Rep Power: 18 |
i wouldnt count on that epoxy to hold the way you did it. i can offer an alternative though if youd like

__________________
'90 GTUs Stay up to date with my photography '06 Toyota Highlander Hybrid '10 Toyota Prius "Initial Success or Total Failure" |
|
|
|
|
07-09-2010, 06:03 AM
|
#4 |
|
Home-brew Rotary
Join Date: Feb 2008
Location: GooseCreek SC
Posts: 552
Rep Power: 18 |
Ok,
I had the bumper off, found a way for the crack to be held together, then put epoxy on both the inside and outside, also worked the epoxy inside the crack. Had a friend mention to me, use the fiberglass resin an cloth method. But I decided to do epoxy instead. What's the alternative? 
|
|
|
|
|
07-09-2010, 08:43 PM
|
#5 | |
|
Can't.Make.Up.My.Mind.
Join Date: May 2009
Location: Murfreesboro, TN
Posts: 1,377
Rep Power: 18 |
Quote:
My suggestion, and the way i was taught in school, (the right way to do it as far as im concerned). V out the crack on the front and back with a die grinder or some coarse sand paper. Get a role of plastic mesh ( should be able to get it from you local auto paint store) along with some plastic fusor. the brand im familiar with is LORD Fusor 142. Its a 2 part like alot of epoxies but its a plastic repair material for this type of application specifically. you do need a gun for it similar to a caulking gun. Start with the backside. Apply the fusor generously to the back side of the crack. I say try to make it seep through to the front side so you dont have to re apply the fusor to the front. After you have applied the fusor put a piece of the plastic mesh(big enough to cover the whole crack) on top of the fusor.) you might want to apply some more of the fusor on top of the mesh and spread it around just to make sure you have the crack covered. Keep in mind this fusor does have a fairly short working time, meaning it will harden fairly quick. Once the back is all dried up flip it over. If the fusor came through enough on the front side you should be able to sand it smooth and the crack should be gone. if not generously apply more on the front and spread with a squeegie to make sure its covered. You will need to sand it once its tried. You may want to get another type of fusor to go over the top of the 142 for the front side. I cant remember the number of it but its make by the same company and its red in color. this stuff is like a plastic friendly filler. I recommend it if you dont mind spending the money on this whole process. It comes in a white tube and you dont need a gun for it because it has both materials in the tube and mixes as it comes out. Ill get off my soap box now. Hope this helps 
__________________
'90 GTUs Stay up to date with my photography '06 Toyota Highlander Hybrid '10 Toyota Prius "Initial Success or Total Failure" |
|
|
|
|
|
07-15-2010, 06:15 PM
|
#6 | ||
|
crash auto?fix auto

Join Date: Feb 2008
Posts: 816
Rep Power: 18 |
Quote:
FWIW, I've found the TPO plastics on our bumpers dont repair the best. This will work by all means - but if perfection or long term hold out is what you're after, I'd toss the cracked cover. You can try welding them, I've had good success on FC/FD bumpers with that.
__________________
Quote:
|
||
|
|
|
|
07-19-2010, 09:04 PM
|
#7 | |
|
Can't.Make.Up.My.Mind.
Join Date: May 2009
Location: Murfreesboro, TN
Posts: 1,377
Rep Power: 18 |
Quote:
__________________
'90 GTUs Stay up to date with my photography '06 Toyota Highlander Hybrid '10 Toyota Prius "Initial Success or Total Failure" |
|
|
|
|
|
10-23-2010, 06:20 PM
|
#8 |
|
Home-brew Rotary
Join Date: Feb 2008
Location: GooseCreek SC
Posts: 552
Rep Power: 18 |
What I did with my Saturday afternoon!
I decided to fix the old paint on the passenger side fender.
Scraping old paint off. (I really need to get a power sander.) Done by hand again. 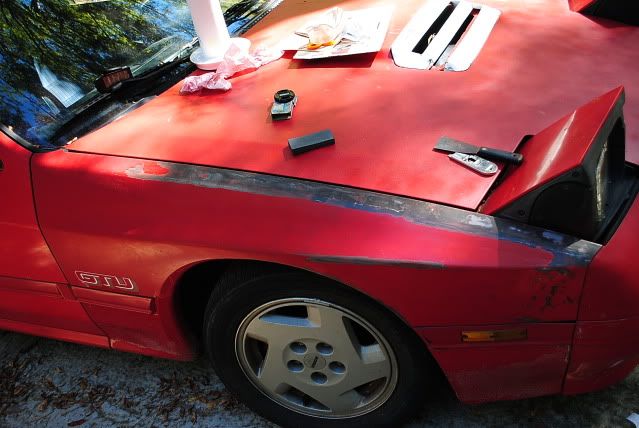 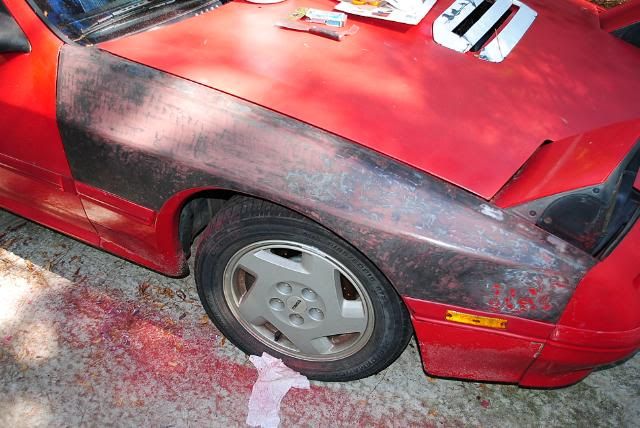 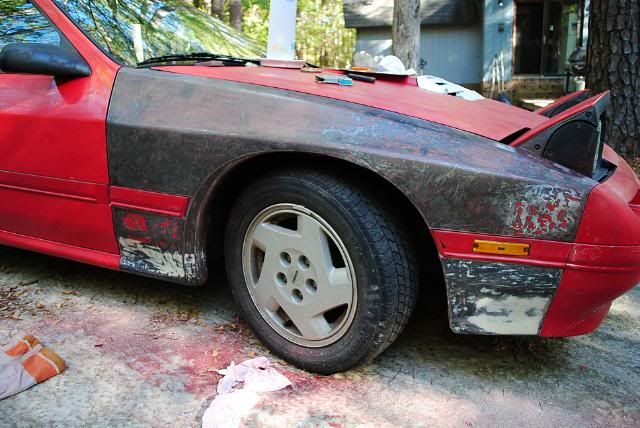 Sanded fender. Went with what I had, 150 grit, 220 grit. 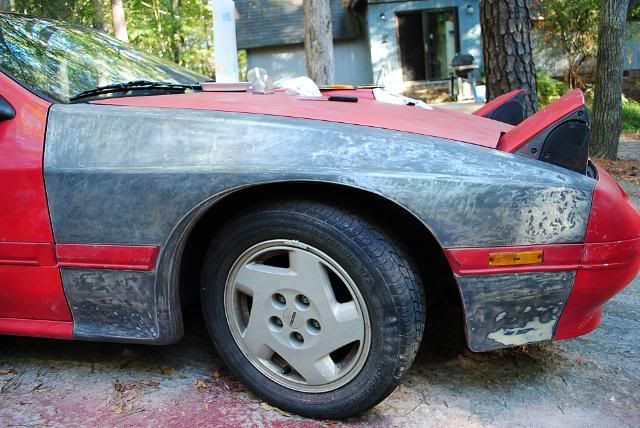 Washed, and ready for primer. 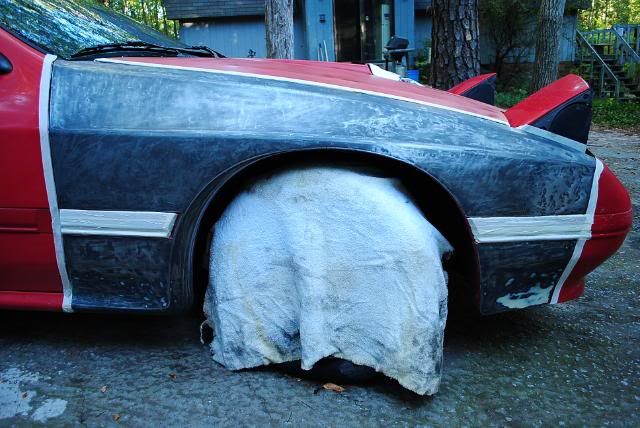 Primer. 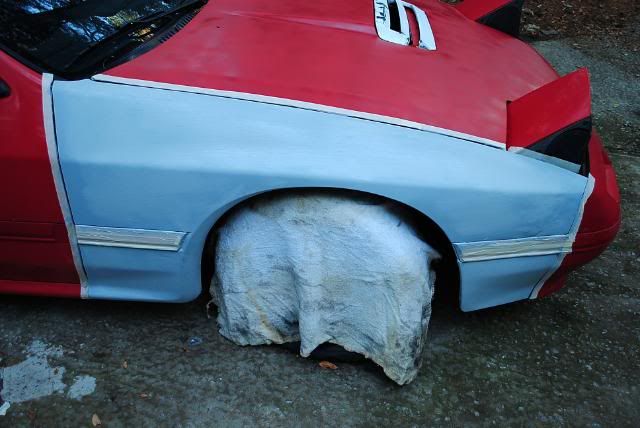
__________________
'89 RX7 GTU, half-Bridge-port S4/S5 NA, E6K, Full RB exhaust, weekend warrior. '83 RX7, The "this might take awhile" project. '87 RX7 GXL, Rest In Pieces. '98 Subaru Impreza Outback-sport, rx7 rescue vehicle, down for repair. '94 Ford Ranger, daily. |
|
|
|
|
07-09-2010, 06:15 PM
|
#9 |
|
Home-brew Rotary
Join Date: Feb 2008
Location: GooseCreek SC
Posts: 552
Rep Power: 18 |
I'm going to paint the hood red, so I don't look like a ricer. lqtm.
Sanded it today, with what I had, starting with a 60 grit then a 150 grit. More car work inside, lqtm, cause I did not want to do this out in the heat. 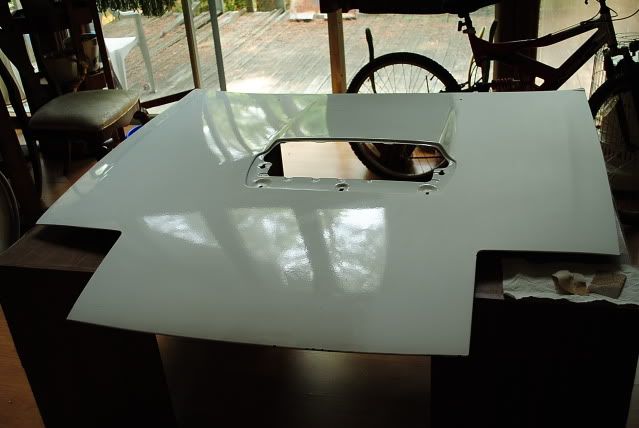 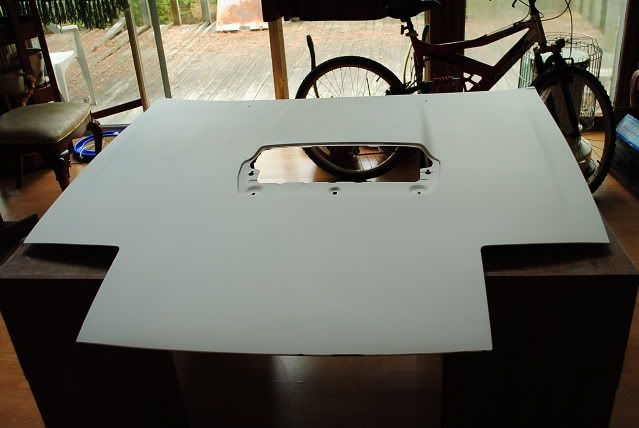 Now just to find a not hot morning to paint this outside. And I got to play with the weather to find a morning where its not raining. Can't wait till its done. |
|
|
|
|
07-09-2010, 08:37 PM
|
#10 | ||
|
Half bubble off plumb

Join Date: Jan 2010
Location: middle of Alberta
Posts: 301
Rep Power: 16 |
I am going to say your welder is either a flux core (no gas) or you are just learning the basics of it... either way looks good..
one question though.. what does "lqtm" mean, you wrote that 3 times, and I am not even remotely sure what it means.. cheers.. J.
__________________
Quote:
Quote:
"The most respected cars in history are the ones which stick to their guns, do things differently and make no apologies for it." 360 gamertag: Tichlis |
||
|
|
|
|
07-09-2010, 08:44 PM
|
#11 |
|
Can't.Make.Up.My.Mind.
Join Date: May 2009
Location: Murfreesboro, TN
Posts: 1,377
Rep Power: 18 |
Do you have Dual Action sander?
__________________
'90 GTUs Stay up to date with my photography '06 Toyota Highlander Hybrid '10 Toyota Prius "Initial Success or Total Failure" |
|
|
|
|
07-10-2010, 03:05 AM
|
#12 |
|
Home-brew Rotary
Join Date: Feb 2008
Location: GooseCreek SC
Posts: 552
Rep Power: 18 |
Can't sleep post!
My welder. I am using the flux core wire. I do have gas but I haven't acquired the right connection fittings yet. lqtm, is something I leaned on the internets, stands for "laughing quietly to myself". Most of the time I'm not really "laughing out loud" (lol). So it fits. Interesting about the Fusor stuff, never heard that before. I don't have any power sanders. I did the sanding all by hand. |
|
|
|
|
07-10-2010, 10:50 AM
|
#13 | ||
|
Can't.Make.Up.My.Mind.
Join Date: May 2009
Location: Murfreesboro, TN
Posts: 1,377
Rep Power: 18 |
Quote:
You probably havent heard of it because alot of DIY people (when it comes to body work it seems) dont learn from people that actually know how to do collision repair the correct way. Quote:
EDIT: Also on your welding i noticed that you didnt sand any of that paint off before you welded, or at least it didt look like you did very far. It should weld better to clean bare metal instead of trying to go through paint. Hope ive been helpful
__________________
'90 GTUs Stay up to date with my photography '06 Toyota Highlander Hybrid '10 Toyota Prius "Initial Success or Total Failure" Last edited by project86; 07-10-2010 at 10:54 AM. |
||
|
|
|
|
07-10-2010, 11:14 AM
|
#14 |
|
Home-brew Rotary
Join Date: Feb 2008
Location: GooseCreek SC
Posts: 552
Rep Power: 18 |
About the weld, yeah, I should've cleaned the metal farther. Inside the circle was clean. but above wasn't done far enough.
|
|
|
|
|
07-14-2010, 11:09 AM
|
#15 |
|
Home-brew Rotary
Join Date: Feb 2008
Location: GooseCreek SC
Posts: 552
Rep Power: 18 |
Note to self: Don't go as low as 60 grit, and go finer than 150 grit before paint. Duh.
|
|
|
|
|
| Bookmarks |
|
|


 Hybrid Mode
