 01-01-2011, 12:02 AM
|
#16 |
|
Not a fan of rust...

Join Date: Apr 2010
Location: Chicagoland!
Posts: 4
Rep Power: 0  |
Good progress. Much rust on the underbody?
__________________
88 vert 87 SE |

|

|
|
01-01-2011, 07:32 PM
|
#17 |
|
Rotary Fanatic
Join Date: Mar 2010
Location: Norway
Posts: 163
Rep Power: 16 |
No, the underbody was done by the last owner, and from what i can tell the only place there is rust under the car is on the rear tow hook
 I tried the mig today, probably going to take a little while before i'm good enough to weld anything on the car tho. |
|
|
|
|
01-16-2011, 07:00 PM
|
#18 |
|
Rotary Fanatic
Join Date: Mar 2010
Location: Norway
Posts: 163
Rep Power: 16 |
Gas tank is out, so now i can start prepping and welding
 Also took of the entire exhaust to get rid of all leaks, and to get rid of the tension in the downpipe.  
|
|
|
|
|
01-26-2011, 08:10 AM
|
#19 |
|
Rotary Fanatic
Join Date: Mar 2010
Location: Norway
Posts: 163
Rep Power: 16 |
Welded up everything that had to be welded, but my dad wants the garage back since he wants it for his new car :/ so i haveto start putting the car back togheter, and postpone the full restoration until i have a place of my own.
Anyway, New stuff from mazdatrix 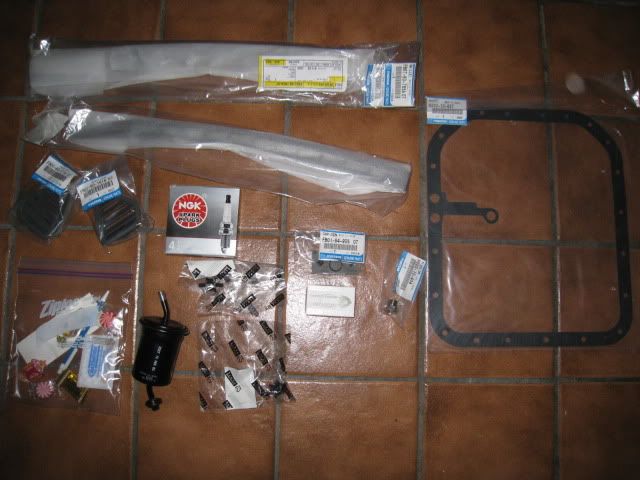 Gasket for oil pan, defroster covers, spark plugs, fuel filter with mountings, rotary key ring and some mazdatrix stuff + candy
|
|
|
|
|
01-28-2011, 06:20 PM
|
#20 |
|
Rotary Fanatic
Join Date: Mar 2010
Location: Norway
Posts: 163
Rep Power: 16 |
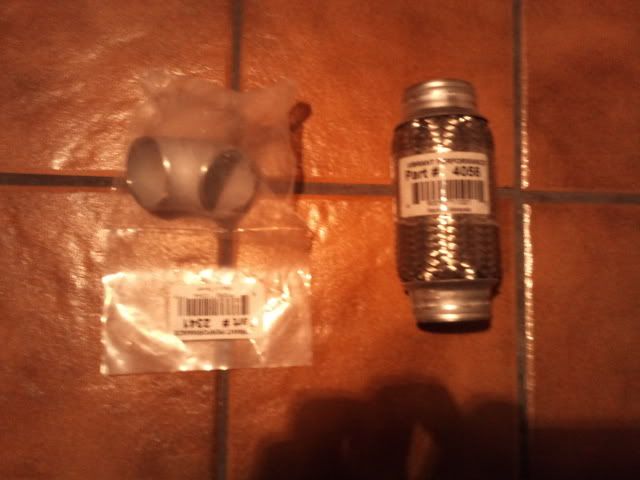
Some parts for the downpipe/wastegate arrived today
|
|
|
|
|
03-02-2011, 09:10 AM
|
#21 |
|
Rotary Fanatic
Join Date: Mar 2010
Location: Norway
Posts: 163
Rep Power: 16 |
More parts
Turbo timer (previous owner installed a non watercooled turbo :/ ) Banzai racing oil pan brace TCS rear camber adjuster Greddy elbow 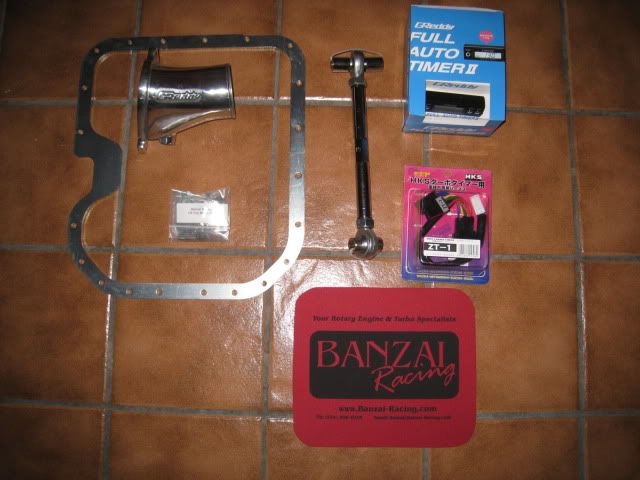
|
|
|
|
|
03-12-2011, 04:33 PM
|
#22 |
|
Rotary Fanatic
Join Date: Mar 2010
Location: Norway
Posts: 163
Rep Power: 16 |
Finally got time to work a little on the car, installed most of the interior, removed fuel lines and changed fuel filter.
Only got pictures of the interior tho. 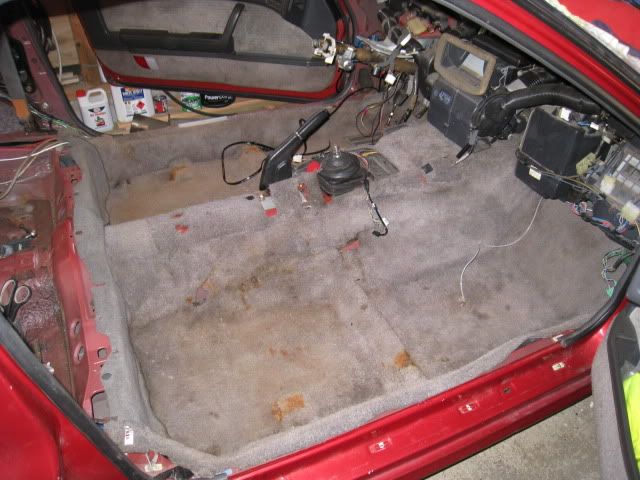 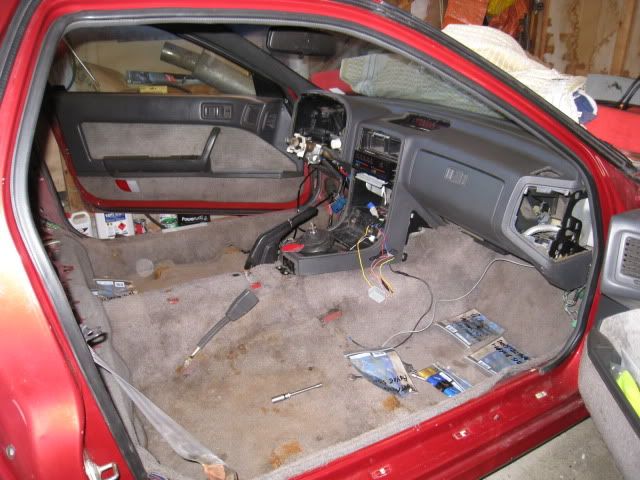 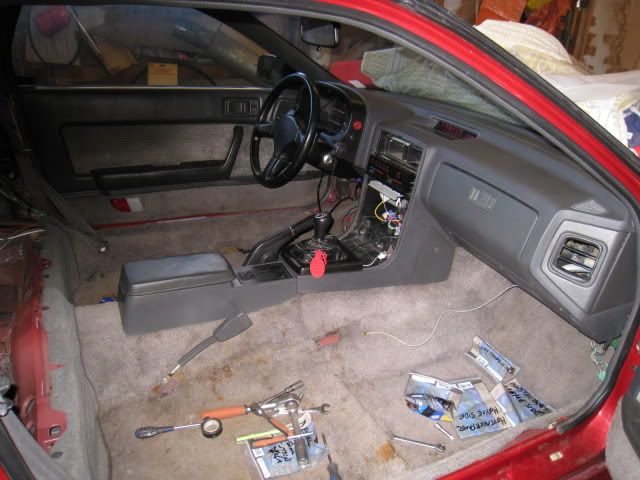 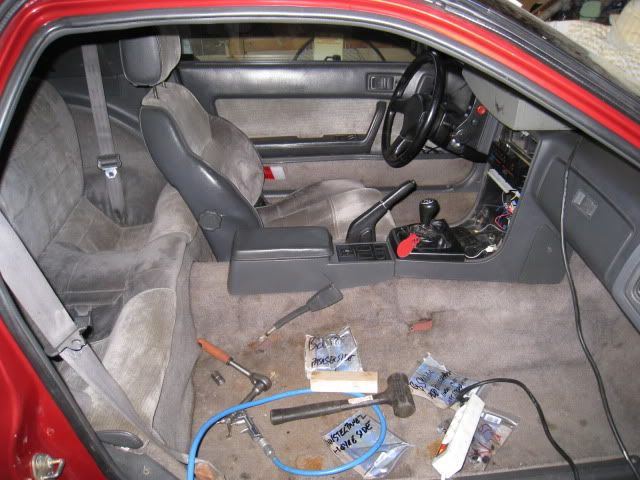 (FC guys know why i took this pic )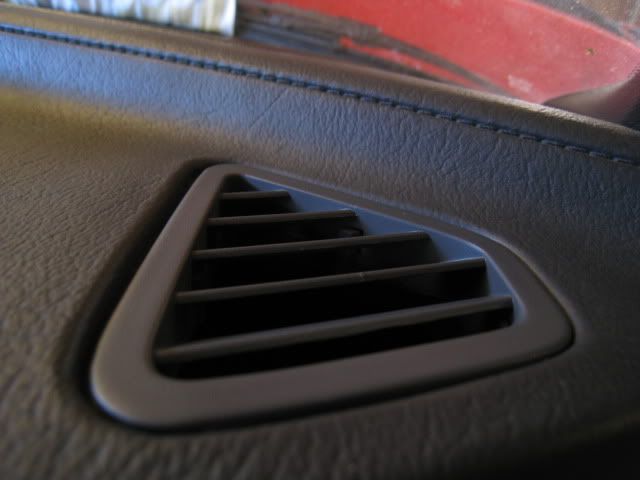
|
|
|
|
|
04-10-2011, 11:05 AM
|
#23 |
|
Rotary Fanatic
Join Date: Mar 2010
Location: Norway
Posts: 163
Rep Power: 16 |
Got the exhaust all welded up, only need to change oil, oilgasket and mount the banzai oil pan brace before i'm ready for emission testing
Feels realy good firing it up again http://www.youtube.com/watch?v=upYfMjkfiqk |
|
|
|
|
04-19-2011, 03:21 PM
|
#24 |
|
Rotary Fanatic
Join Date: Mar 2010
Location: Norway
Posts: 163
Rep Power: 16 |
Made a buttplug for the exhaust, it's only a temporary solution until i can either modify or make a new exhaust.
But the sound is much lower, so it's livable inside the car now, + it's easy to remove for trackdays and general spirited driving 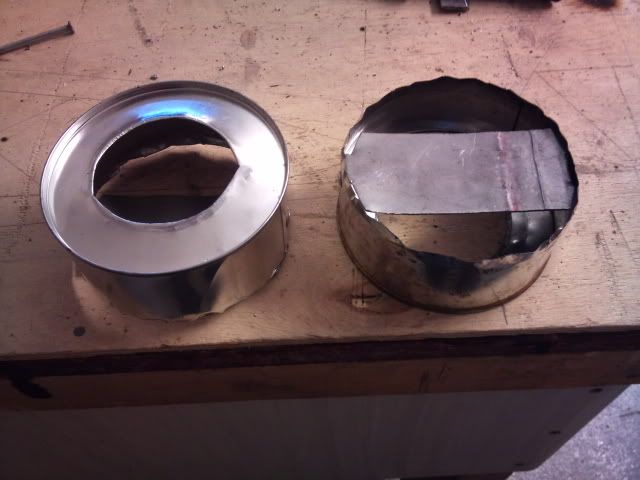 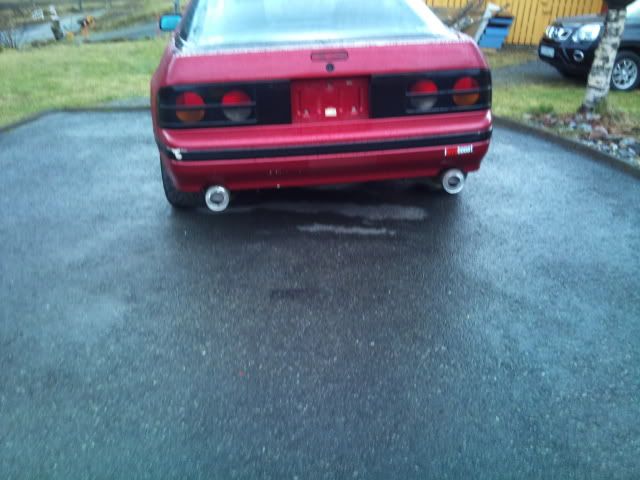 http://www.youtube.com/watch?v=xtujp6dypM0 |
|
|
|
|
04-21-2011, 02:43 AM
|
#25 | |
|
Rotary Fanatic
Join Date: Mar 2010
Location: Norway
Posts: 163
Rep Power: 16 |
Quote:
Just mounted a wide band, the car doesn't have plates on it now, so i just have idle numbers. It runs a bit rich to say the least, 10-10.5 AFR on idle. Will post numbers i get under load when i get it on the road again
|
|
|
|
|
|
04-22-2011, 12:09 PM
|
#26 |
|
Rotary Fanatic
Join Date: Mar 2010
Location: Norway
Posts: 163
Rep Power: 16 |
Made a temporary holder for my gauges.
 And finally fixed the oil leak, put in a new gasket and a oil pan brace with studs,    
|
|
|
|
|
05-14-2011, 05:04 PM
|
#27 |
|
Rotary Fanatic
Join Date: Mar 2010
Location: Norway
Posts: 163
Rep Power: 16 |
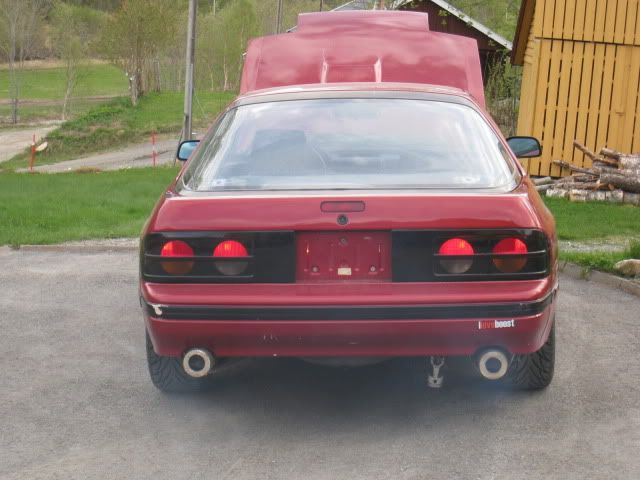
Mounted some "styling" on the rear tow hook
|
|
|
|
|
05-24-2011, 05:58 AM
|
#28 |
|
Rotary Fanatic
Join Date: Mar 2010
Location: Norway
Posts: 163
Rep Power: 16 |
Bought some different wires and accesories to clean up the engine bay, the gauge holder is for my Neon. Looking forward to getting started working on my car's, summer vacation FTW

|
|
|
|
|
05-24-2011, 06:20 AM
|
#29 |
|
Backyard Mechanic

Join Date: Dec 2010
Posts: 50
Rep Power: 15 |
Looks good, was it a pain to put in that oil pan brace with the engine installed? I have one that i still need to install.
|
|
|
|
|
05-24-2011, 06:51 AM
|
#30 |
|
Rotary Fanatic
Join Date: Mar 2010
Location: Norway
Posts: 163
Rep Power: 16 |
Well i was in a garage with a garage pit, and i had help. But no it wasn't to difficult, just as long as you support the engine properly so it doesn't move when you take off the engine mount. The first time i had a jack underneath but the engine still shifted enough to make it a pita to get the engine mount back on, and with the engine further down the studs where almost impossible to get in some places, so i used some 2"4" and supported the engine from the top and it didn't move at all.
You can use an allen key on most of the studs, but on the front row i used two nuts thightened agains each other, and a little ratchet with and extender and a angle thingy(picture i don't know what it's called in english), it's a bit fiddly but it's doable. Also a warning, it's probably not possible to get the oil pan on without scratching agaisnt the studs, so i had the sealent on the block, not the pan. 
|
|
|
|
 |
| Bookmarks |
|
|


 Linear Mode

