|
|||||||


| Show your rotary car build up. Show off your Rotary Car build! |
 |
|
|
Thread Tools | Display Modes |
|
|||||||
| Show your rotary car build up. Show off your Rotary Car build! |
|
|
|
Thread Tools | Display Modes |
|
|
 12-23-2012, 06:59 PM
|
#1 | ||
|
Half bubble off plumb

Join Date: Jan 2010
Location: middle of Alberta
Posts: 301
Rep Power: 16  |
That would work Rice... but what's the point of RTVing the end of the connectors.. I would pull them out of the plastic casing dip them in the die electric grease then reinsert while liberally applying it in around everything else.
but Eh... that's just me... PS. Mitch.... about your comment.. welcome to the 'dark side' J.
__________________
Quote:
Quote:
"The most respected cars in history are the ones which stick to their guns, do things differently and make no apologies for it." 360 gamertag: Tichlis |
||

|

|
|
12-28-2012, 03:04 PM
|
#2 |
|
Rotary Fanatic

Join Date: Jun 2012
Location: Edmonton, AB
Posts: 179
Rep Power: 14 |
Ah.. was up till 5:30 last night working on this thing. Then I was late for work by several hours.
 Oh well, it's dead here and it's my second last day. Oh well, it's dead here and it's my second last day.So the engine bay was painted satin black. Turned out very good actually, and last night we slammed the keg in. Here is the steering rack installed for the final time: Unfortunately the steering wheel doesn't site perfectly straight (tried the column in a few different spots on the spline but it wouldn't work so i guess whoever does my alignment can fix this.) 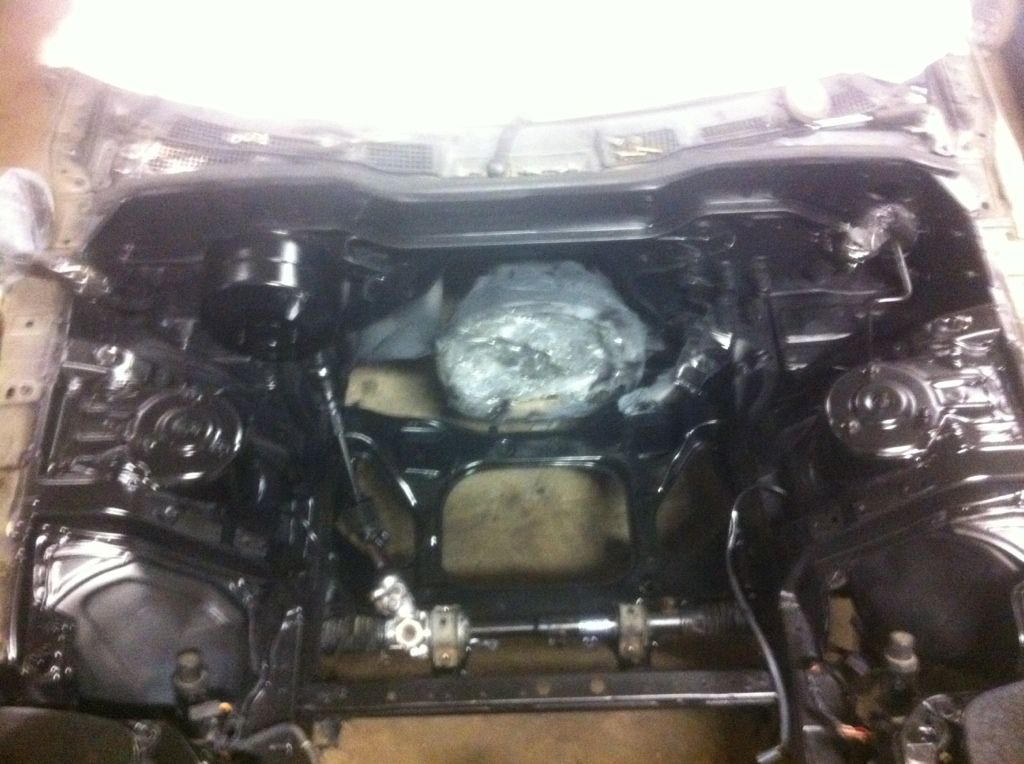 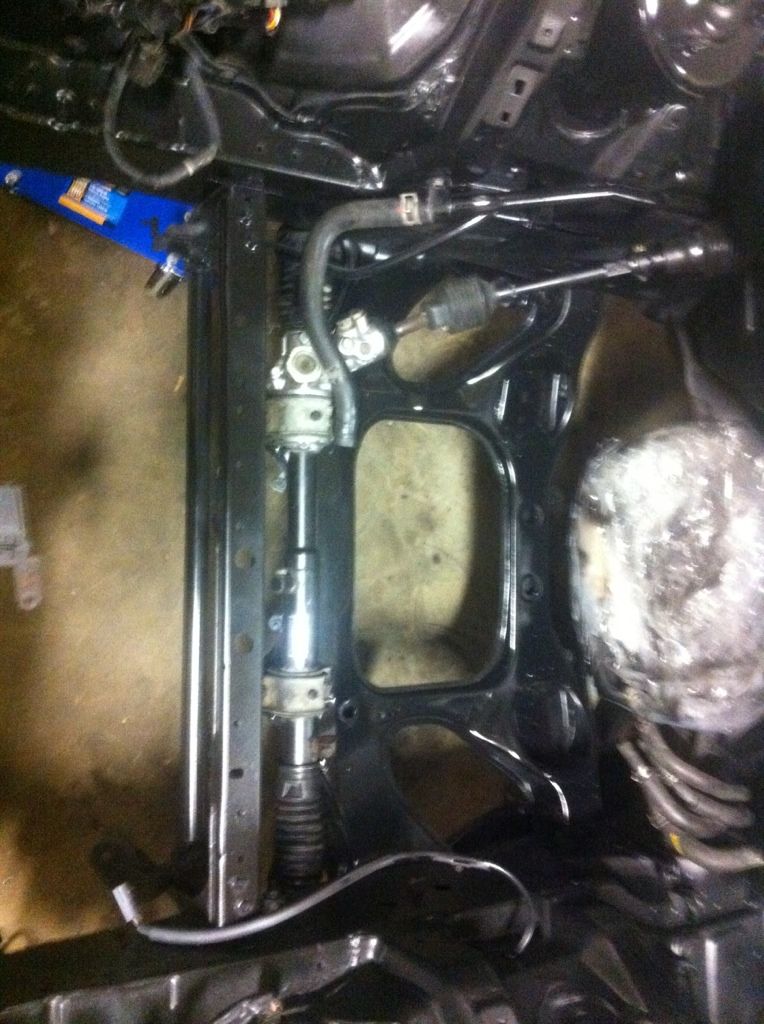 Then spent a while trying to figure how to work the clutch release fork thing, and finally got it. Old clutch off, new throwout bearing on: 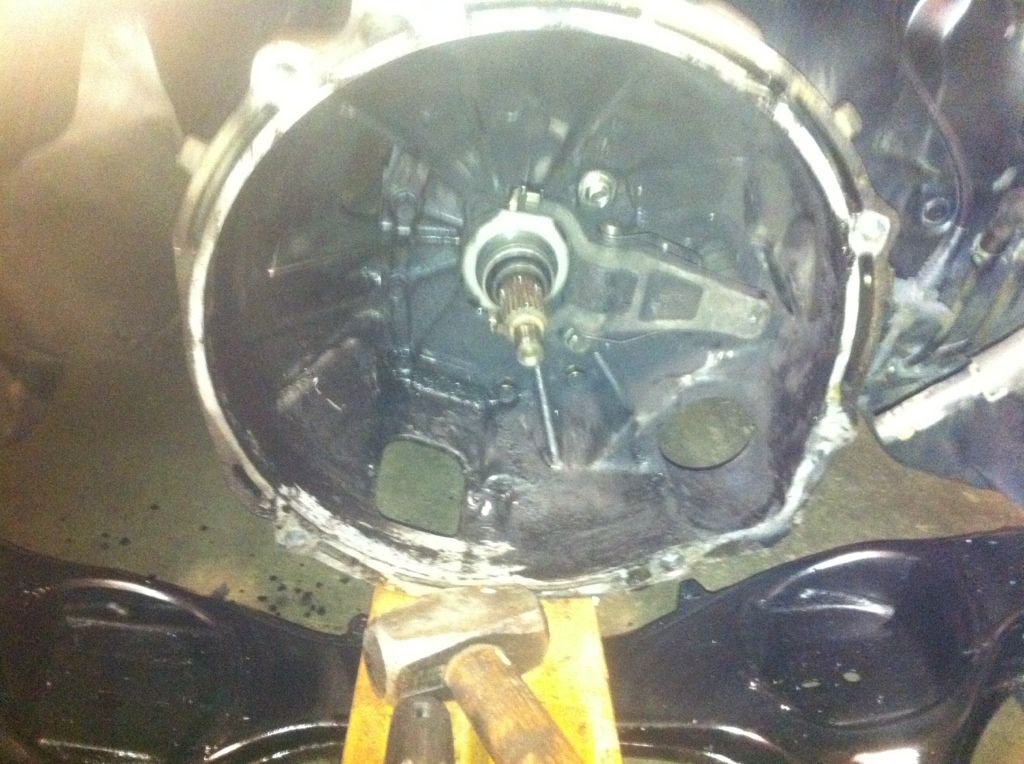 The engine going in: 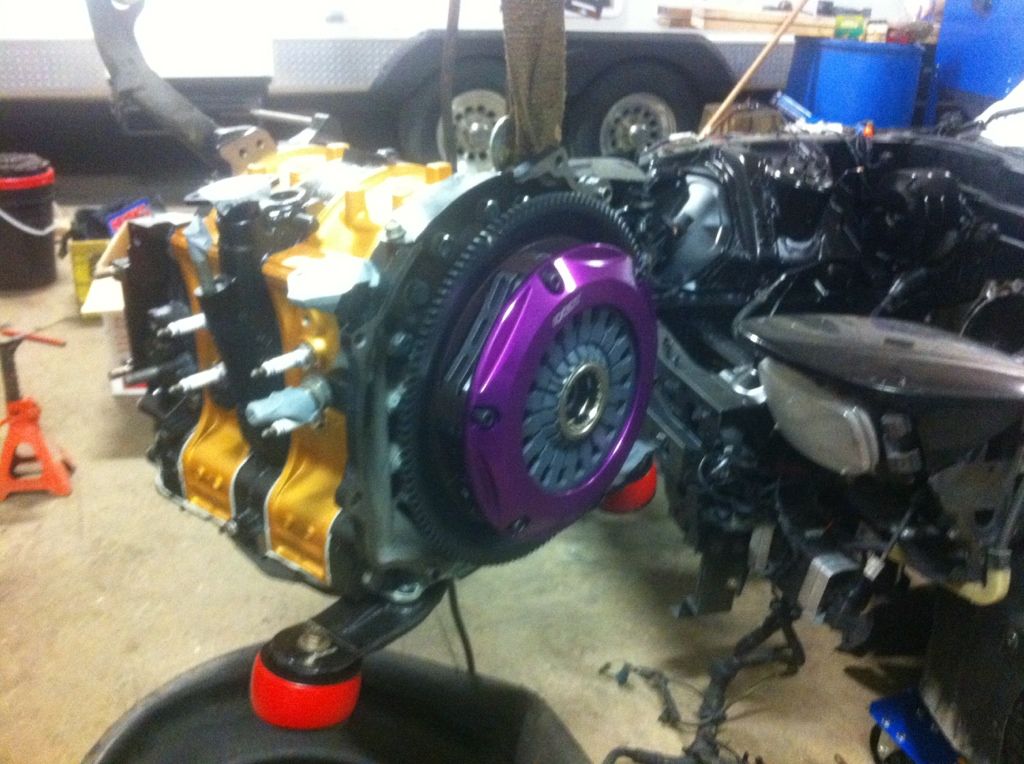 One last shot of the sexy clutch: 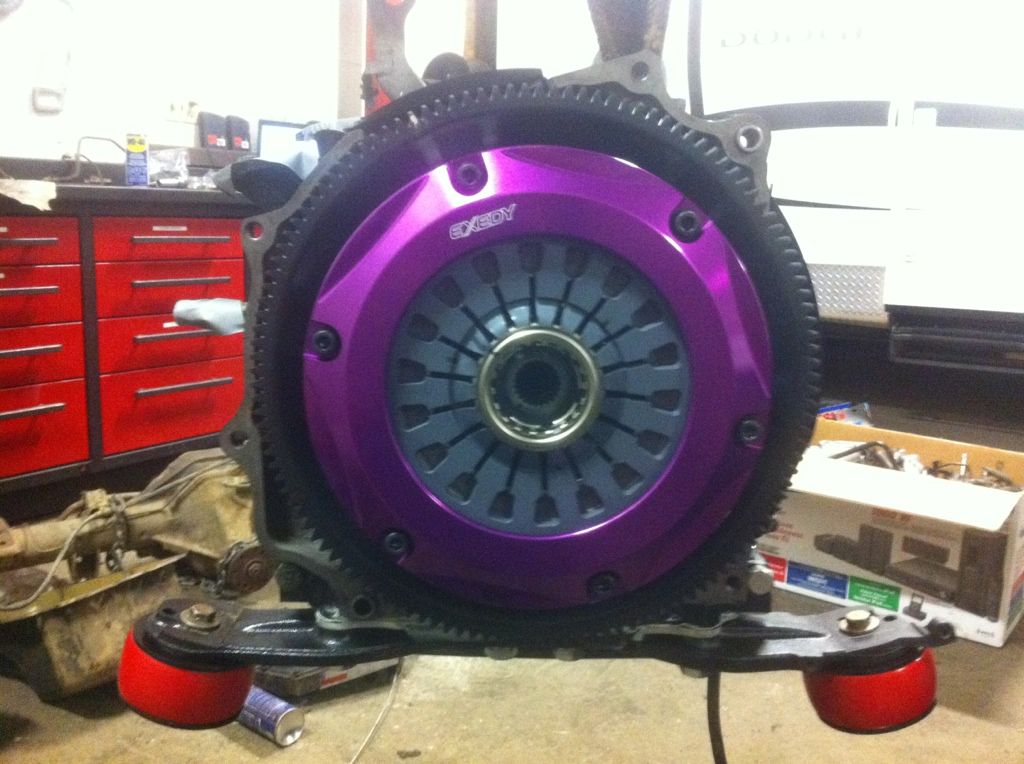 Aaaaand, welcome home mr. 13B. I was having big troubles getting the mounts in and mating it with the tranny so i just took the mounts off the bracket and put them in the holes for them and it made it 10000000X easier. 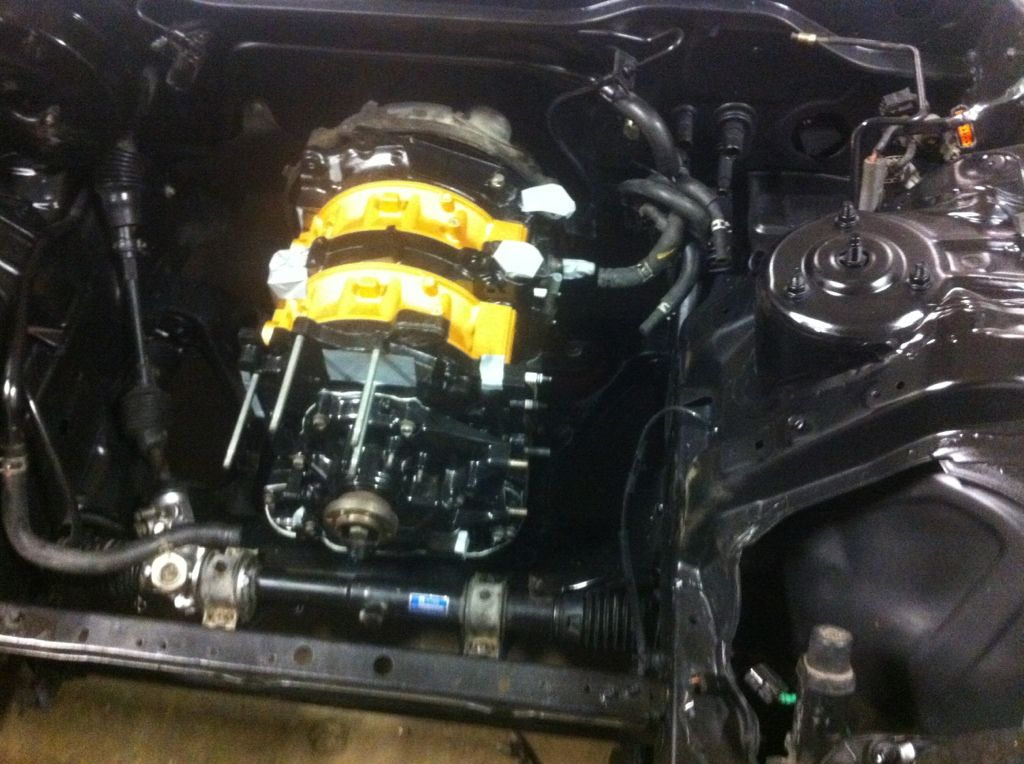 and one last one: it looks like there is some dirt in the engine bay but i assure you it's just light. I need a better camera lol 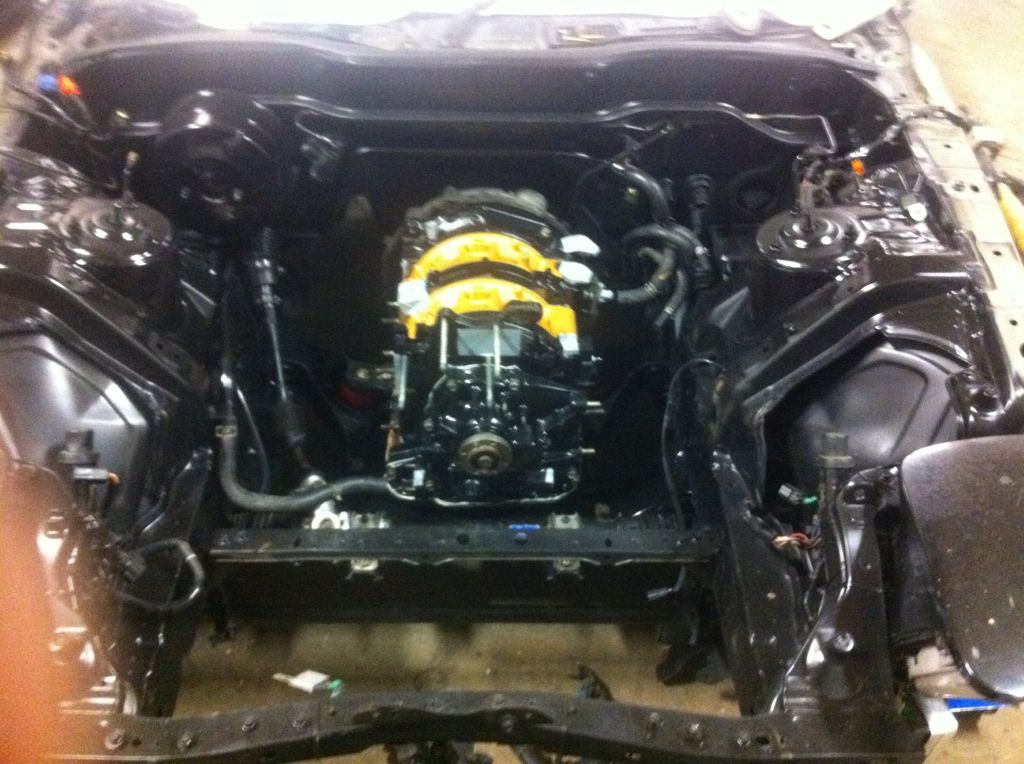
__________________

|
|
|
|
|
| Bookmarks |
|
|


 Hybrid Mode
