|
|||||||


| Show your rotary car build up. Show off your Rotary Car build! |
 |
|
|
Thread Tools | Display Modes |
|
|||||||
| Show your rotary car build up. Show off your Rotary Car build! |
|
|
|
Thread Tools | Display Modes |
|
|
 12-15-2012, 08:50 AM
|
#1 |
|
REIAN
Join Date: Feb 2008
Posts: 112
Rep Power: 18  |
CHip Clip.... Must have eating the bag for energy lol. Nice build. Awesome picture of the storm coming..
__________________
1989 Turbo II. Track Car 1988 10thAE. Garage Queen 400+rwhp |

|

|
|
12-15-2012, 05:20 PM
|
#2 |
|
Don Mega

Join Date: Dec 2008
Location: Utopia
Posts: 1,688
Rep Power: 18 |
You are doing a BIG job there, its great to see the pics, keep up the good work

__________________
www.riceracing.com.au Worlds best Apex Seals Coil on Plug Water Injection ECU Calibration |
|
|
|
|
12-16-2012, 02:25 PM
|
#3 |
|
Rotary Fanatic

Join Date: Jun 2012
Location: Edmonton, AB
Posts: 179
Rep Power: 14 |
Thank you for the kind words everyone!
I haven't been doing too much lately but i recently got a whole bunch of motivation to get the body work and paint done on at LEAST the rolling chassis part but probably a few more pieces as well so i can have the engine in before I go back to school. Also picked up a few more parts for it, Banzai-Racing diff brace and tranny brace, an abs delete kit, and a Blitz sbc i-Color spec-R which I impulse bought very very late one night when I got home from the bar. Looked at what I paid for it the next morning and I think I actually got a pretty good deal. So last night I had it towed to a friends place (prodigy and drifd3s might remember him from the last drift west event) where i continued stripping out the engine bay. All the abs stuff is out now, Ill take out the brake booster today, and then hopefully build the brackets that i drew up for the fuse boxes. Oh, and PROPERLY delete the power steering as per Prodigy's spec since i will have access to a welder  . Then next weekend I can sand it and hopefully the weekend after, have it sprayed! Thats the plan at least lol . Then next weekend I can sand it and hopefully the weekend after, have it sprayed! Thats the plan at least lolOh and I also picked up what I thought was going to be just an unbroken passenger door handle, but it actually came with both full door panels! Black though, so now I have to pick. And when i dissasembles the passenger door handle to see what I could do to reinforce it, I was appalled at the quality of the piece. How mazda engineers thought it wouldn't break is beyond me. Just a piss poor design. However, it shouldn't be too hard to re-inforce and ill post up pictures when I do it so those of you who still have yours in tact came give it a bit more durability. I will try to take a few pictures today too!
__________________

|
|
|
|
|
12-16-2012, 09:23 PM
|
#4 |
|
Rotary Fanatic
Join Date: Jun 2012
Location: Edmonton, AB
Posts: 179
Rep Power: 14 |
I said I'd post pics so here they are.
I tried taking off the brake booster but it was way more than i had bargained for so i just removed the master cylinder and called er a day. And wrapped up the remaining sensors: 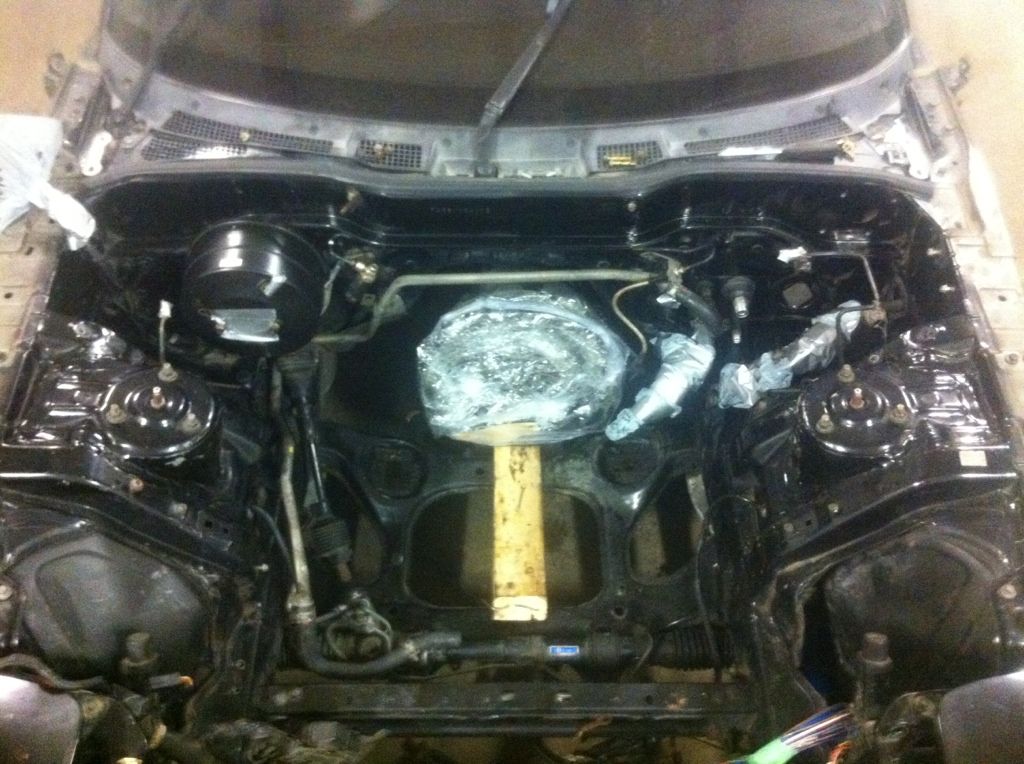 I didn't end up making the brackets for the boxes because I found a DIY a member on the other forum posted about moving them to this location and his brackets are much simpler. But I didn't have the materials for his design so I will have to get those. Here is where the main box is going though. Then the others will go behind it: 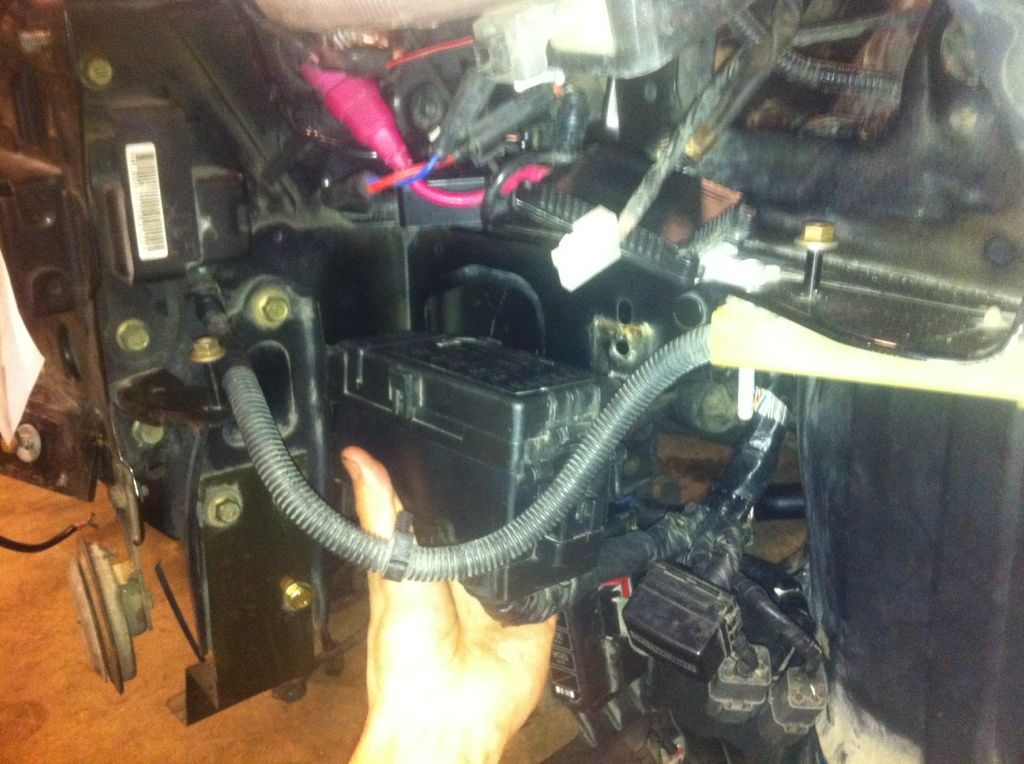 Bye bye antenna! You can't really see it but around this area on the car there are a few dings from hail which will be filled/pulled.: 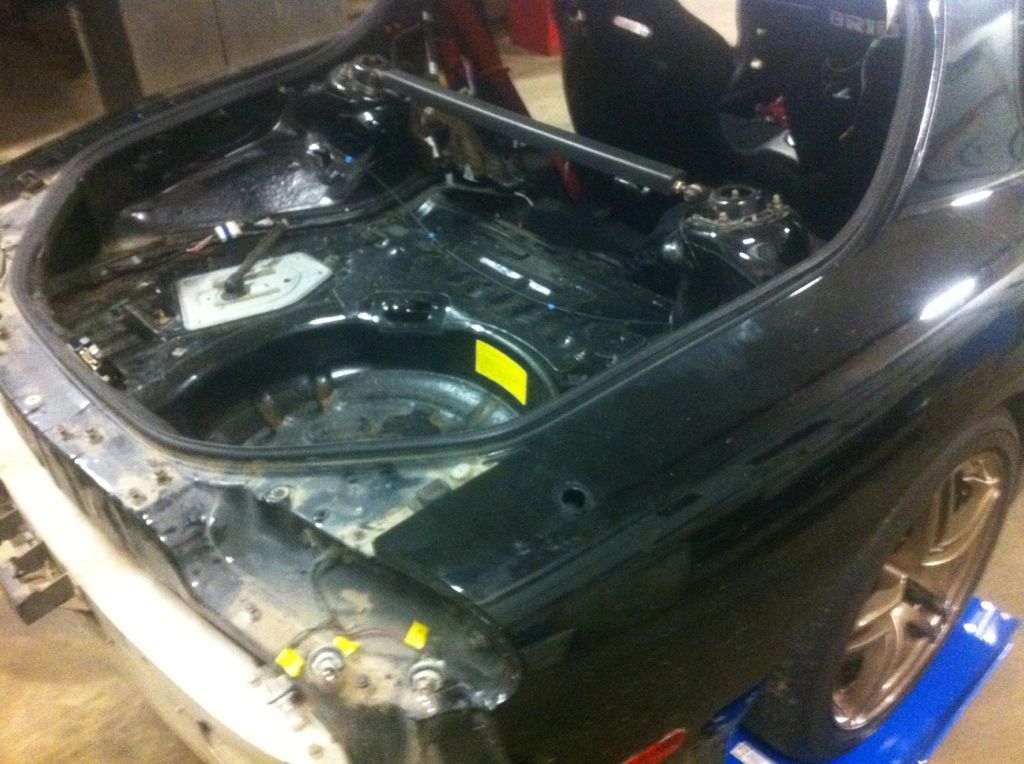 Shop shot: 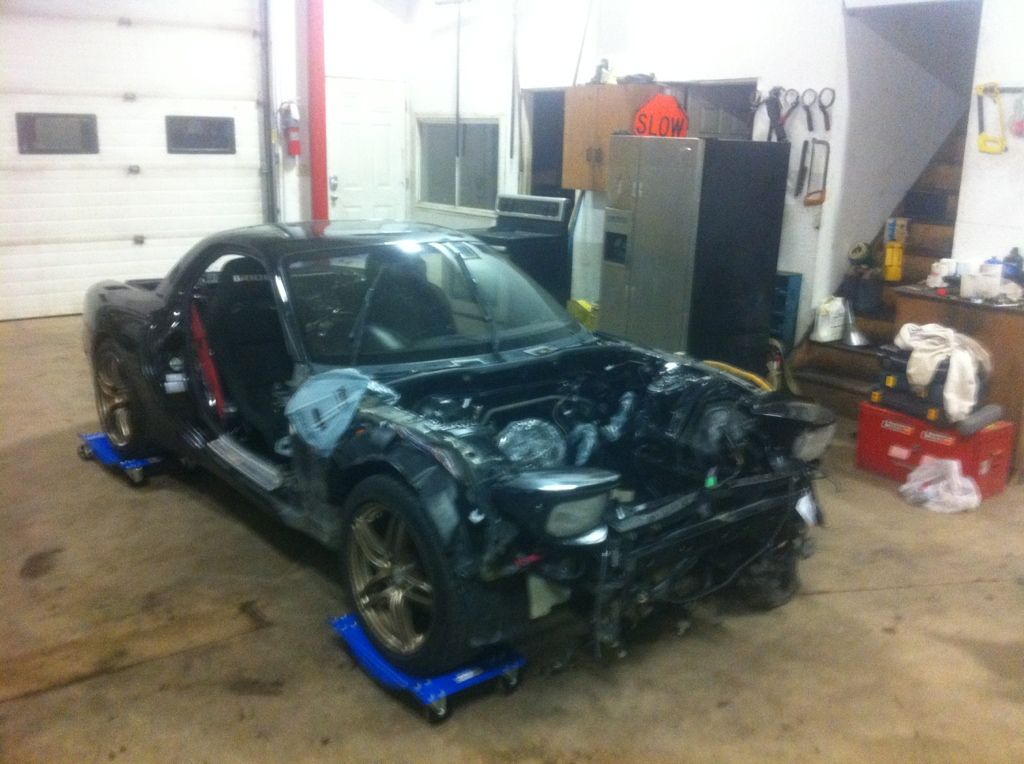 Here is an engine my friend just finished building for his project. Upon looking at the picture, maybe i should have taped up his ports for him.. Looks pretty good though 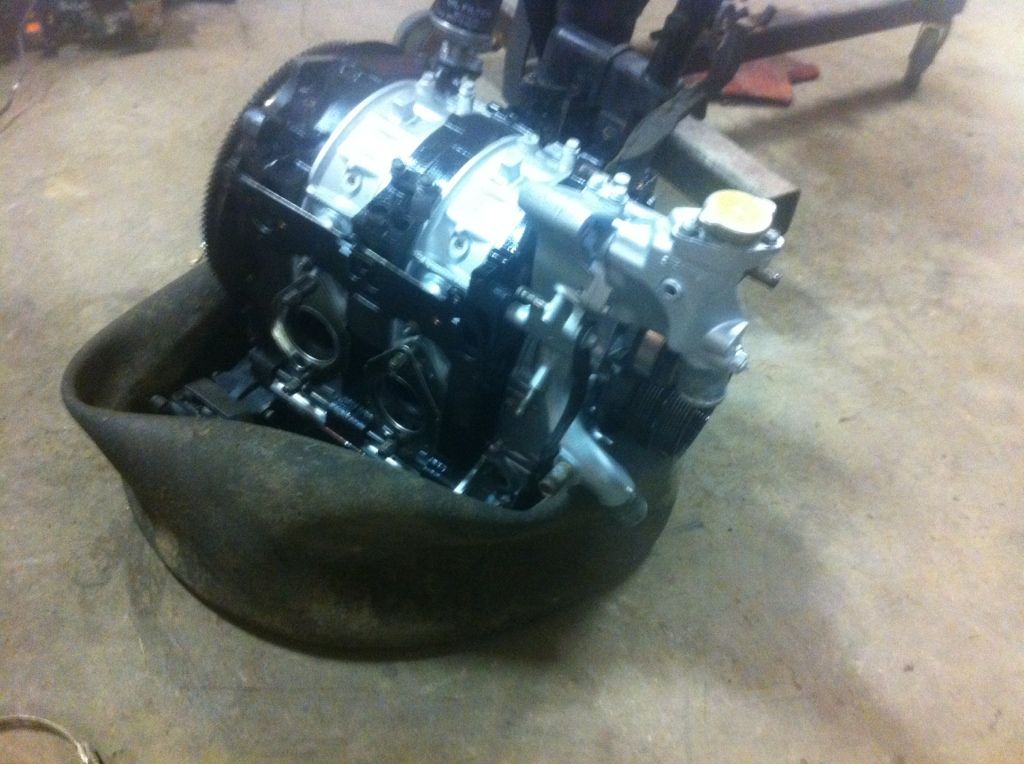 And I think these turbos actually came off my car originally and he is going to use them for his car: 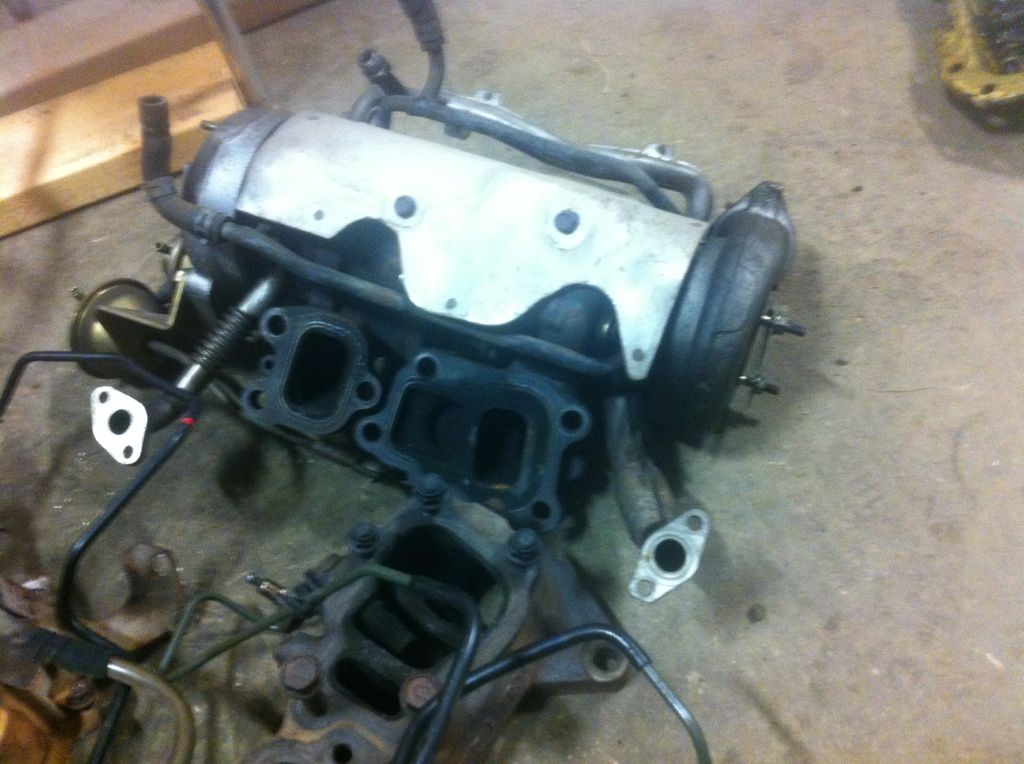 Messy workbench. Not sure what the things on the left of the picture would be used for.. 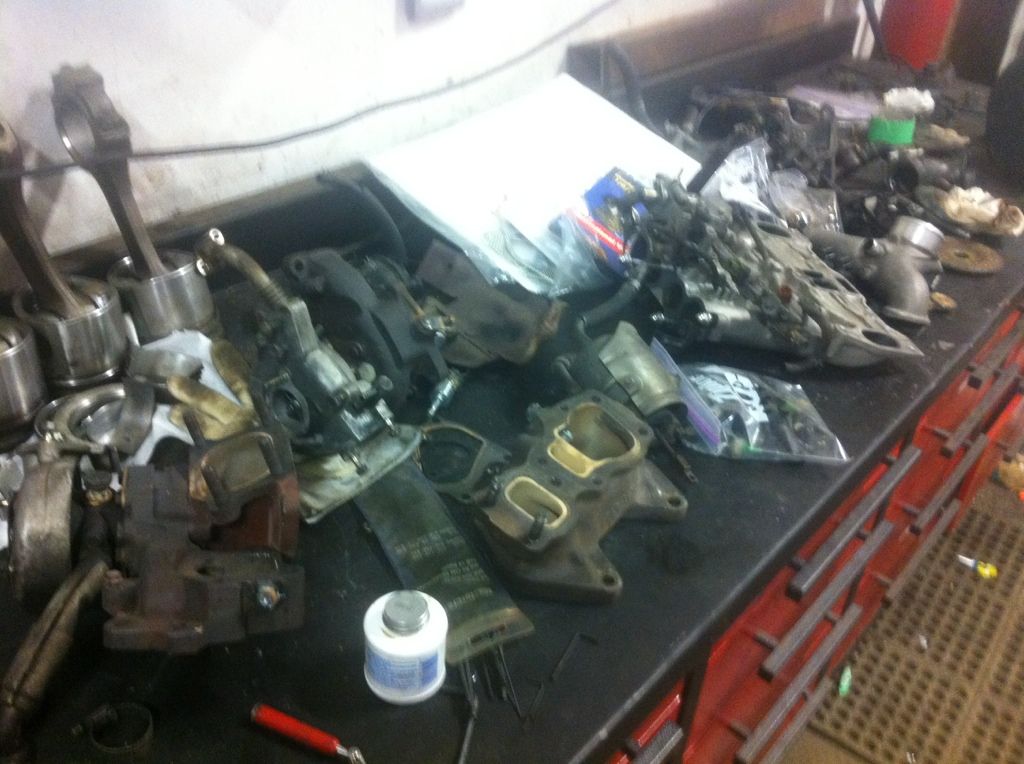 Got a little fancy with the photography in the one. Lifted myself up with the crane and put my life on the line for this shot.  jk.. just went upstairs. The engine is not mine: 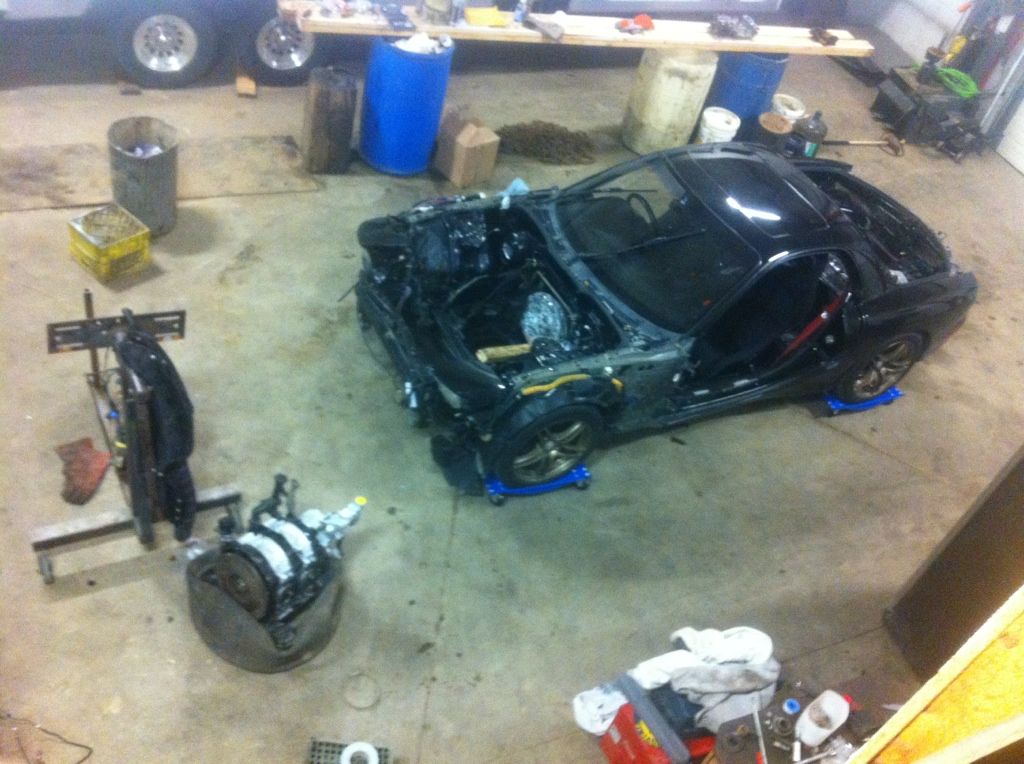 Was pleased to find this when i got home.. and didn't even have to pay duties! Thanks to not using UPS.. 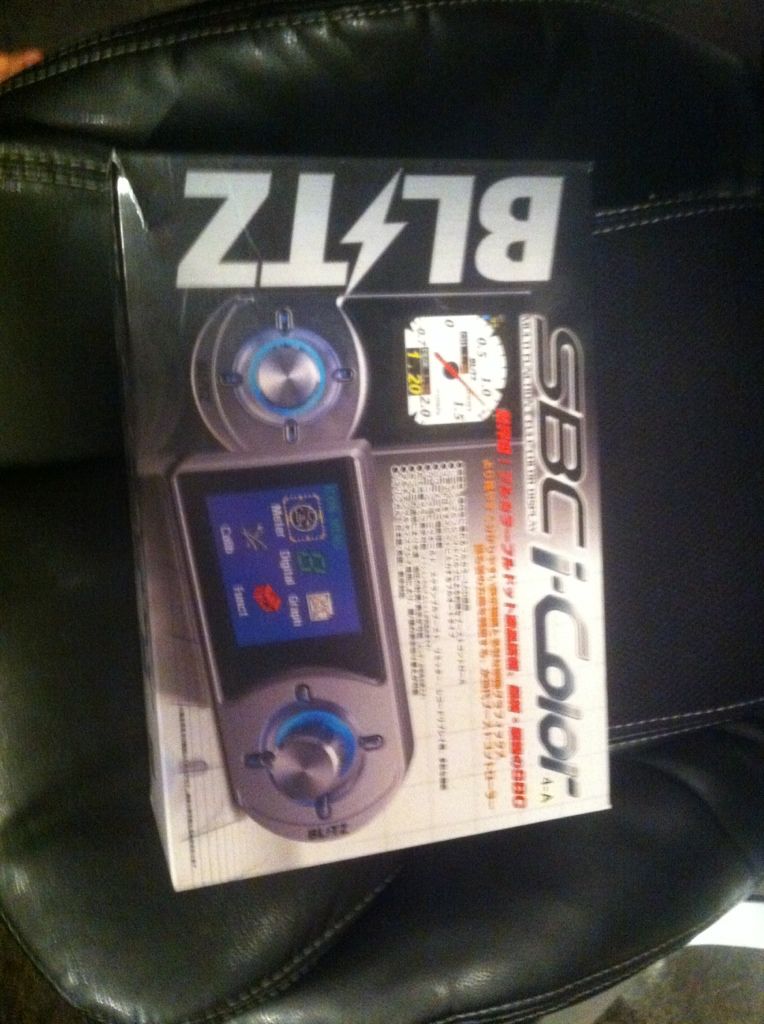 Got a bit excited and unboxed it on the kitchen counter 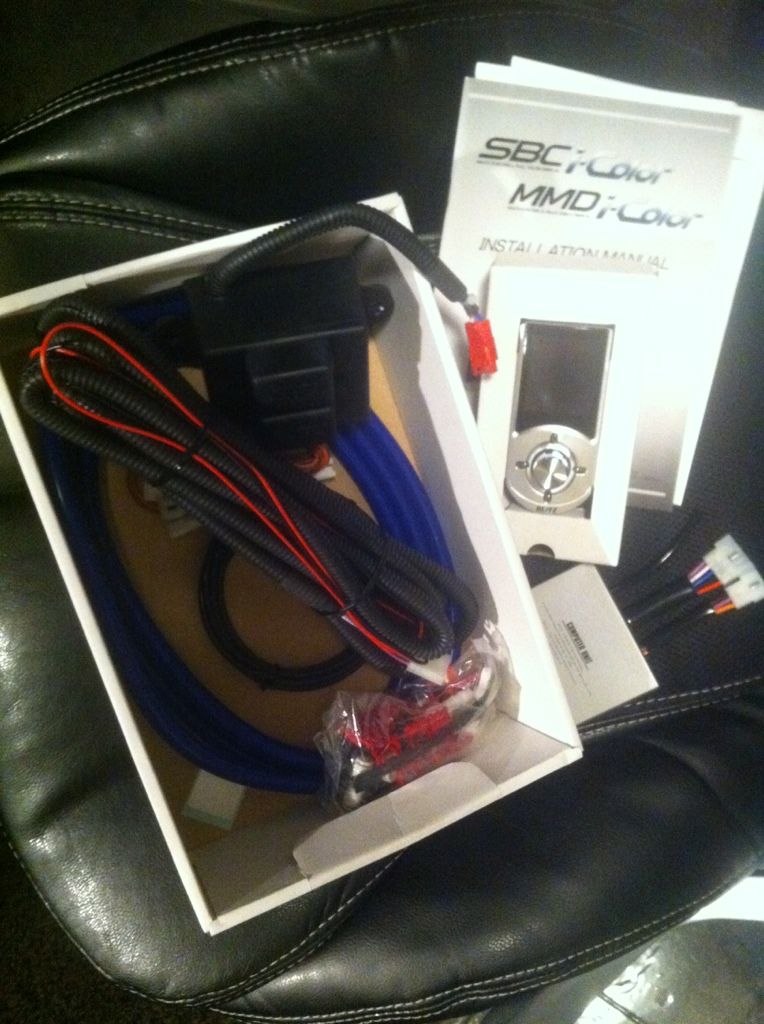 MMM new parts  And lastly, the abs delete kit:  Not sure the lines to the rear brakes will be long enough since my MC is on the right side. But i guess we'll have to see.
__________________
|
|
|
|
|
12-18-2012, 02:11 AM
|
#5 |
|
Rotary Fanatic
Join Date: Jun 2012
Location: Edmonton, AB
Posts: 179
Rep Power: 14 |
Well went to do more stuff tonight.
First i mounted the relays here: 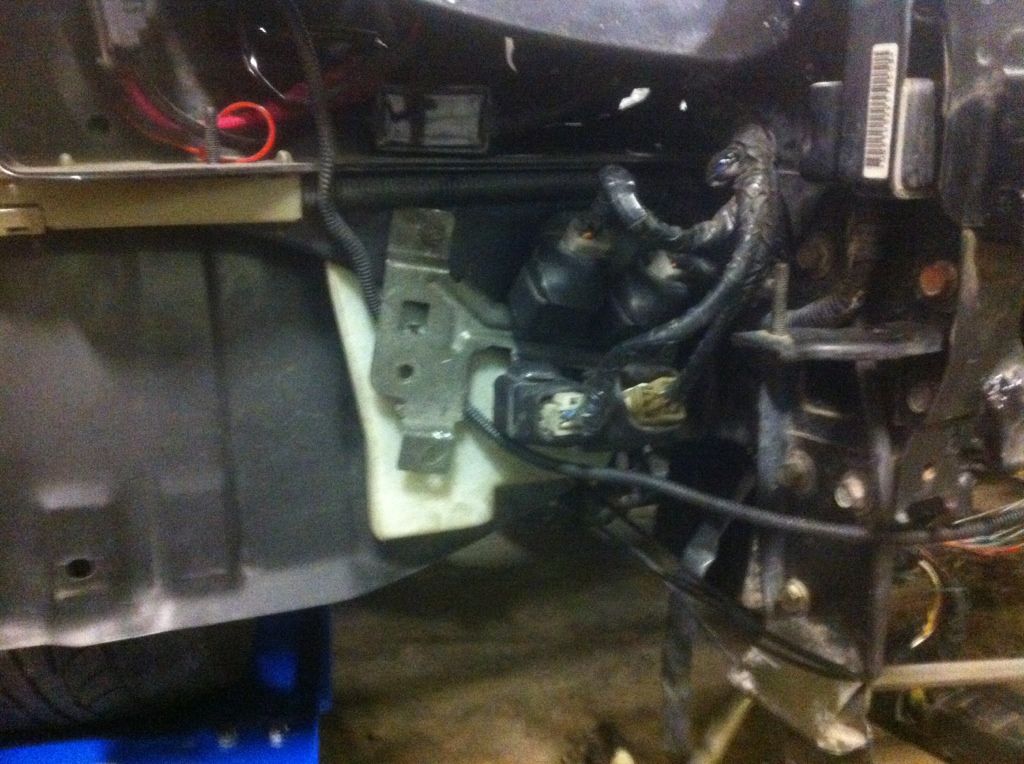 Then took out the steering rack: 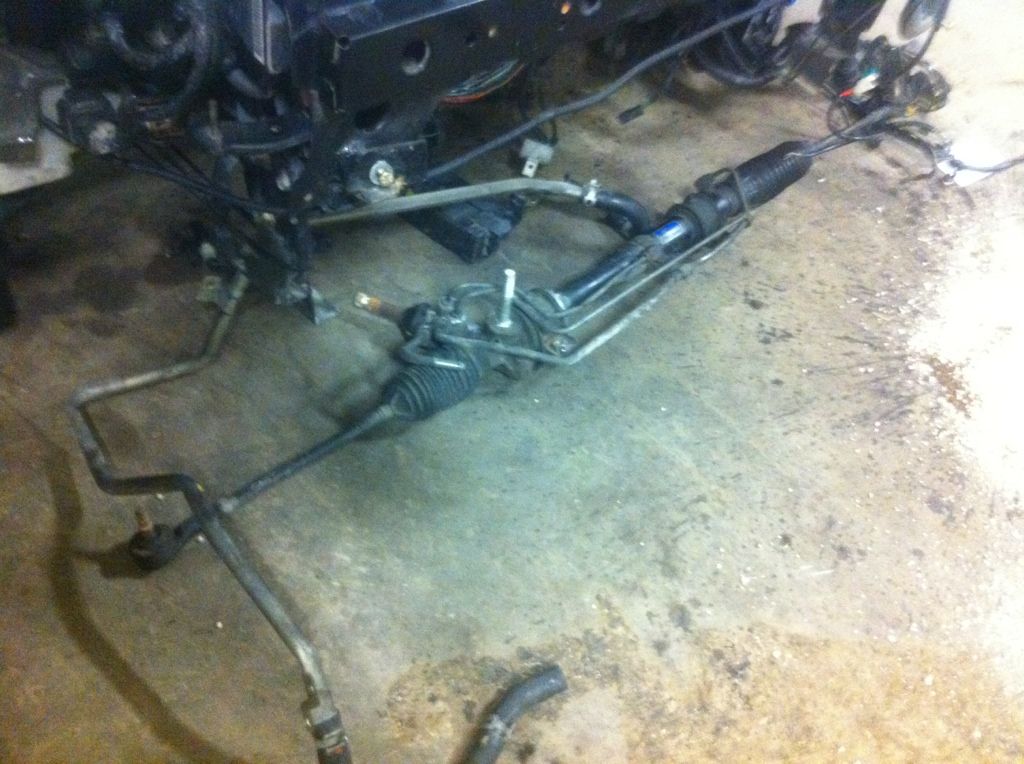 It will be nice to clean that up and have it out of the way for paint. And here is a shitty picture of the engine bay now.. need the fuse boxes mounted still but that should happen on wednesday. Then wrap up the rest of the harnesses: 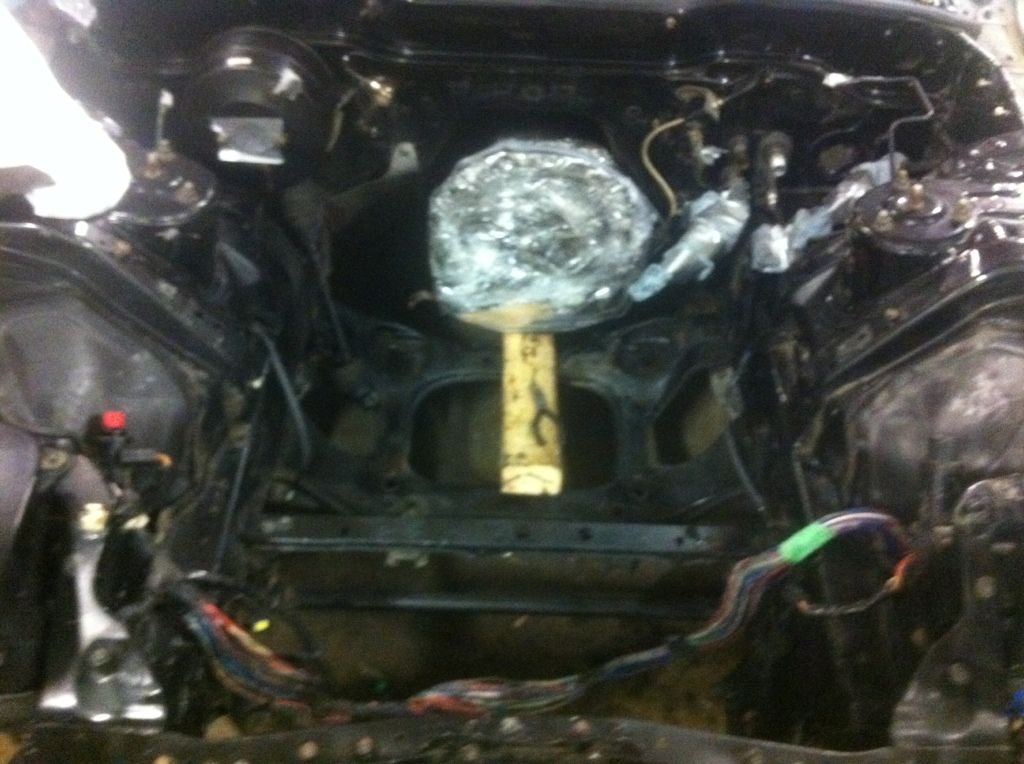 And here is me once i got home, grinning like an idiot. Sometimes when you are 1000s of miles away, it's nice to be able to put a face to a username.   Im actually really motivated to have the engine in and the chassis (and probably more) painted by the time I got back to school.
__________________
|
|
|
|
|
12-19-2012, 02:31 AM
|
#6 | |
|
RCC Loves Me Not You

Join Date: Mar 2008
Location: Colorado Springs, CO
Posts: 2,089
Rep Power: 20 |
Quote:
|
|
|
|
|
|
12-19-2012, 11:02 AM
|
#7 | |
|
Rotary Fanatic
Join Date: Jun 2012
Location: Edmonton, AB
Posts: 179
Rep Power: 14 |
Quote:
__________________
|
|
|
|
|
|
| Bookmarks |
|
|


 Hybrid Mode
