Do I really need to say anything about this? We all know or at least should know that our engines in any form; whether 13B 6PI or 13B Turbo, et al, produce a massive amount of heat for their size. Our nominal temperatures are between 170̊-220̊ F and we start to run hot at 230̊ F. Anything greater than 230̊ F you run the serious risk of destroying an engine—though there have been instances where individuals have seen engines at 250̊ F, but there again it was during a race. If you’re seeing temperatures that hot, then there’s something seriously wrong with your cooling system and is in drastic need for overhaul. As such there is already a thread made concerning picking and choosing a new radiator. Use it and select one that fits your needs.
However if you’re turbocharging your 13B 6PI one needs to take a few things into account prior to constructing the list:
1) Heat normally produced by the engine
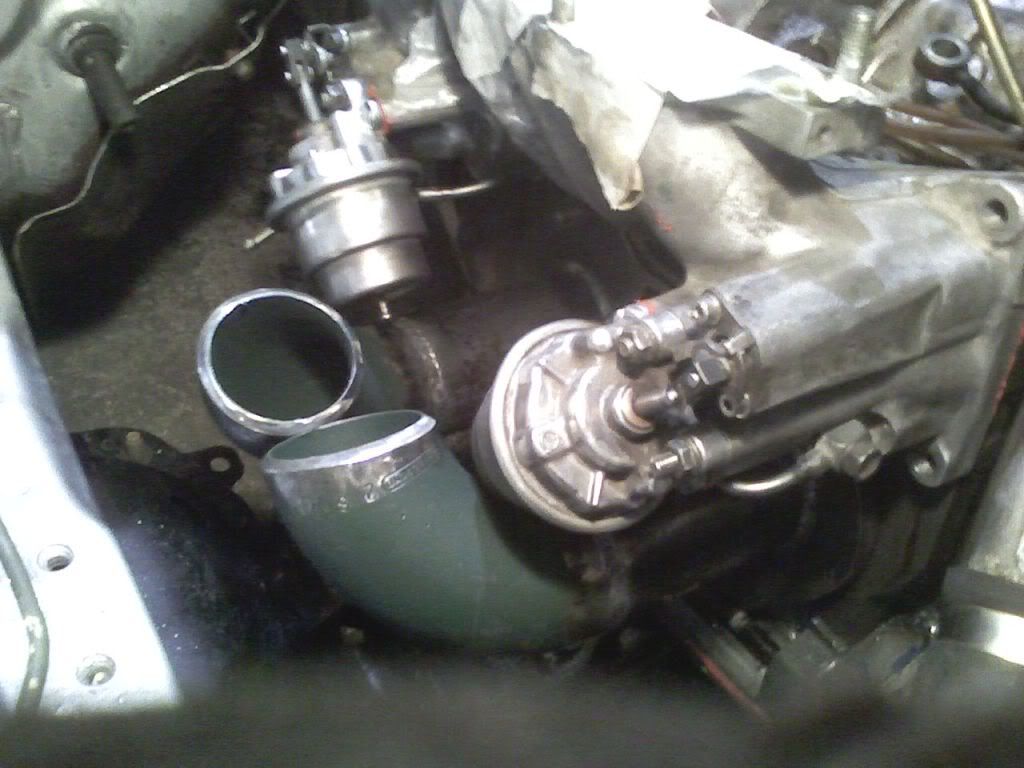
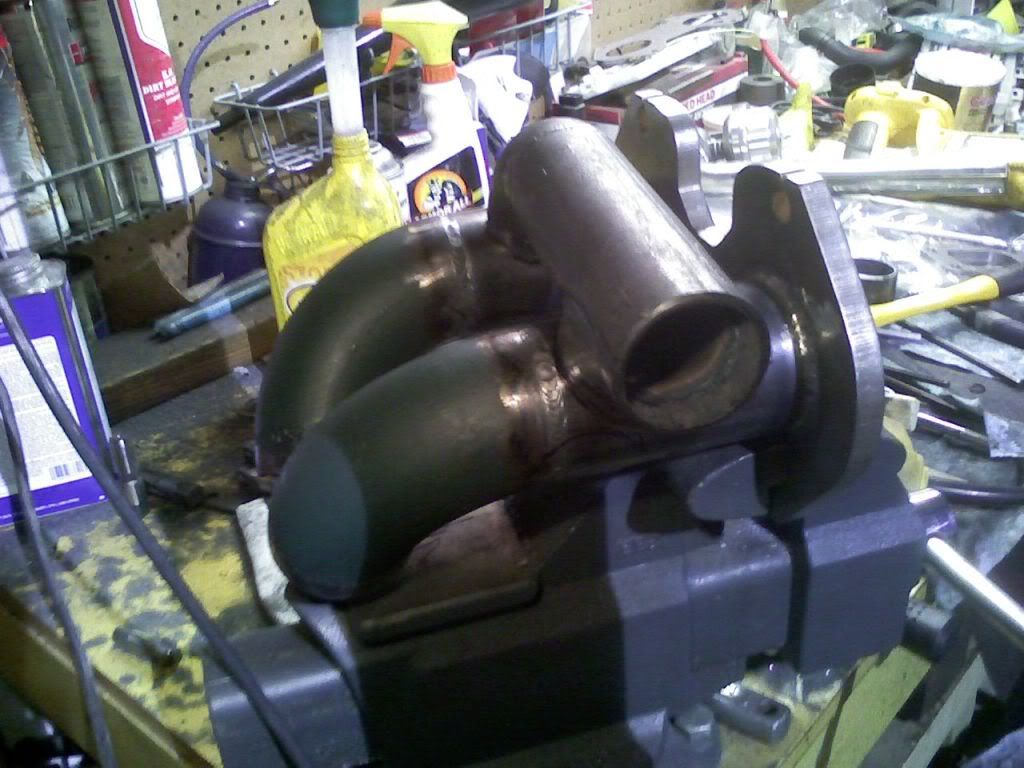
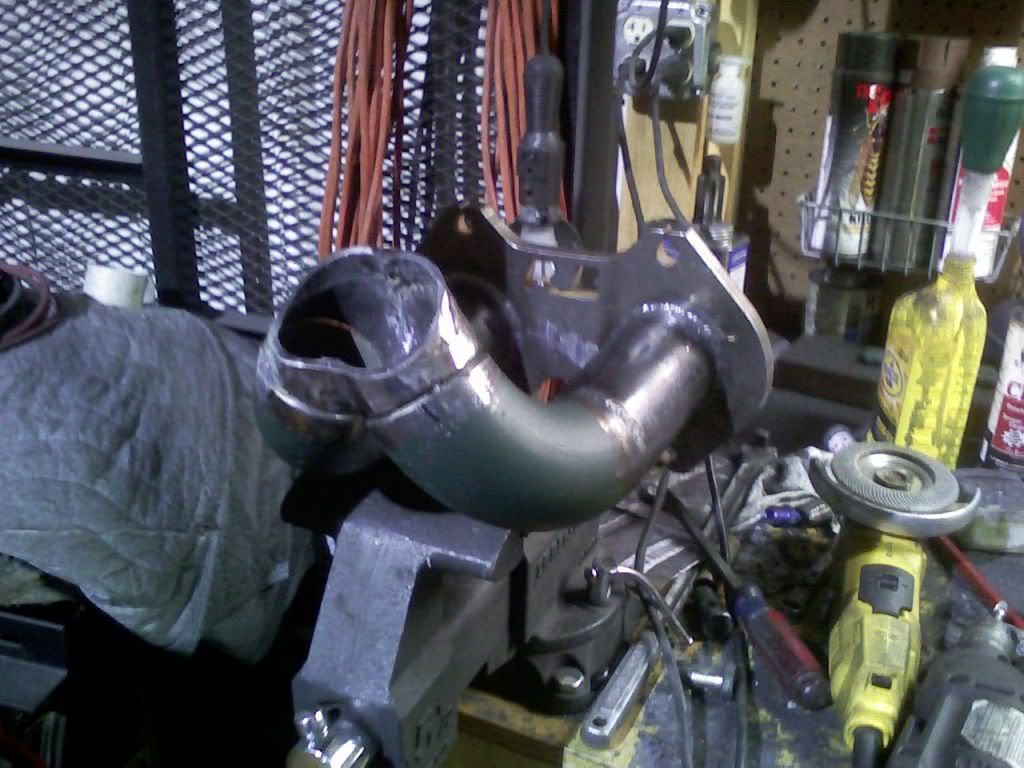
2) Heat produced from the turbo
3) Heat produced by the close proximity of the exhaust against the engine
4) Shielding
5) Alterations to coolant flow
6) Coolant composition
7) Expansion Rate
8) Coolant pressure
and a host of others. With these things in mind please consider the parts list below. You may need all the parts listed, you may not. That is a decision only you can make when you sit down and think about it. Something else to consider is what is termed in engineering circles as factors of safety.
Basically when engineers sit down to design something where individuals will use it on a regular basis they start by figuring out the bare minimum of what they’ll need to do to accomplish a specific task. Once that criteria is set they start to crunch the numbers, and in their number crunching they start to bring in factors of safety: Instead of making a pressure vessel able to withstand 1000psi they make it able to withstand 3000psi. Instead of making a fuel system that is capable of only producing 40psi at 90 g/h they crunch the numbers so they can build one that produces 40psi at 180g/h. The same thing we can apply to our cooling.
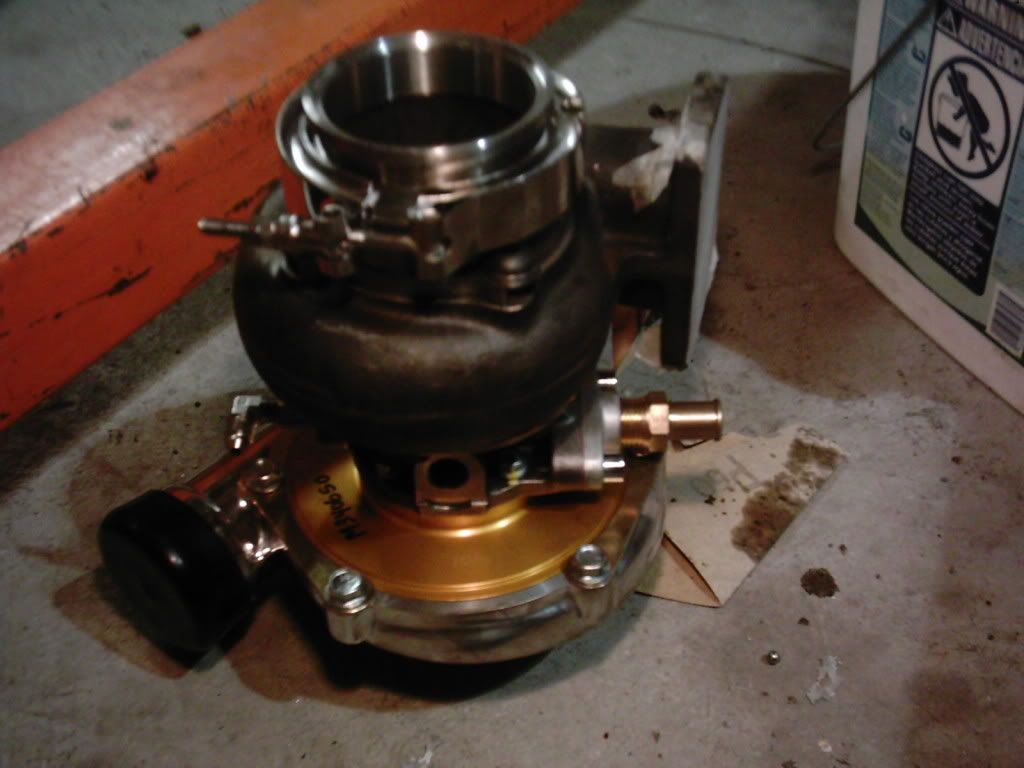
Let’s take a worst case scenario: We plan on running a fresh NA engine with a monster of a turbo. Previous to this we knew that our engine would run hot, seeing temperatures upwards of 220̊-230̊ F. We then assume that the turbo will add an additional 20̊-40̊ F to the overall temperature of the coolant. We also know that the turbo will add another 40̊-90̊ F to the ambient air temperatures that our AFM and throttle body will see. That being the case, we need to select a sufficiently good radiator to reject the massive increase in heat, yet lets also include a factor of safety of about 2 to 3. So instead of choosing a radiator that can reject 270̊ F we choose one that can reject 500̊ F. As so, let’s begin with a parts list.
1) Radiator
2) Brackets
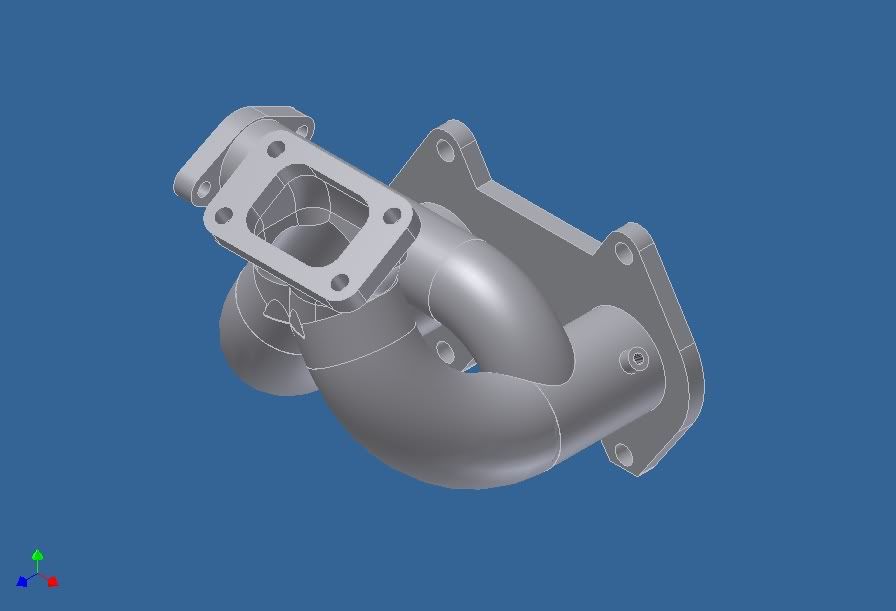
3) Adapter
4) Coolant Lines for the turbo
5) Adapters for the coolant lines to the turbo
6) Fan
7) Thermostat
8) Relay
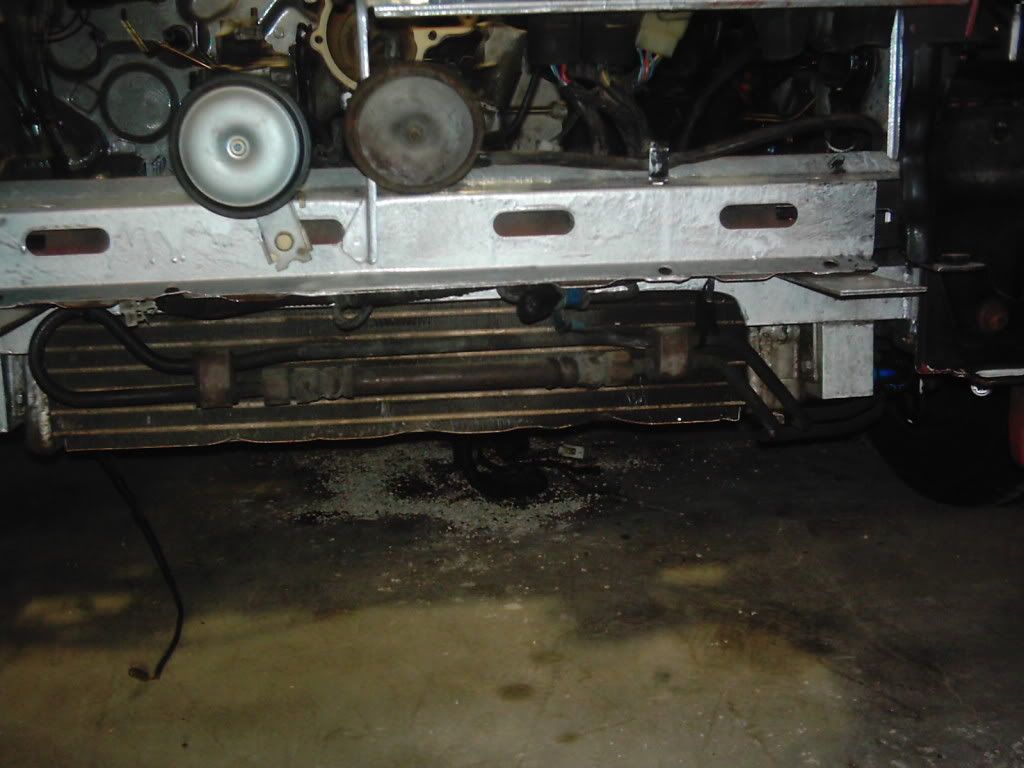
When selecting a radiator look for a radiator that can handle the temperatures we’re adding to the engine. An all aluminum racing radiator will handle the temperature increase just fine. The problem comes in them not normally being a simple drop in fit. You’ll need to alter the mounting locations or the actual mounting location on the car. For a more detailed write up concerning selecting radiators see this
link.
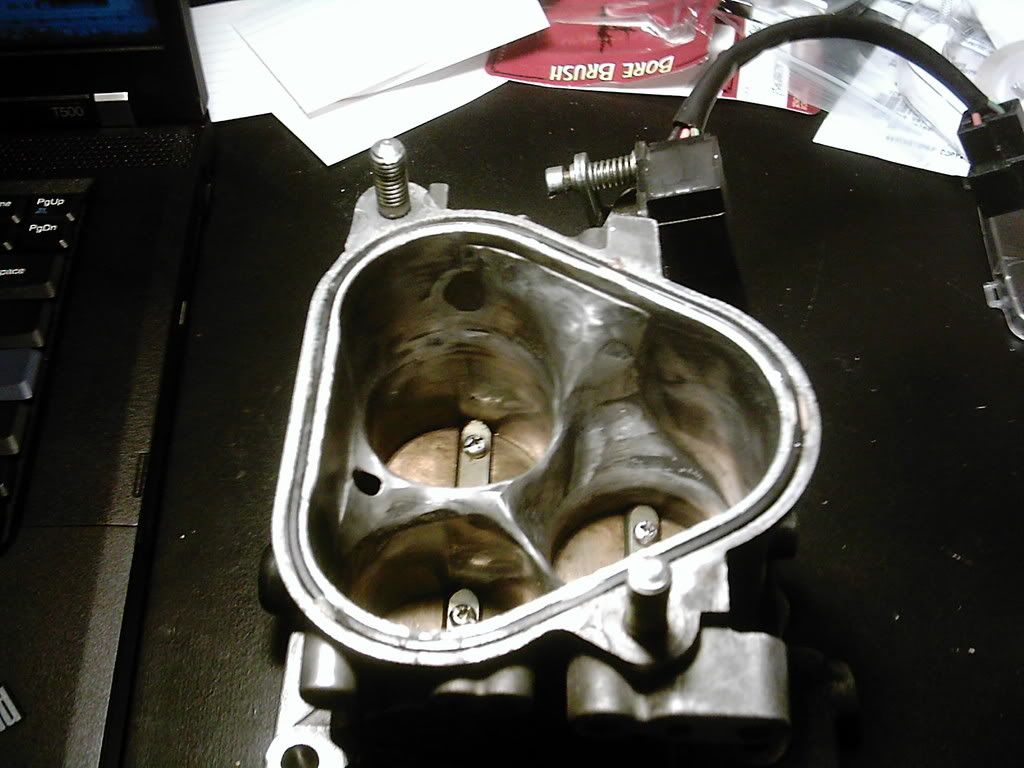
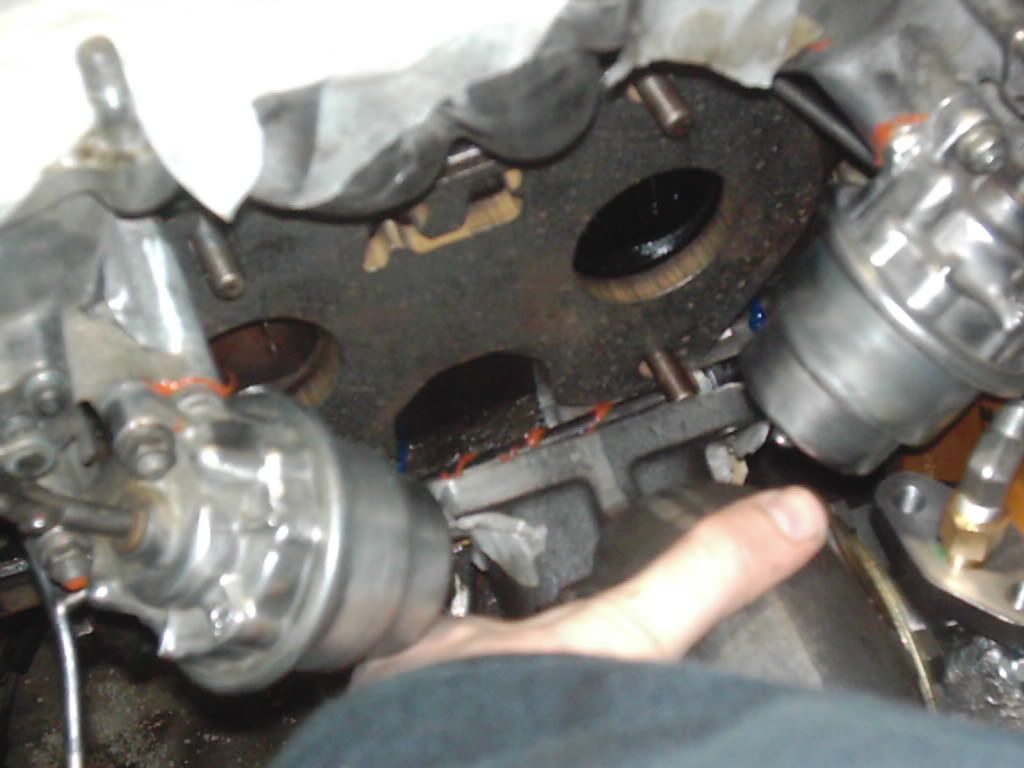
Depending on your radiator selection you’ll need to either find an adapter (which is harder than selecting your radiator) or fabricate one yourself. You may need to go from 1.5 inches to 1.75 inches or some other measurement that matches what you need to connect to the water pump housing (or ignore this if you go with an electric water pump).
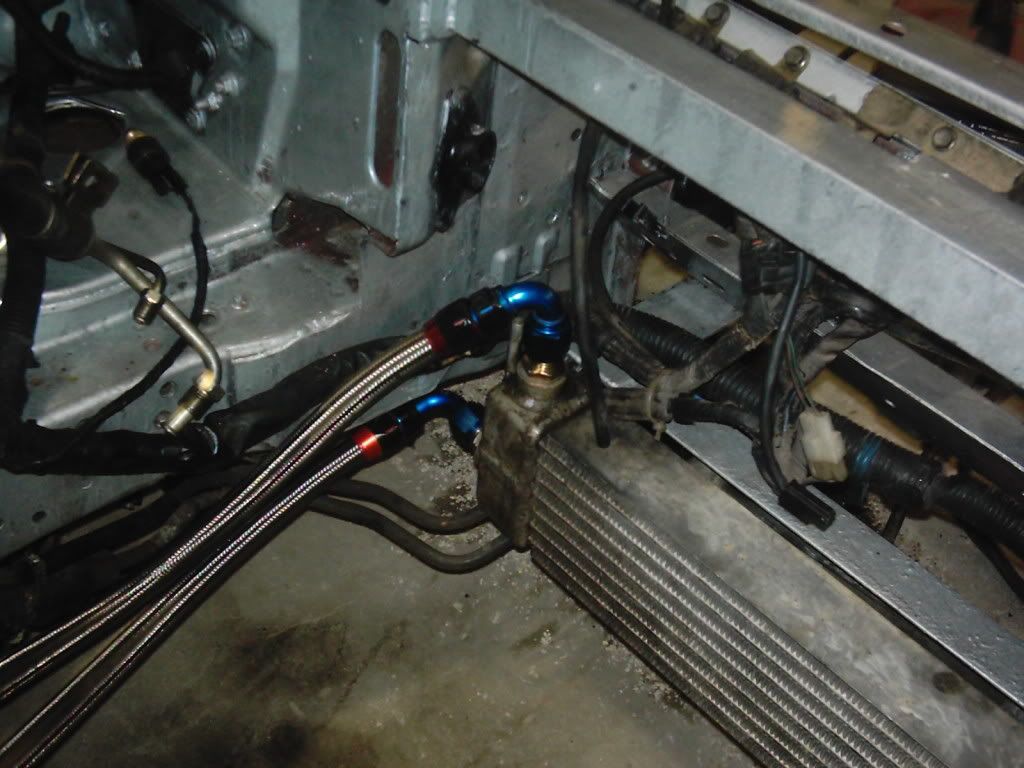
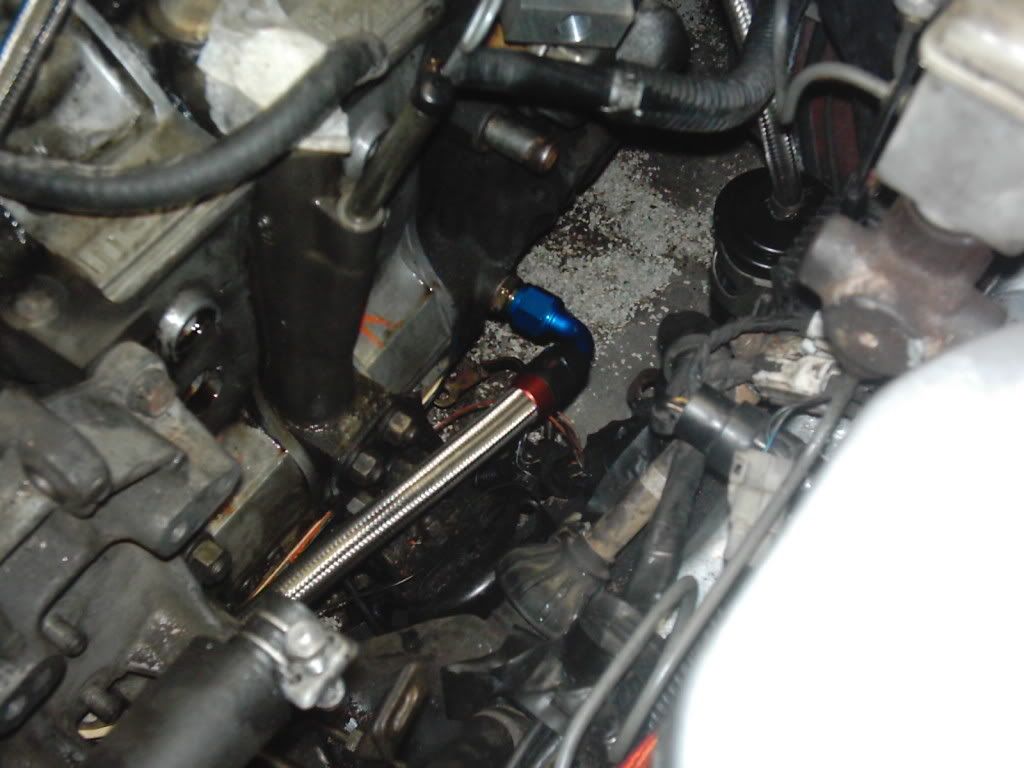
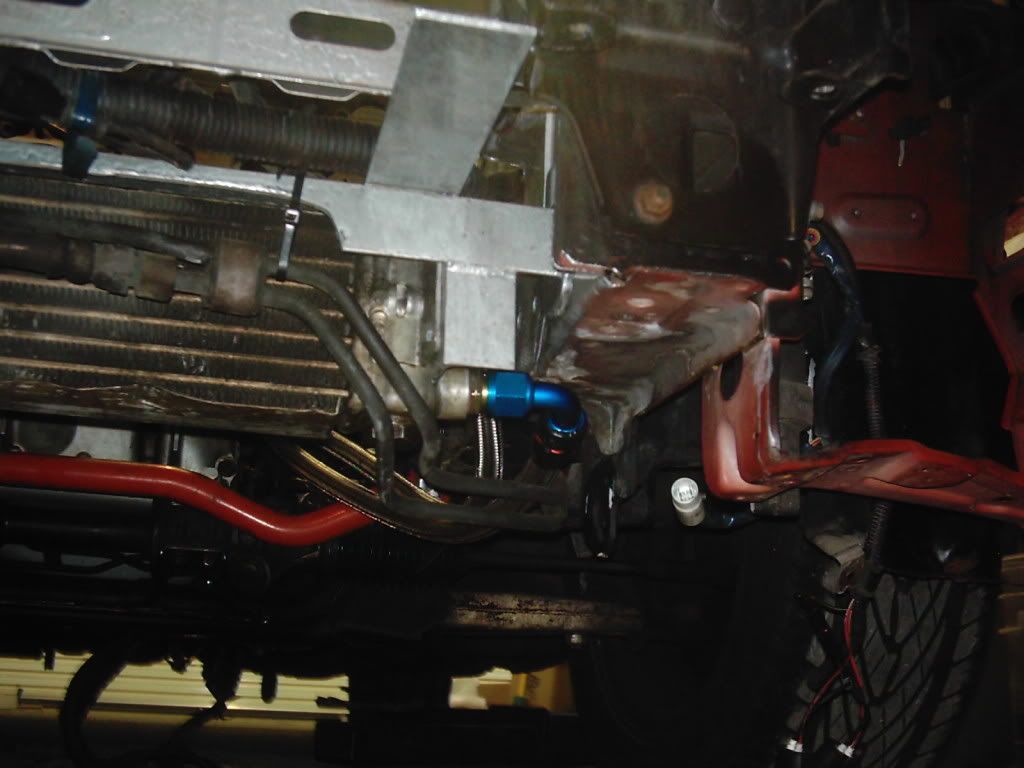
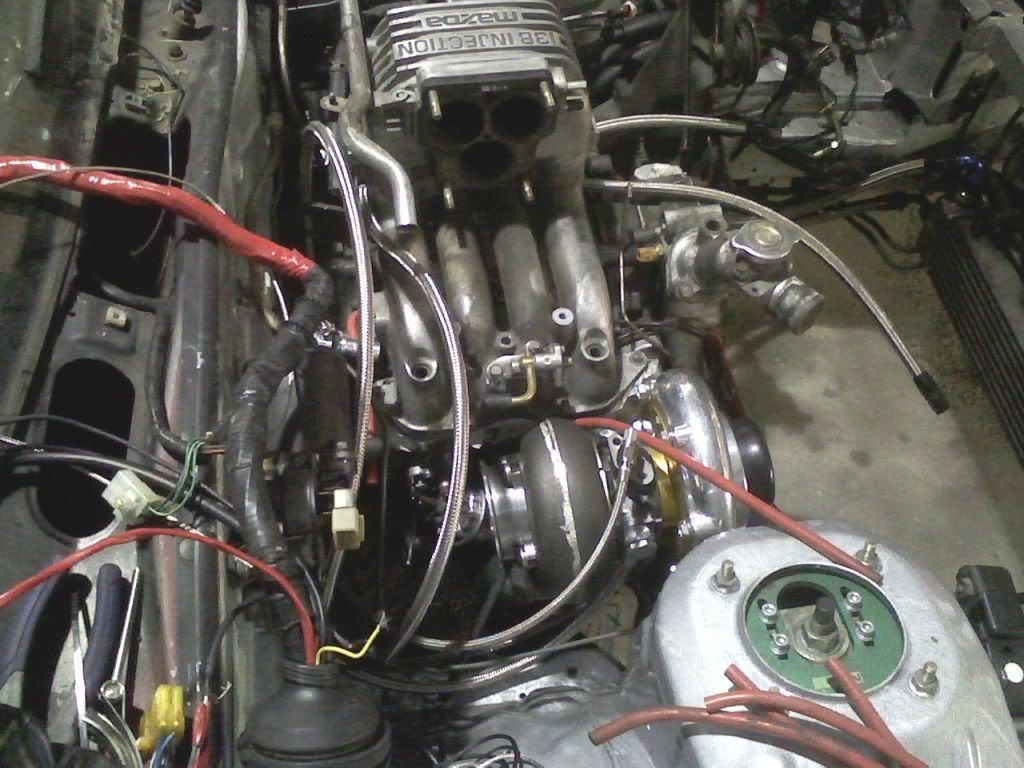
If you go with turbonetics inc off the shelf turbo they sell a “universal” water line kit. They’re stainless steel lines and hook into the heater core lines and attach with a -4AN line and connect to the turbo with some banjo bolts. Now be careful because they sell two versions. One is “short” and one is “long”. Go with the short if you can. I went with a long version and they’re a little too long for my liking. This does not mean that you can’t get your own made. Pick up some -4AN stainless steel hose (1/4in) and some fittings and go to town. You can do banjo bolts do it. They provide a much more compact installation and allow a much cleaner install.
Fans usually get hashed out every other day on these forums so just make sure to pick up a fan that can pull enough CFM (2500+) to cool the engine when not moving. Also consider ducting and ensuring that all the air can be pulled towards the radiator. If not, at least attempt to have enough air hit the radiator as possible. With a fan you need to run it off a thermostat or off a standalone (discussed later).
“Well, why not run it off a switch and I’ll just flip it when I get in the car?” It seems like a non-argument no? Think about it though. Are you willing to risk a rebuild because you forgot to flip a $5 switch when you first sat in the car? Why not spend an extra $35 and never have to really worry about flipping a switch again? You won’t run the risk of losing your engine because you were forgetful, you won’t run the risk of frying some wiring because there’s too many amps being pushed through it. Just get a thermostat, an adjustable one if you really, really want to. You can even pick up really nice thermostats that can run the fan even after shut down so you car can cycle even more heat. So, don’t risk it. Get a thermostat. Whether it’s a push in probe type that you stick in your radiator or a water npt threaded type, it doesn’t really matter—though the npt threaded type is better and less chance of a hick up.
Now with a thermostat you can also get one that has a built in relay which draws power directly from a switched source. If your thermostat does not, pick one up. It helps elevate extra current from wires that aren’t able to support the amperage.


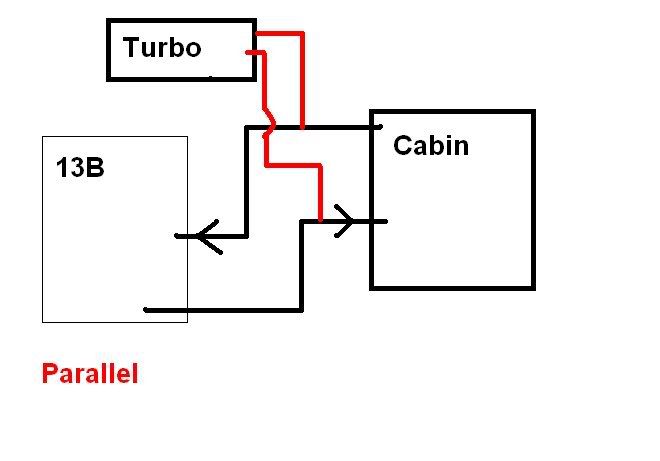
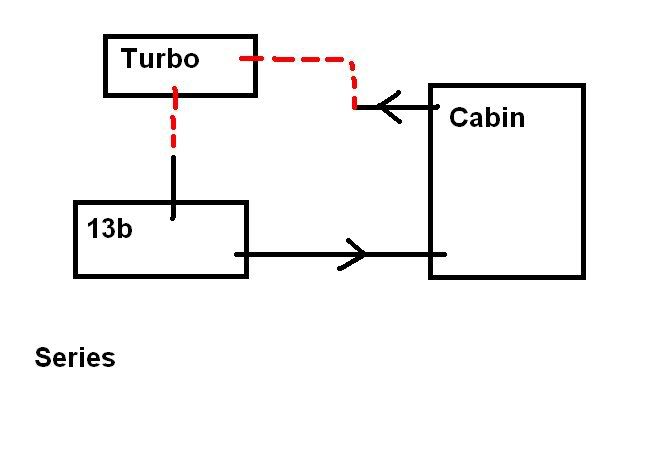

 Hybrid Mode
