Go Back   Rotary Car Club > Tech Discussion > Show your rotary car build up.

Show your rotary car build up. Show off your Rotary Car build!


Welcome to Rotary Car Club.

You are currently viewing our boards as a guest which gives you limited access to view most discussions and access our other features. By joining our free community you will have access to post topics, communicate privately with other members (PM), respond to polls, upload content and access many other special features. Registration is fast, simple and absolutely free so please, join our community today!

If you have any problems with the registration process or your account login, please contact contact us.

Reply
 
Thread Tools Display Modes
Old 09-16-2011, 10:54 PM   #1
dr.occa
Rotary Fan in Training
 
Join Date: Mar 2011
iTrader: (2)
Posts: 73
Rep Power: 14
dr.occa is on a distinguished road
Default Carb'd 12A 1985 AE86 Coupe build in the Lonestar State

Picked this rolling chassis up about 2 - 3 years ago in San Antonio. I'll keep the dialogue to a minimum for the time being.

These cars never came to the States in a Levin format so here are snippets of parts to convert the US Trueno to a Levin.


The TRD replica Group A/N2 wing my daughter is holding is obviously just a luxury.


The factory Toyota brackets needed to mount the headlights accordingly graciously provided by a buddy (Aaron Rue a.k.a. Hondarue).


Some of the parts mounted.


I'll be the first to tell you I'm horrible with welding. I'm especially worse when it's with a cheap Harbor Freight wire mig welder.

I decided to try and rig up a hood by using spare flip up head light covers to weld up an appropriate hood. It's going to seem some bondo if I do go with the hood.


More turd welding.


Picked this up for $200 from the same kid I got the chassis from.


Engine bay rattle canned.


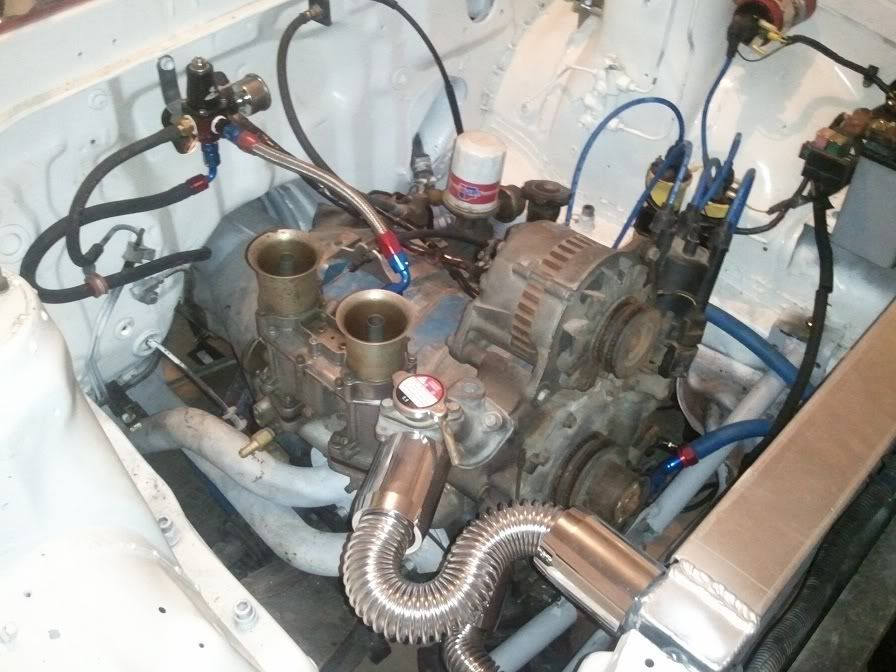
Power plant in.


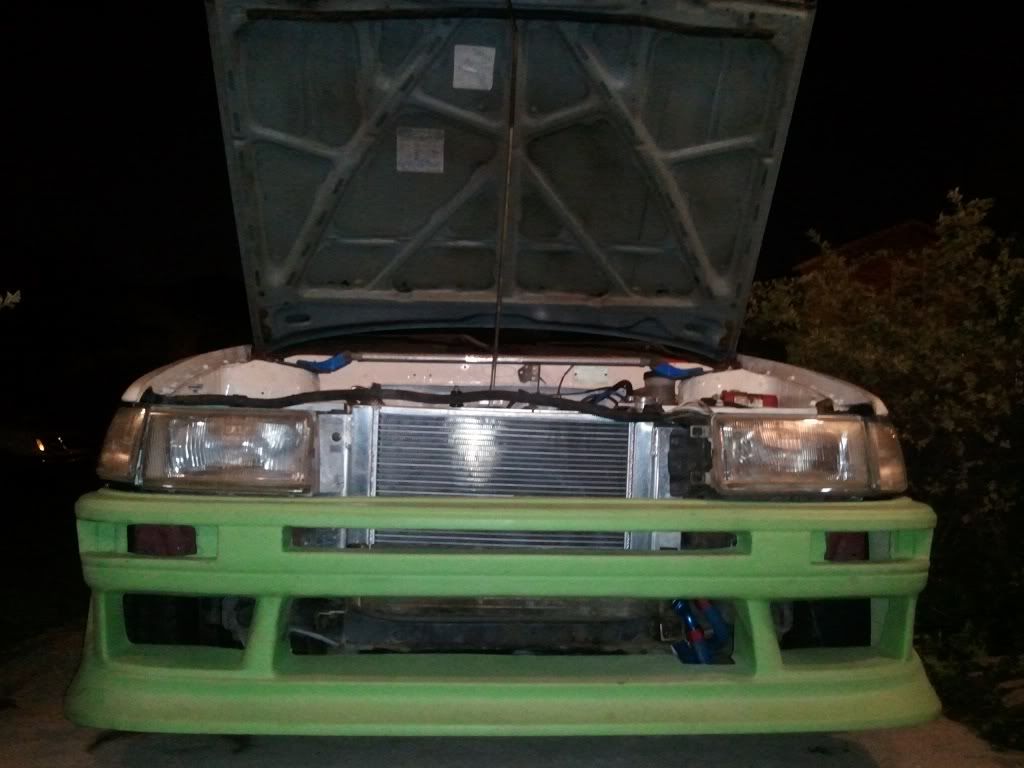
Aero mounted. You rotary guys have some killer affordable rads!


Oil lines ran...


...and cooler mounted.


Then...

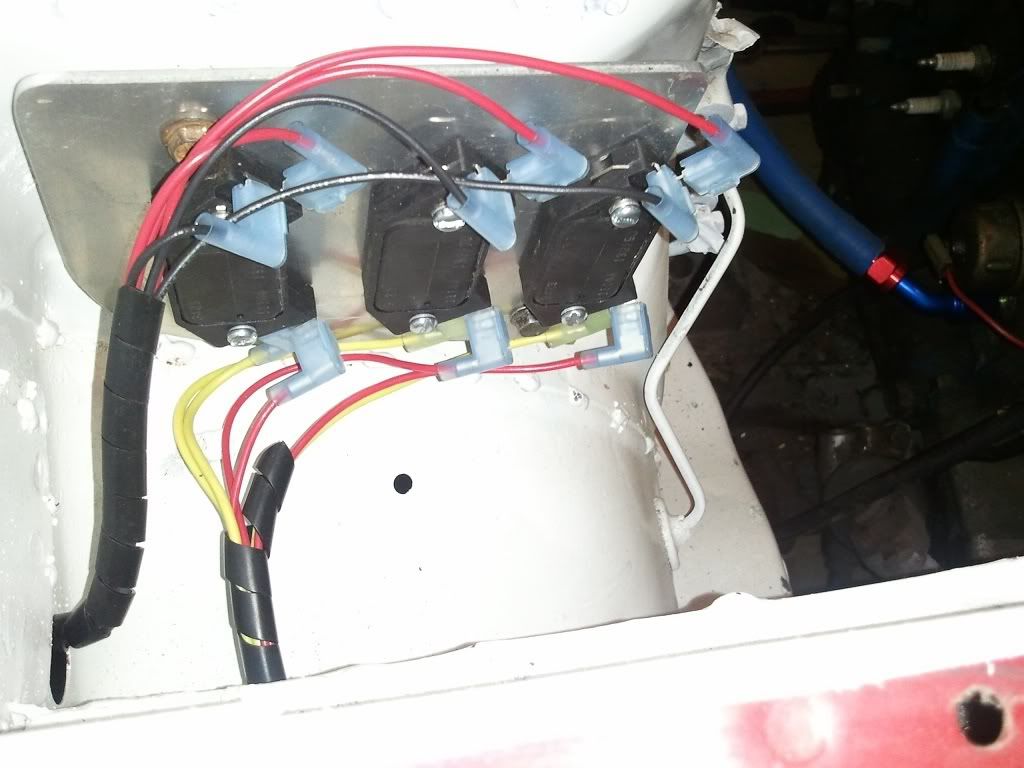
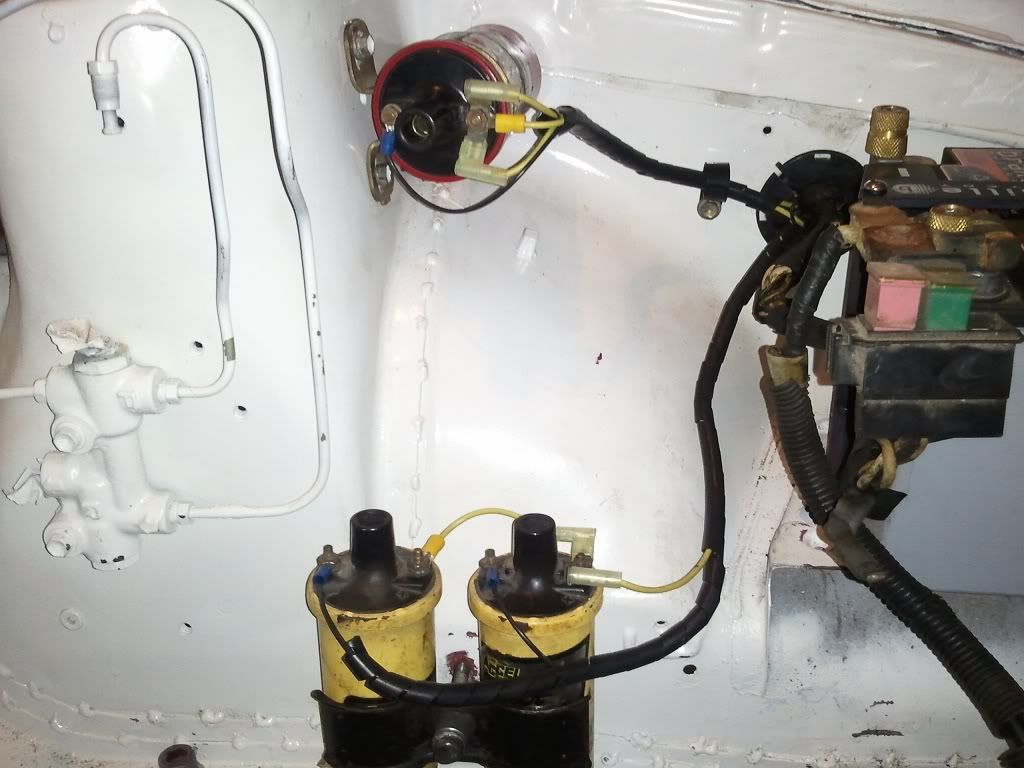
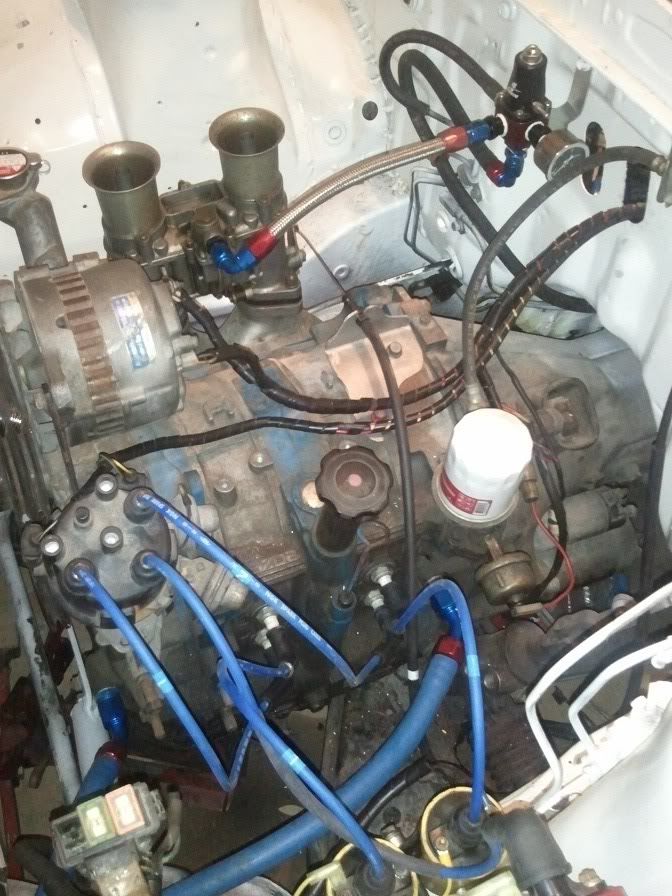
Today, I just finished up the DLIDFIS ignition setup. A big thanks to Rotary Car Club (AND RX7Club to be honest) and especially Master Chief from Tulsa Turbo for the wiring and explanation of how it operates.


GM HEI Modules


2 Accel Coils 1 for each leading plug. 1 to the distributor for the 2 trailing plugs.


The hook ups to the magnetic leads in the distributor. I finished up the alternator wiring into the SR5 harness as well as evidenced in this pic.


Last edited by dr.occa; 12-18-2011 at 09:50 AM.. Reason: Fixed bad link.
dr.occa is offline   Reply With Quote
Old 09-17-2011, 01:02 AM   #2
rx71king
Rotary Fanatic
 
rx71king's Avatar
 
Join Date: Jul 2009
Location: queens ny
iTrader: (0)
Posts: 117
Rep Power: 16
rx71king is on a distinguished road
Default

i like it....the welding looks good to me...
rx71king is offline   Reply With Quote
Old 09-17-2011, 05:20 AM   #3
speedjunkie
RCC Loves Me Not You
 
speedjunkie's Avatar
 
Join Date: Mar 2008
Location: Colorado Springs, CO
iTrader: (1)
Posts: 2,089
Rep Power: 19
speedjunkie is on a distinguished road
Default

You may not like your welding, but at least you're doing it yourself. Truly home-built.
speedjunkie is offline   Reply With Quote
Old 09-17-2011, 02:40 PM   #4
WE3RX7
RCC Addict
 
Join Date: Feb 2008
Location: VA
iTrader: (1)
Posts: 1,812
Rep Power: 18
WE3RX7 is on a distinguished road
Default

Nice. This is the 2nd AE rotary powered project to come across this board... I'm liking what I'm seeing so far.

Good luck man... and bonus for doing most of it yourself!
WE3RX7 is offline   Reply With Quote
Old 09-24-2011, 09:53 PM   #5
dr.occa
Rotary Fan in Training
 
Join Date: Mar 2011
iTrader: (2)
Posts: 73
Rep Power: 14
dr.occa is on a distinguished road
Default

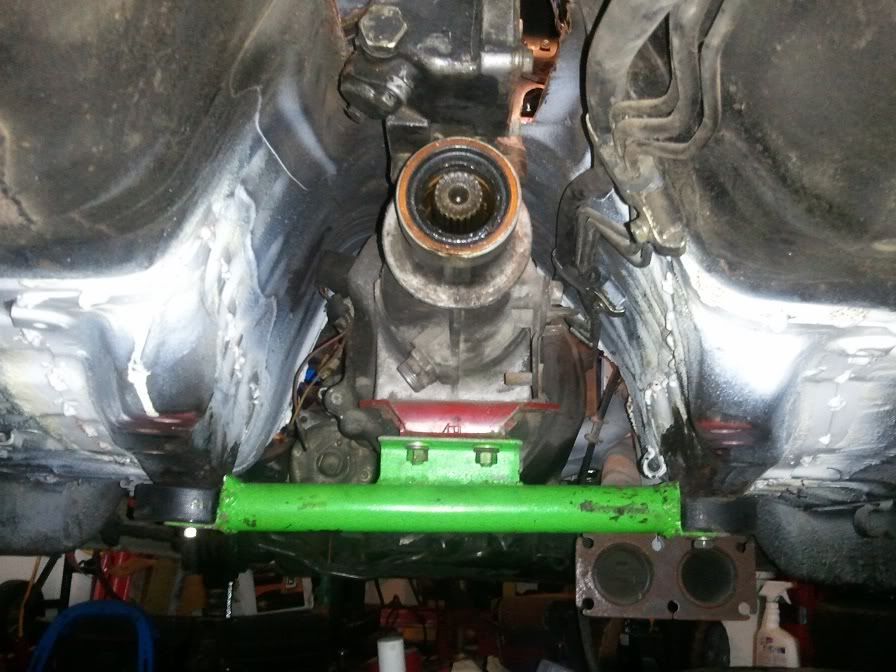
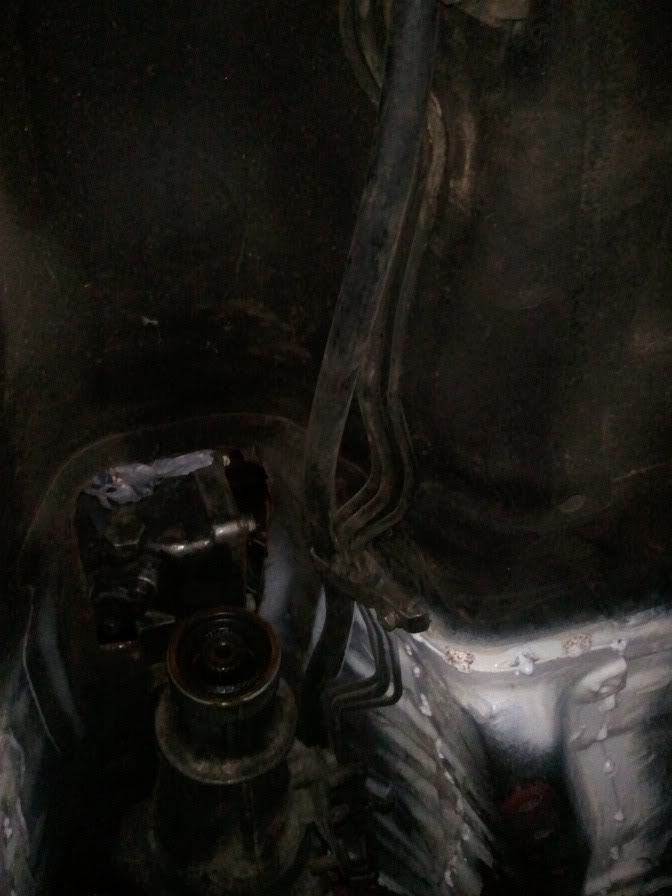
How the trans sits down under:

Hockey puck pieces drilled.


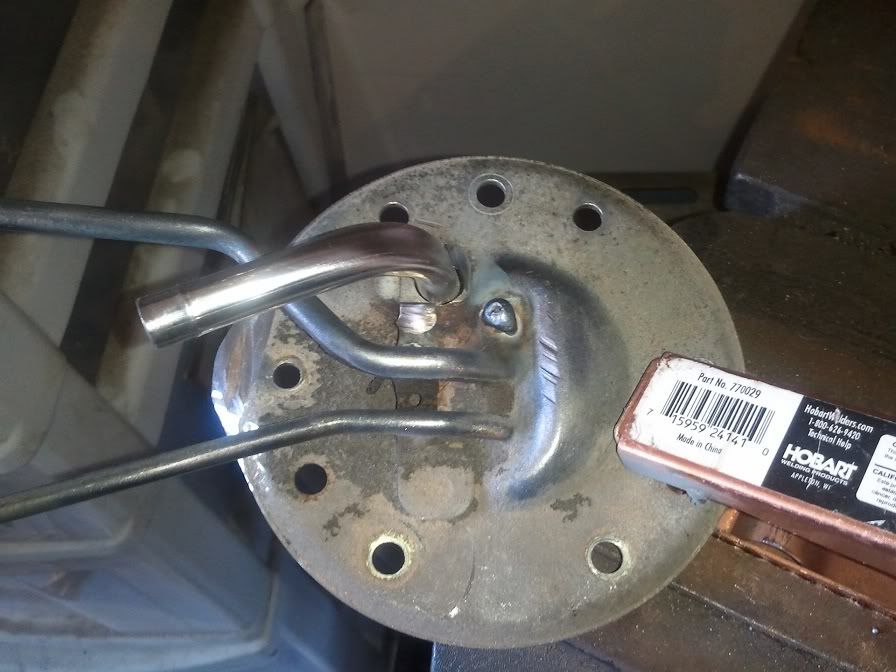
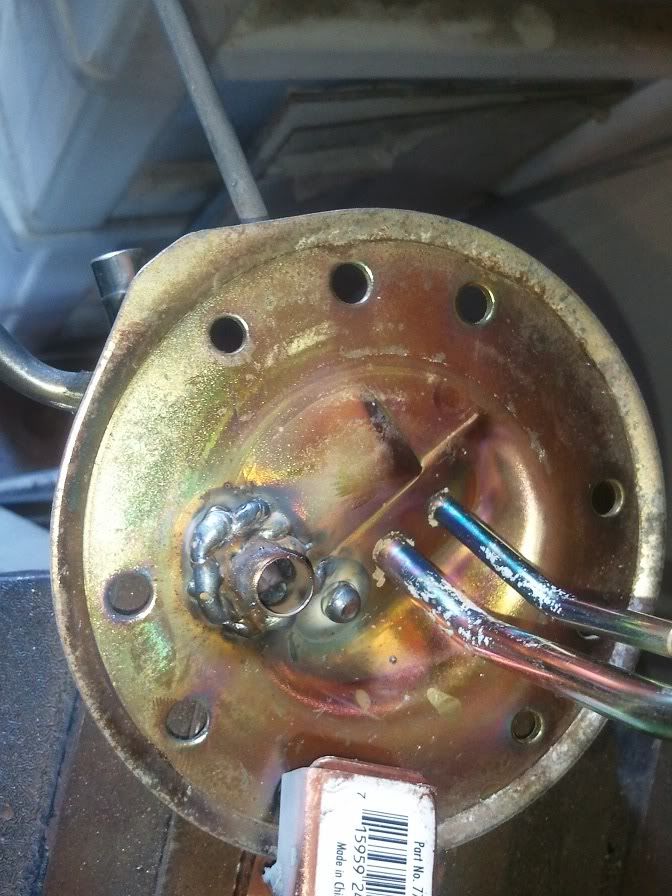
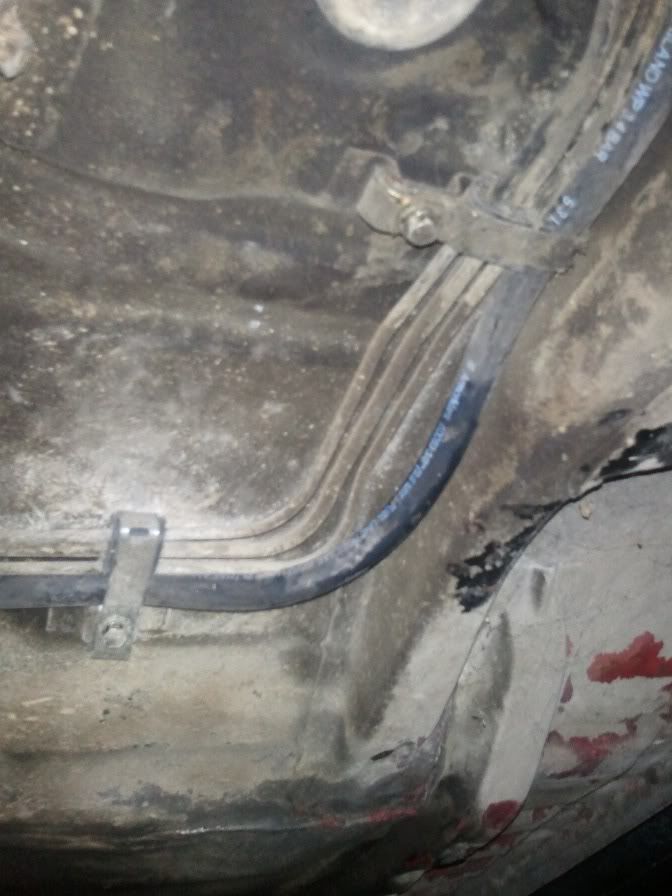
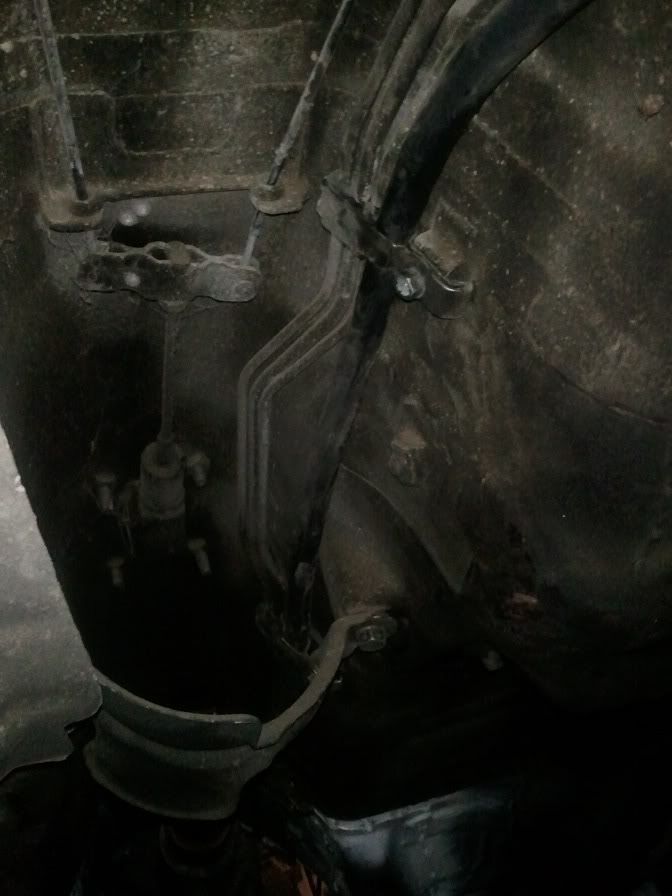
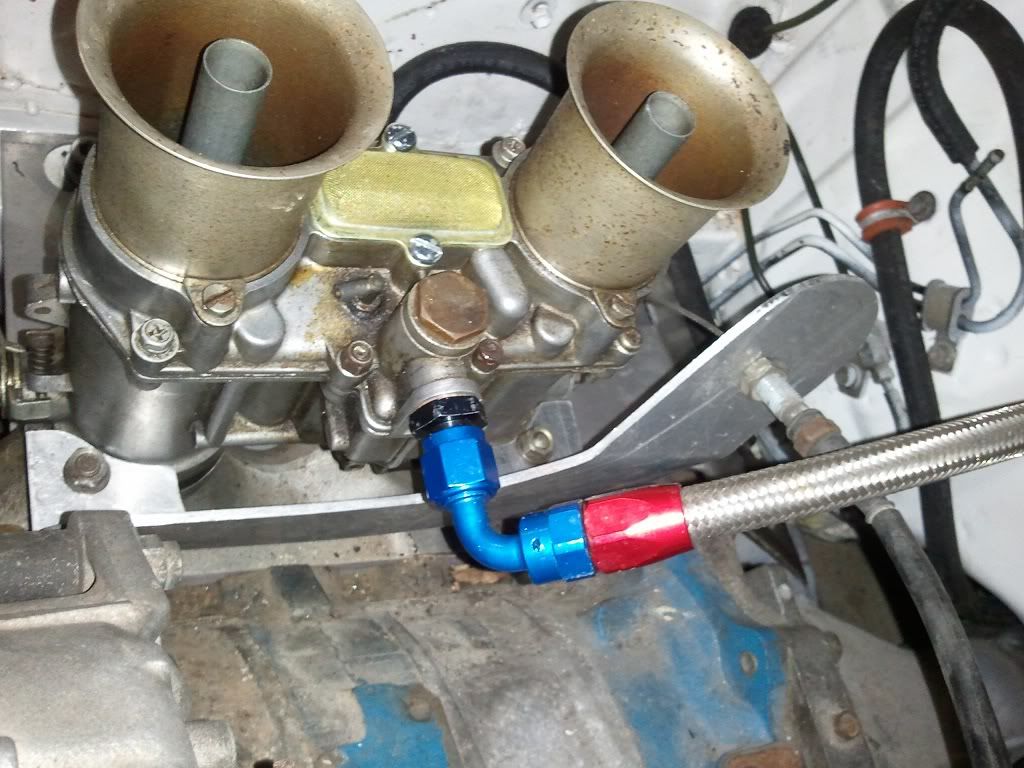
Today, I drilled out the original fuel return hard line on the tank cap and welded in a 3/8 stainless 90 degree. Pardon the welds.


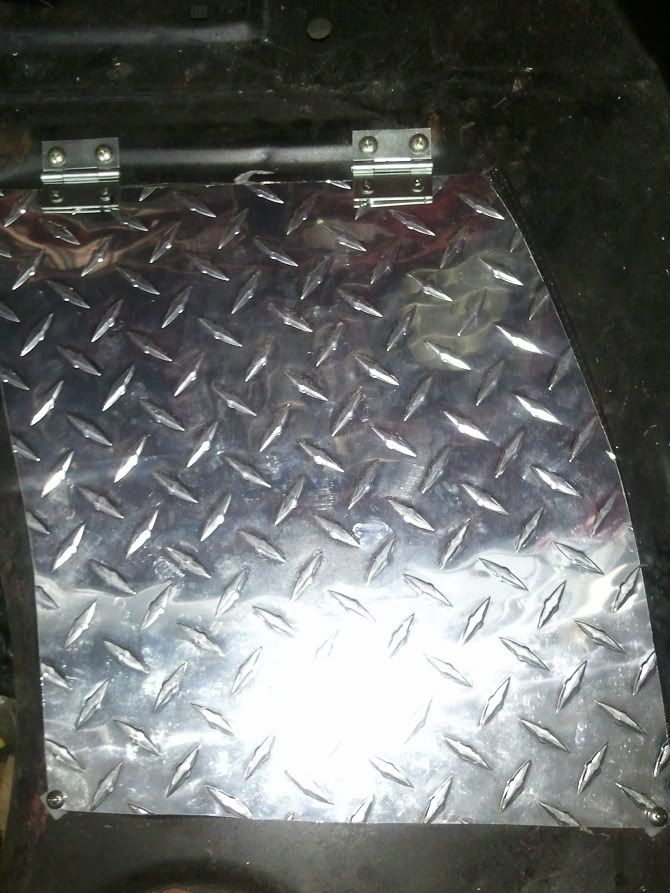
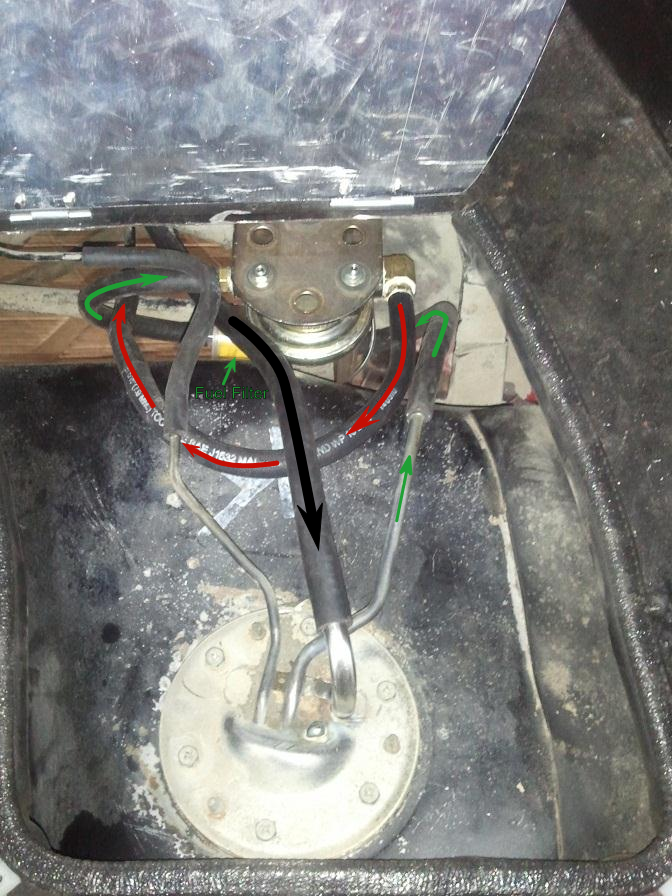
Running a Carter 4070 under my custom port-a-potty toilet lid:


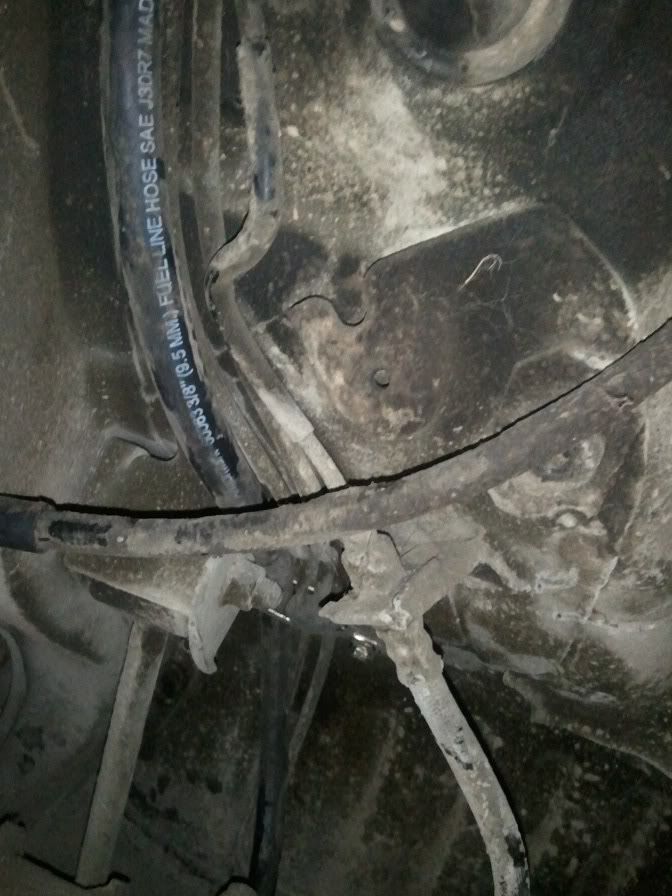
3/8 fuel return routed:


dr.occa is offline   Reply With Quote
Old 09-27-2011, 03:52 AM   #6
DriFD3S
Rotary Fanatic
 
DriFD3S's Avatar
 
Join Date: Jan 2009
Location: Edmonton, AB, Canada
iTrader: (0)
Posts: 174
Rep Power: 0
DriFD3S is on a distinguished road
Default

That's a wicked cool build man! Good Luck! if I lived anywhere near you,
I would be honored to assist you with your labors, for car love.
DriFD3S is offline   Reply With Quote
Old 11-24-2011, 09:03 PM   #7
dr.occa
Rotary Fan in Training
 
Join Date: Mar 2011
iTrader: (2)
Posts: 73
Rep Power: 14
dr.occa is on a distinguished road
Default

Progress:

Some shots of when I was installing the mini-spool:


Here I've got the diff already out of the carrier and the ring gear and side gears & pin removed.


Here's the differential with the mini spool snuggly entombed in it ready to do what it was born to do: THRILL!!!


We'll have to see how the stock SR5 axles hold up to the "throttling" they're about to get .


BC Racing rear springs


AJPS adjustable rear spring perches


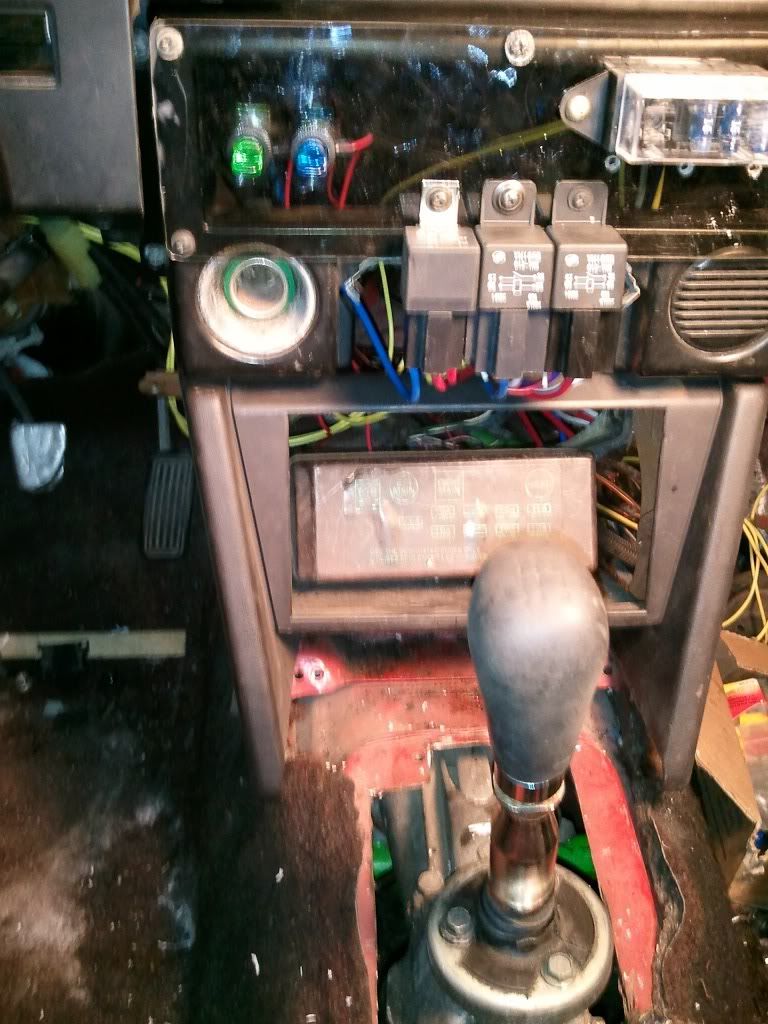
Fuel pump and fan relay & switches


Fans and shroud mounted, wired up and running


Updated furnace shot


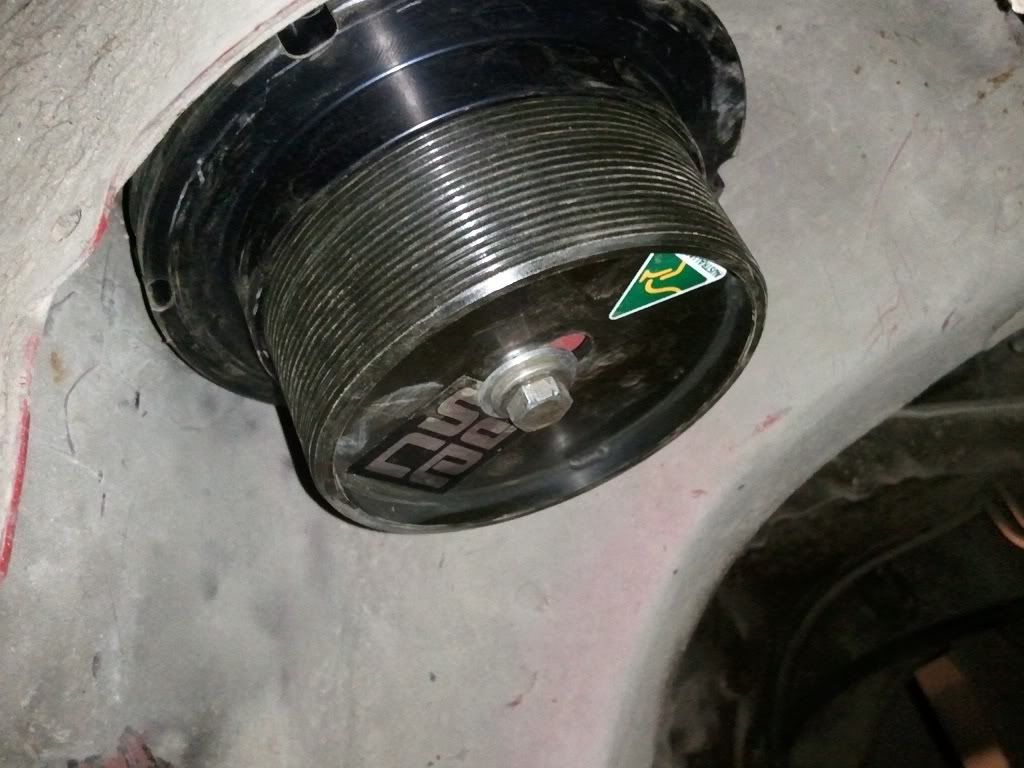
SR5 driveshaft (lengthened by an inch) slips perfectly into the RX7 transfer case

The I.D. and spline count of the split yoke are identical - 20:2 spline count.

Complete SR5 factory rear end. I installed a mini-spool into the rear end.
dr.occa is offline   Reply With Quote
Old 11-24-2011, 09:19 PM   #8
dabranco
Rotary Fan in Training
 
Join Date: Nov 2011
iTrader: (1)
Posts: 47
Rep Power: 0
dabranco is on a distinguished road
Default

Looks nice man, keep up the good work when you get a chance get a better welder and just go over your old welds for a good safety measure.
dabranco is offline   Reply With Quote
Old 12-18-2011, 09:33 AM   #9
dr.occa
Rotary Fan in Training
 
Join Date: Mar 2011
iTrader: (2)
Posts: 73
Rep Power: 14
dr.occa is on a distinguished road
Default


Finally got it to turn over with a can of starter fluid and 2 ounces of Valvoline VR1 20w50 down the carb throats.

Needed it to idle for a while to get some Alumaseal in the cooling system with some water. There's a good chance there's a coolant leak in the rear housing. Kentetsu from RX7Club.com had a similar issue and reported nothing but success in solving his problem with some Alumaseal.

I think I just gave myself cancer and went deaf all at the same time though.

Oh! And turn down your volume too before you play the video. You'll die if you don't.

Last edited by dr.occa; 12-18-2011 at 03:13 PM..
dr.occa is offline   Reply With Quote
Old 12-18-2011, 10:34 AM   #10
WE3RX7
RCC Addict
 
Join Date: Feb 2008
Location: VA
iTrader: (1)
Posts: 1,812
Rep Power: 18
WE3RX7 is on a distinguished road
Default

The video is set as private so it wont play for anybody until you switch it to public. Have fun on the rebuild for the sealant, lol...
WE3RX7 is offline   Reply With Quote
Old 12-22-2011, 10:43 PM   #11
prrex4ever
Rotary Fanatic
 
prrex4ever's Avatar
 
Join Date: Oct 2008
iTrader: (1)
Posts: 274
Rep Power: 17
prrex4ever is on a distinguished road
Default

Nice build, good luck with your project.
prrex4ever is offline   Reply With Quote
Old 12-23-2011, 07:37 AM   #12
1twistedrx7
Rotary Fanatic
 
1twistedrx7's Avatar
 
Join Date: Feb 2008
iTrader: (11)
Posts: 411
Rep Power: 0
1twistedrx7 is an unknown quantity at this point
Default

cool project !
__________________
Rotary Performance Motors(DGRRXI)sponsor
2011 RPM sale complete rebuilt your choice ported or bridge port short block W/RA seals 2300 no core required plus shipping. we now offer powder coating!


93 mb touring patring out sold!
93 vr touring sold
93vr died violently
93 ssm touring sold
93 black 20b project and a lot of money!
underestimated !!


http://rotorfest.lefora.com
1twistedrx7 is offline   Reply With Quote
Old 01-26-2012, 11:24 PM   #13
dr.occa
Rotary Fan in Training
 
Join Date: Mar 2011
iTrader: (2)
Posts: 73
Rep Power: 14
dr.occa is on a distinguished road
Default

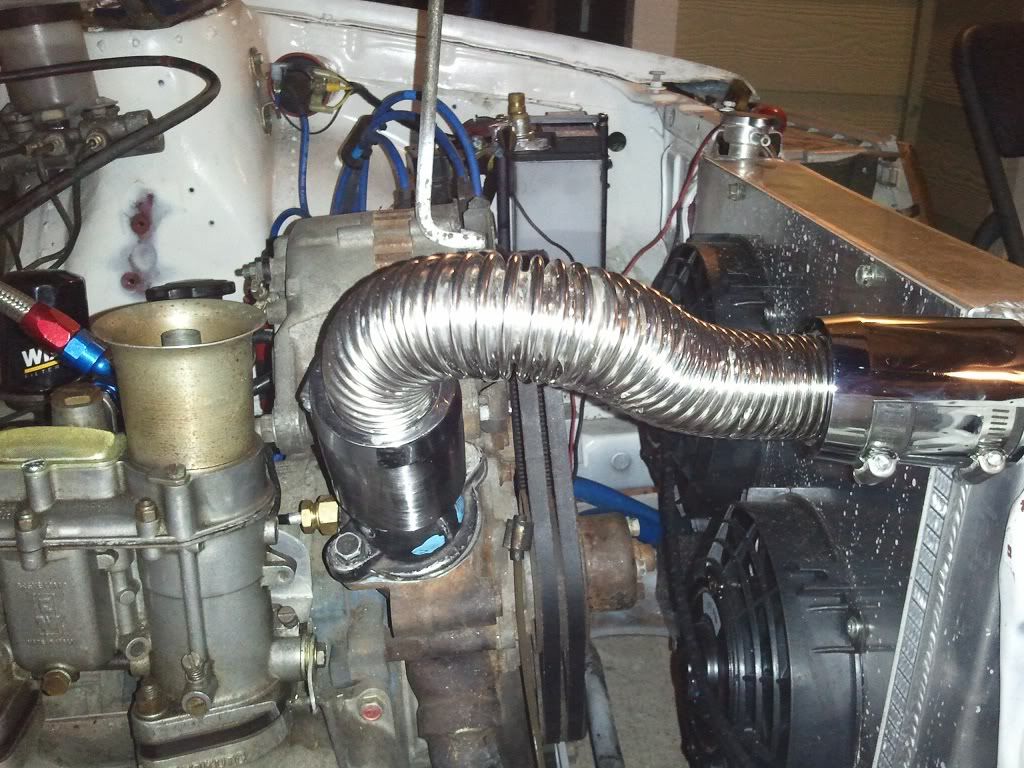
Fabbed up a heat shield to keep the heat away from the intake, carb and any fuel lines.
I didn't have enough of a single piece of aluminum to make the seamless shield per my design so I riveted another piece to complete it.


dr.occa is offline   Reply With Quote
Old 01-30-2012, 10:54 AM   #14
dr.occa
Rotary Fan in Training
 
Join Date: Mar 2011
iTrader: (2)
Posts: 73
Rep Power: 14
dr.occa is on a distinguished road
Default

I picked up an S13 throttle/accelerator cable on a single trip to the yard this weekend. It was considerably shorter than the Tercel cable I was originally running but longer and more closer to an ideal length than the original SR5 cable. I ended up having to fab up a new cable stay out my dwindling scrap aluminum. With all the aluminum dust I'm sponging up I'm well on my way to the Alzheimer Carnival. Here's the outcome of one of many misadventures to ultimate memory loss island:


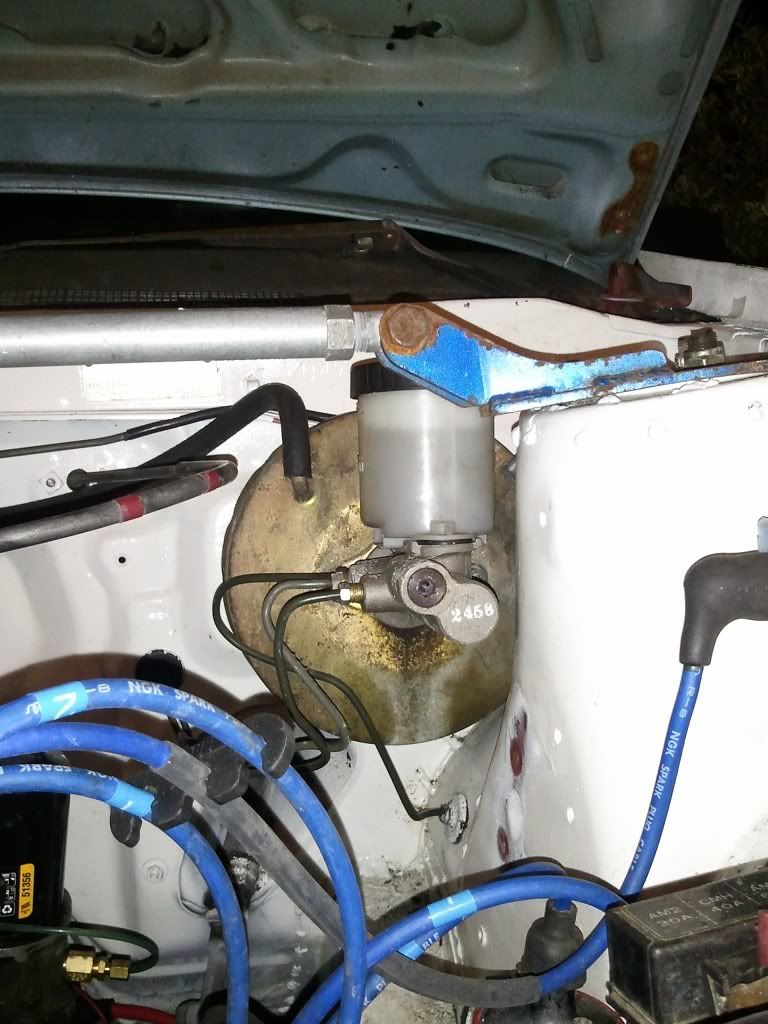
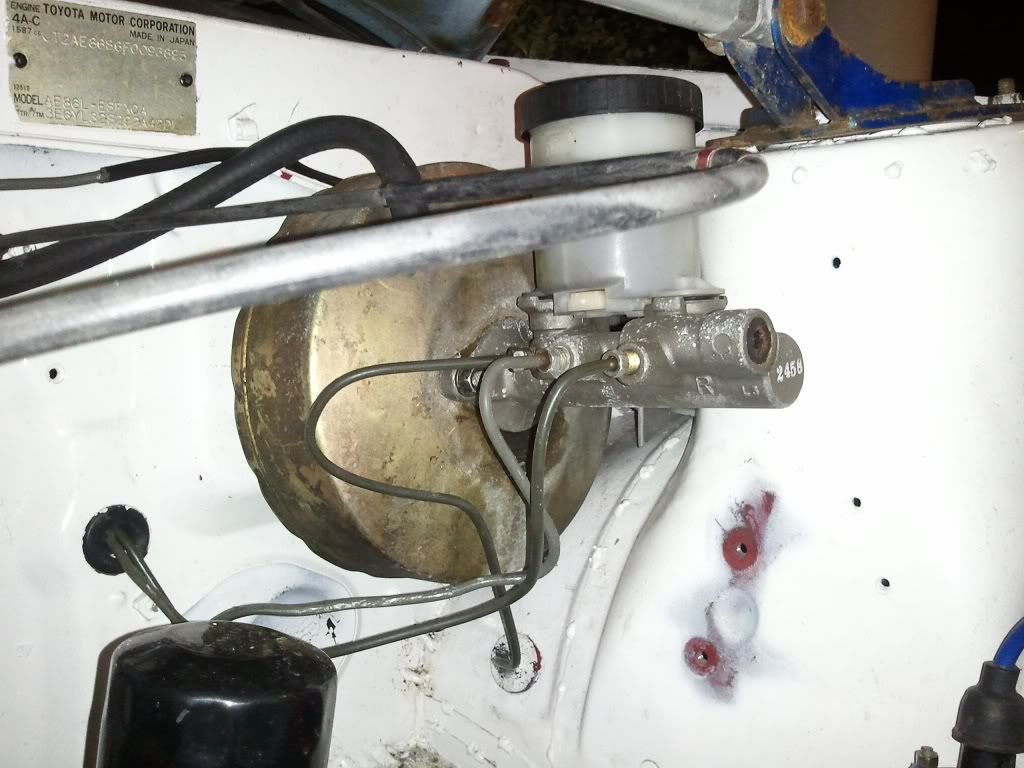
Another piece I borrowed from the S13 chassis is the slightly larger bore BMC with built-in proportioner:


and


Yet another non-native puzzle piece is the thermostat water neck pulled from an 87 Ford Ranger. The one that originally came with this 12A was longer and had a coolant cap on it. If you look in the background my radiator already has a cap. I wanted one less point of pressure leak hence my "solution". Also the length and the angle at which the outlet was facing created more of a severe turn in the upper coolant hose. I was able to greatly reduce the radius and length of the hose with the new thermostat neck. I just had to bore out the mounting points equally to get them to line up. Really easy fix. Ok, too much yap: here.


I ran a new batch of coolant through her along with a bottle of alum-a-seal since I had some "suffocation" issues with the last attempt. Idled the car for about 30 minutes at 7pm. Though the car was just idling, the heat shield for the intake area is working fabulously so far. Idle is at 1400-1600. I'm sure my neighbors were thinking daggers though. What do you think: am I a turd neighbor?

A funny note: as I was recording me blipping the throttle the last "shove" took out one of my outdoor garage lights. Not only were my ears assaulted, my eyes had a little magic show too.

Exhaust wise: still just the Racing beat header and that's it.

Last edited by dr.occa; 01-30-2012 at 11:12 AM..
dr.occa is offline   Reply With Quote
Old 03-16-2012, 02:52 PM   #15
dr.occa
Rotary Fan in Training
 
Join Date: Mar 2011
iTrader: (2)
Posts: 73
Rep Power: 14
dr.occa is on a distinguished road
Default

Rebuilt the 48 IDA and it's looking better.

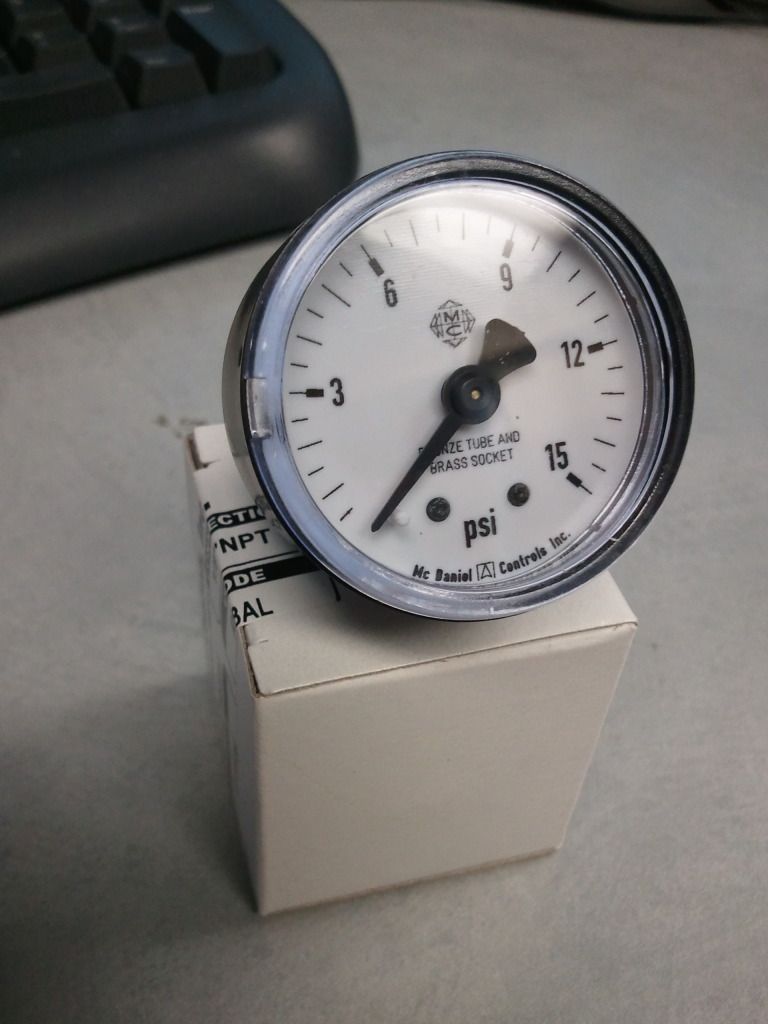
Picked up a McDaniel Control 1.5" 1/8"npt 0-15psi gauge.


Even though it isn't glycerin filled, I figured this would be better than a cheap-o Chinese one.

I've got a 2" McDaniel all steal gauge with glass face 0-10psi but it's too bulky to keep attached to the lines. It sticks out way too much with the snubber and 1/8" adapter.
dr.occa is offline   Reply With Quote
Reply

Bookmarks

Tags
12a, ae86, dlidfis, dr.occa


Posting Rules
You may not post new threads
You may not post replies
You may not post attachments
You may not edit your posts

BB code is On
Smilies are On
[IMG] code is On
HTML code is Off

Forum Jump


All times are GMT -5. The time now is 10:03 PM.


Powered by vBulletin® Version 3.8.4
Copyright ©2000 - 2024, Jelsoft Enterprises Ltd.
Hosted by www.GotPlacement.com
Ad Management by RedTyger