|
|||||||


| Show your rotary car build up. Show off your Rotary Car build! |
|
|
Thread Tools | Display Modes |
|
|||||||
| Show your rotary car build up. Show off your Rotary Car build! |
|
|
Thread Tools | Display Modes |
 05-09-2015, 09:46 PM
|
#1 |
|
Professional Stick Poker

Join Date: Feb 2011
Location: Stafford, Ks.
Posts: 1,018
Rep Power: 16  |
MG Midget Madness (i.e. It was either this or kill it with fire)
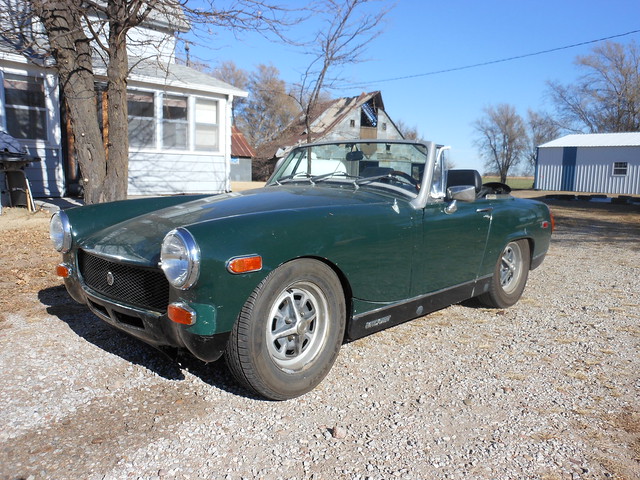 lowered by Kevin Frank, on Flickr lowered by Kevin Frank, on Flickr1975 MG Midget - 1500cc; 4 speed. 1640lbs. with the cast iron engine and trans. For those of you that don't know what kind of an idiot I am, I will give a brief explanation. I bought the above green hair removal tool to get around with until I could get my 79 SA back up. It seemed to only need a few things and I could either do a swap on it later, or fix it and make a little bit of money by selling it. No dice. Every time I fixed one thing something was broken/screwed up that had been hidden away by the previous owner(s), or broke in the process of fixing something else. After about a year of fighting with it non-stop, and putting far too much money in it, (2 engines, 2 transmissions, carb, manifold, ignition, switches, wiring fixes, radiator, lights, etc etc. ad nauseum). I have had enough with the weak kneed, poorly designed and built, crappy 55hp engine and glass transmission (and worse wiring). Time for something infinitely better. I have put quite a bit of work into suspension/interior/exterior so not all the money dumped into it will be wasted. I will be cleaning up the '87 S4 NA 13B and 5 speed that I have and transplant the whole shebang into it. Hopefully I'll be able to retain the fuel injection, but we'll see as I go along. In addition all the wiring will be stripped out of it and either tossed in the trash, or burned in a black Sabbath bonfire to help it on it's way to hell. I will be using the GSL-SE front cover and pan to utilize the front engine mounts. The trickiest part (other than wiring) is going to be building a header, as there isn't a lot of room. More pictures to come as I get stuff done.
__________________
1988 N/A SE 2+2, dead stock and staying that way.  1979 SA22C stock? Not so much. http://rotarycarclub.com/rotary_foru...ad.php?t=15585 Last edited by GySgtFrank; 07-03-2015 at 04:40 PM. |

|
| Bookmarks |
|
|


 Threaded Mode