|
Old School Rotary (Pre-1979) Pre-1979 Discussion including performance modifications and technical support sections |
Welcome to Rotary Car Club. You are currently viewing our boards as a guest which gives you limited access to view most discussions and access our other features. By joining our free community you will have access to post topics, communicate privately with other members (PM), respond to polls, upload content and access many other special features. Registration is fast, simple and absolutely free so please, join our community today! If you have any problems with the registration process or your account login, please contact contact us. |
|
Thread Tools | Display Modes |
04-23-2011, 09:08 PM | #46 |
Rotary Fan in Training
|
Bit of an update, I cleaned up the dash, rust converted and primed the dash frame. Also stripped and repainted the steel cover panel.
Also after finally after getting my TIG back (well they replaced it ) I got around to welding the exhaust probe bung in and shaping the dump pipe to give a bit more clearance for the steering box. Should be able to send it off to get ceramic coated now!
__________________
RX4 coupe 20B conversion http://www.rotarycarclub.com/rotary_...ead.php?t=9884 |
05-28-2011, 04:04 AM | #47 |
Rotary Fan in Training
|
Hey Guys, got my exhaust manifold, dump pipe and turbo exhaust housing back from getting ceramic coated.
The finish is not as smooth as I thought it would be but it looks allright. As long as it holds on an keeps a lot of the heat in. About half way through fabricating the front crossmember so after Monday I will have a break from my studies for 3 weeks so might be able to get a bit more done.
__________________
RX4 coupe 20B conversion http://www.rotarycarclub.com/rotary_...ead.php?t=9884 |
06-05-2011, 02:57 AM | #48 |
Rotary Fan in Training
|
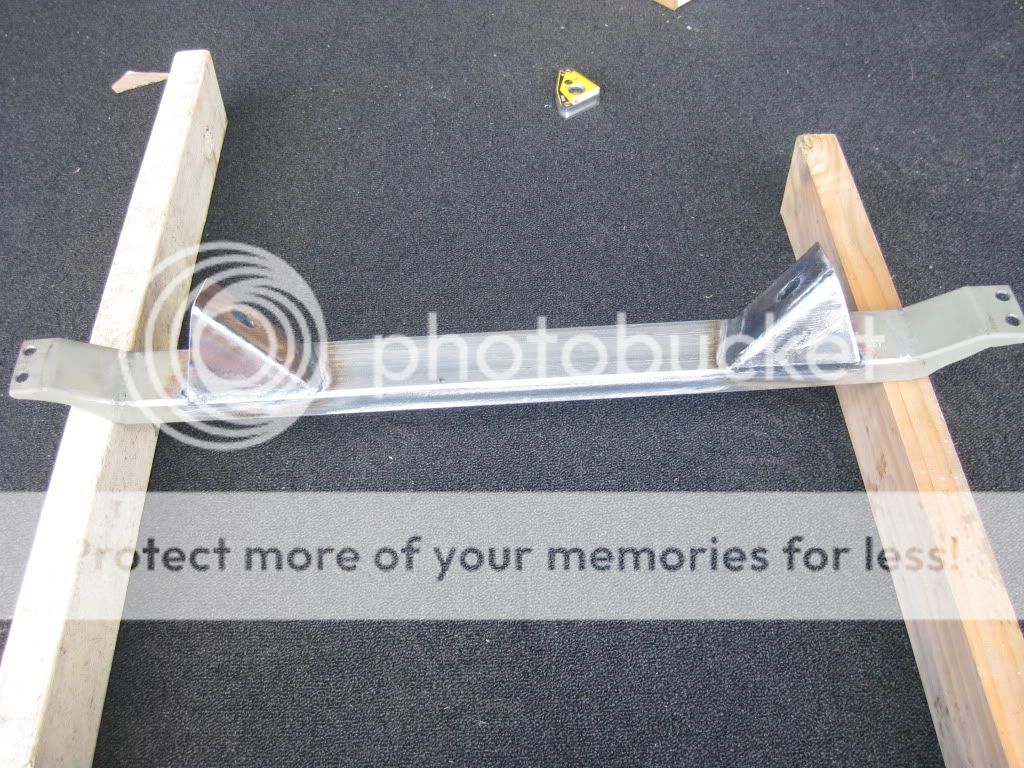
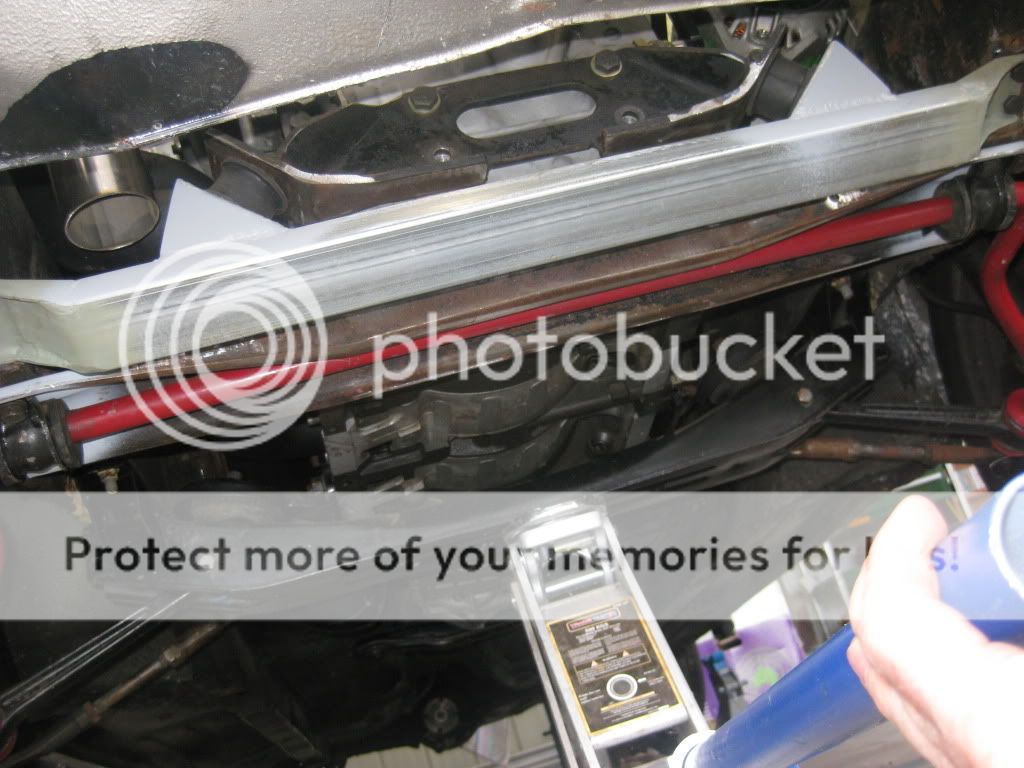
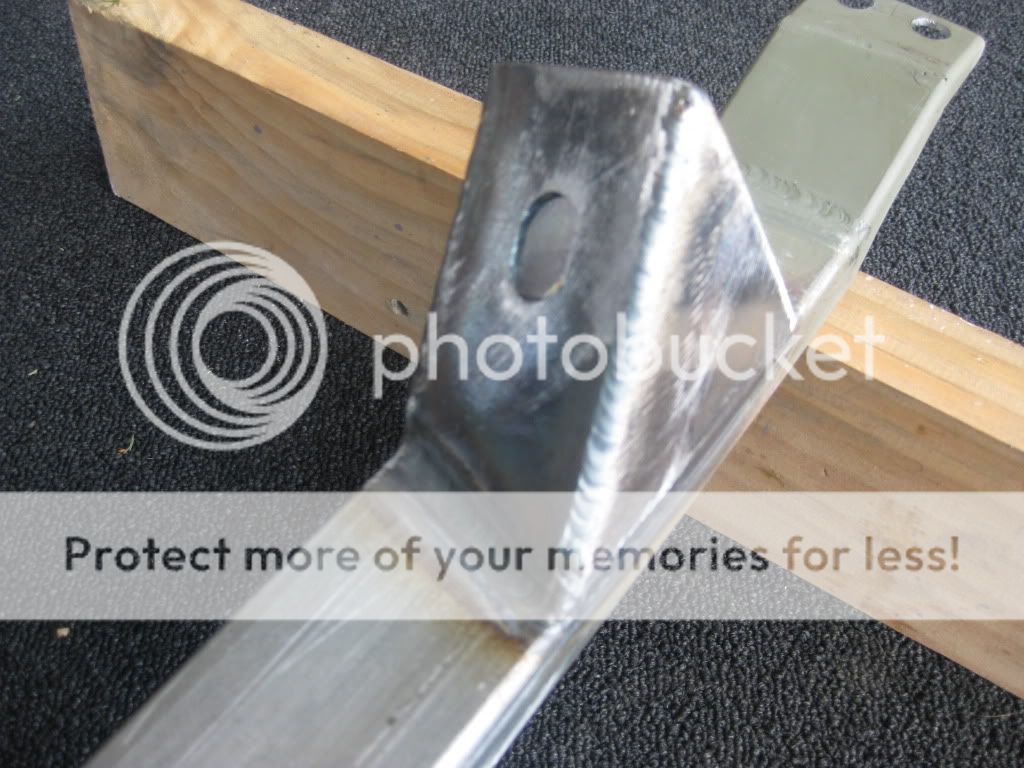
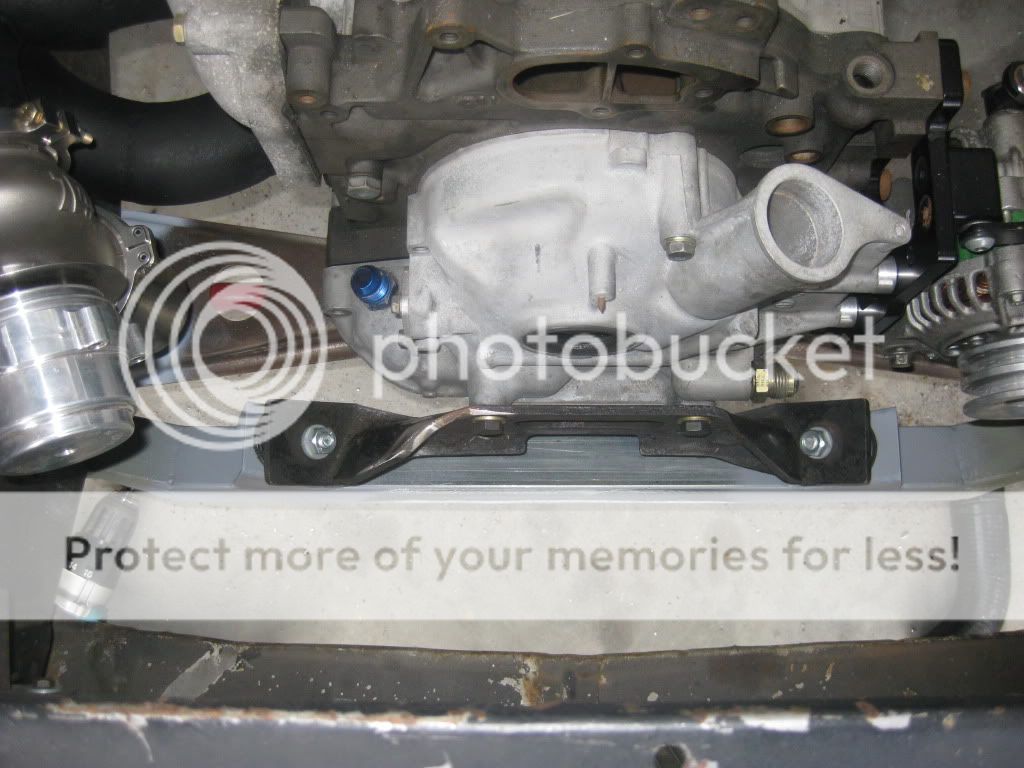
Fabricated the front engine mount crossmember...
Should be able to pull the engine out now and throw a whole lot of money at it . Then start paint stripping the engine bay. The fun begins!
__________________
RX4 coupe 20B conversion http://www.rotarycarclub.com/rotary_...ead.php?t=9884 |
06-05-2011, 11:33 AM | #49 | |
Mod With The Least :P
|
Wow this this is going to be incredible.
__________________
Resident Post Whore Polluting the environment one revolution at a time. www.tennspeed.net Quote:
|
|
06-17-2011, 01:35 AM | #50 |
Rotary Fan in Training
|
Pulled the engine out ready to strip the engine bay.
Couldn't help myself and made up and engine stand with some scrap steel I had laying about.
__________________
RX4 coupe 20B conversion http://www.rotarycarclub.com/rotary_...ead.php?t=9884 |
06-19-2011, 03:28 AM | #52 |
Rotary Fan in Training
|
Well as my holiday in Sydney was ruined before it even started by the bastard ash cloud, I did get a bit done on the Mazda.
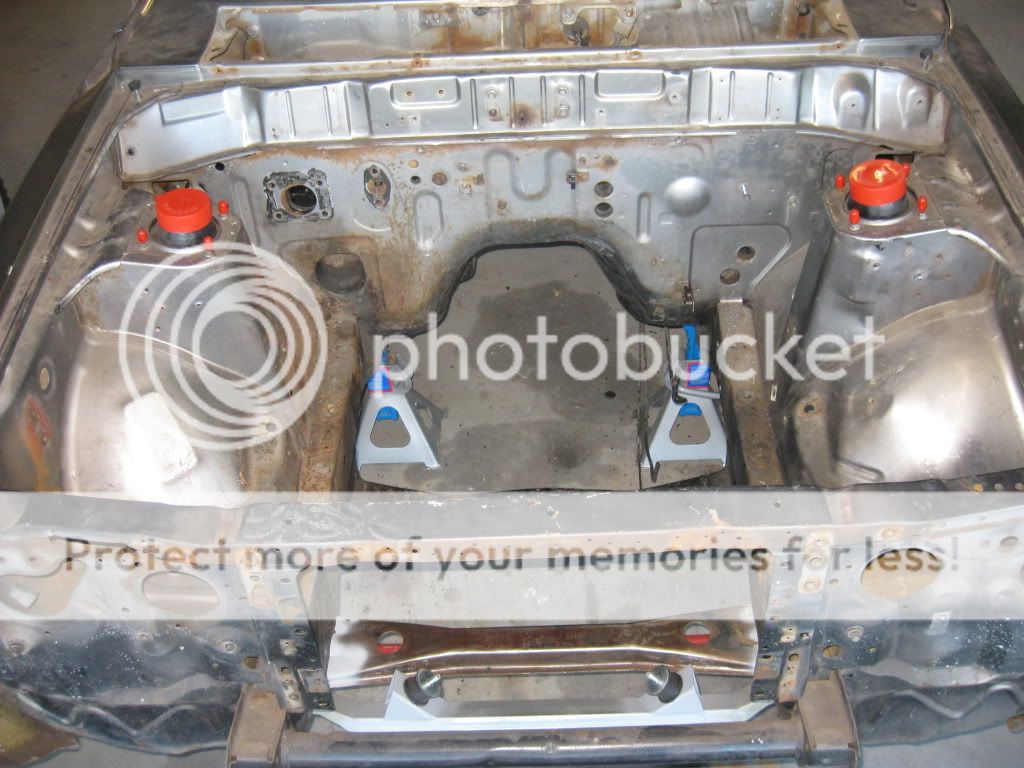
Removed everything from the engine bay. Looked a bit nasty down here. After a coat of paint stripper came to this. Note how this side was a different colour. Must have taken a hit once upon a time and replaced. Then got stuck into it with a assortment of wire wheels and finished of with this little beauty. And came up like this. A bit of damage on the chassis rail probably when the inner guard was replaced. Now will throw a bit of rust converted around and finish the front panel. Also when I removed the front guards found this but I will leave this for another time.
__________________
RX4 coupe 20B conversion http://www.rotarycarclub.com/rotary_...ead.php?t=9884 |
06-19-2011, 07:57 AM | #53 |
I've been Wankeled!
|
Those front corners are a common spot for rust. I had to replace mine as well. They actually aren't hard to replace. Just takes some time, a welder, and a BFH.
__________________
1976 Rx-4 hardtop. Half bridge 3B 13B, S5 NA rotors, Renesis e-shaft, stat gears, and bearings, balanced rotating assembly, RE dual weber 36 DCD's 203rwhp 137ft-lbs torque DGRR 2011 3rd place 1974 Rx-4 all original 27,000 miles 1988 Rx-7 TII 320rwhp. DGRR 2012 3rd place |
07-08-2011, 05:46 PM | #55 |
Rawr Bearclaw
|
Very nice!
__________________
Illicit Performance Rotary building, porting, tuning, chassis dyno services www.illicitperformance.com |
10-03-2011, 06:14 AM | #56 |
Rotary Fanatic
|
keep up the awesome work! Looks amazing!!
__________________
Live the DriFD3S or die trying. JDM True Story. the Vacuum line, to my MAP became detached while I was legally drifting. my engine would not rev past 2500, and idled from 300-650 and was stalling. Fortunately, I acquired a Zip-Tie. I fixed a catastrophic engine failure, With a Zip-Tie. JDM FTW. |
10-05-2011, 11:45 PM | #57 |
Rotary Fanatic
|
awesome
well to start the build is awesome so far , i have a 73 rx2 2 door with a turbo and i have a couple questions ,1 i have an s5 trans also, how do you do the shortened shifter housing mod and 2 how do those pwr heat exchangers work compaired to a normal intercooler ?and how good are they for street use (daily driving) ?
|
11-16-2011, 05:28 AM | #58 | |
Rotary Fan in Training
|
Quote:
remove the gearstick take the cover off the side of the extension housing, and withdraw the grub screw that holds the shifter cup socket to the inner selection rod remove the shifter assembly from the back of the box ( undo the bolts holding it to the rear of the box ) remove the outer tube.. ( it should pull out with rubber seal on the end ) the shifter assembly will have several sets of bolt holes which attach it to the box the idea is to cut away from this extension housing the entire front set of holes and move the entire shifter assembly forwards onto the next set of holes ( everything moves forward one set of holes as the front pair are cut off just forward of the next set of holes ) now, the outer tube need shortening this same amount. ( cant recall the dimensions, its been a while , but its easily measured ) hacksaw will do... now, the inner rod ( that's normally inside the outer tube ) requires this same length removed and a new hole drilled and tapped for the grub screw ( to hold the cup socket which is the bottom of the shifter ) re - assemble..... the shifter should now be over the top of the rear of the box ( and not behind it ) pretty easy to do, not easy to picture without some pics... ( and buggered if i am dragging mine out to take pics ) measure twice, cut once The distance you cut it will be the distance the housing is moved foward, which is in this case the distance between the front and rear hole centers. Hope this helps.
__________________
RX4 coupe 20B conversion http://www.rotarycarclub.com/rotary_...ead.php?t=9884 |
|
09-22-2012, 01:22 AM | #59 |
Rotary Fan in Training
|
Holy Shit! Nearly 12 months since last update.
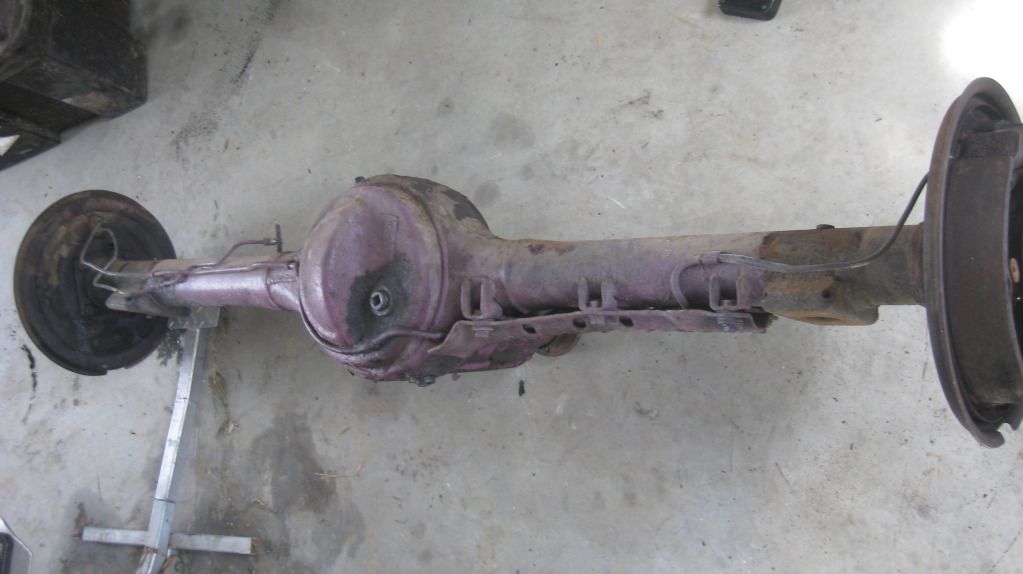
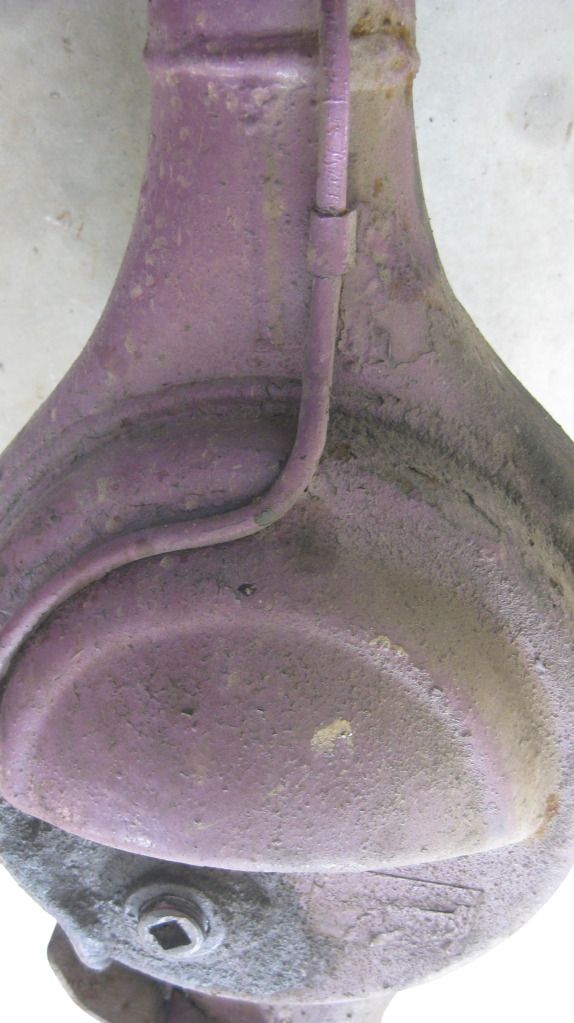
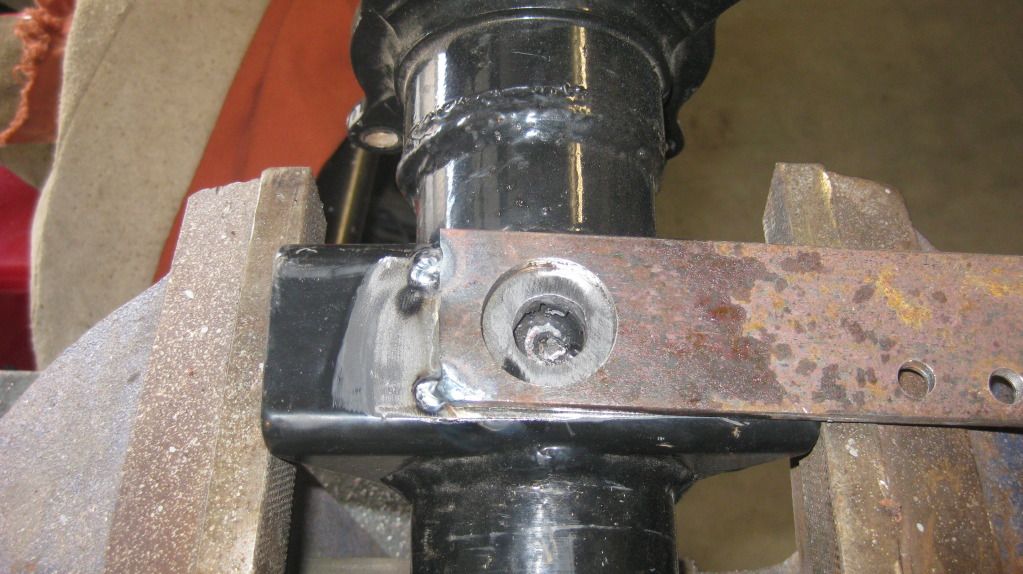
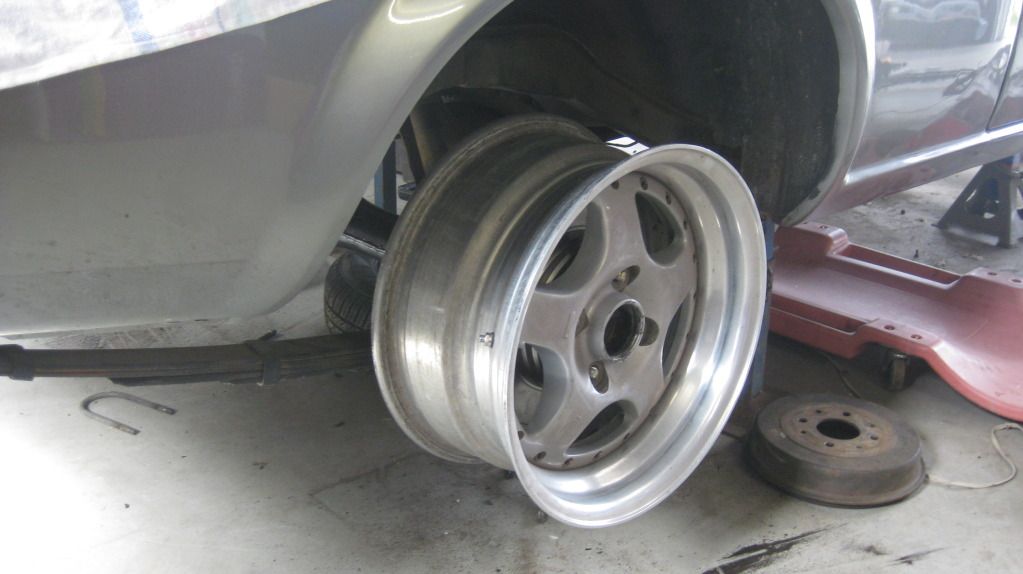
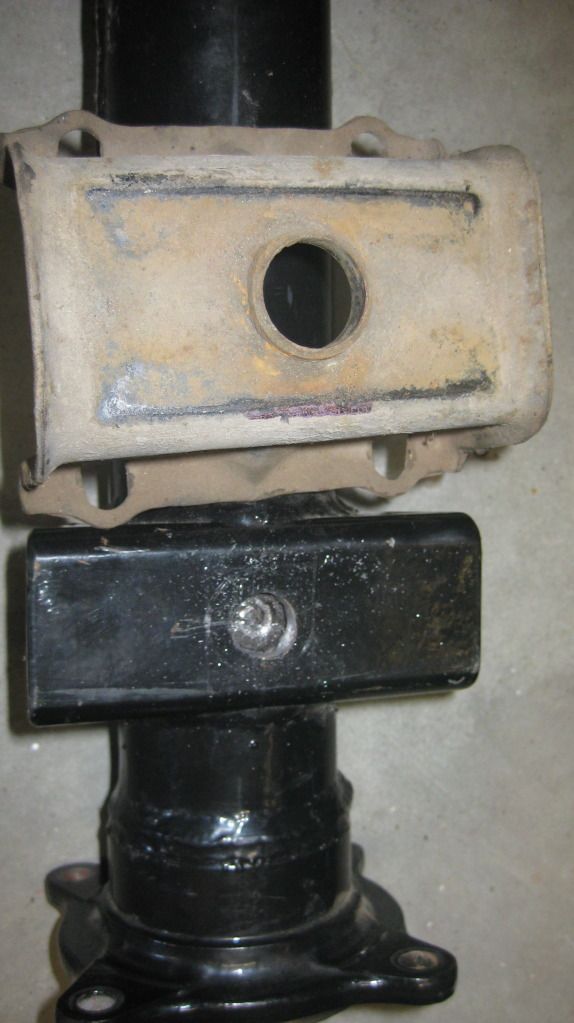
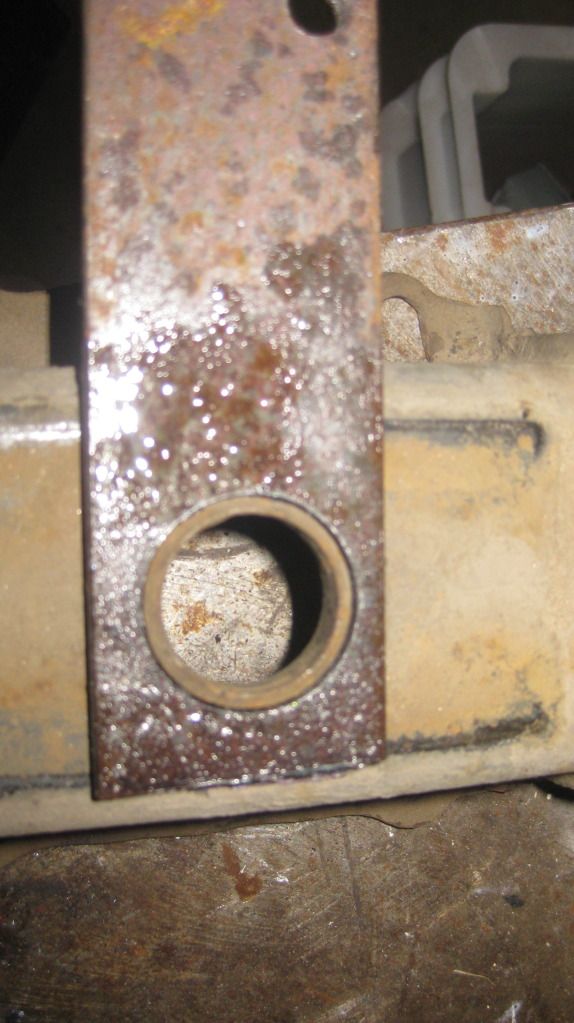
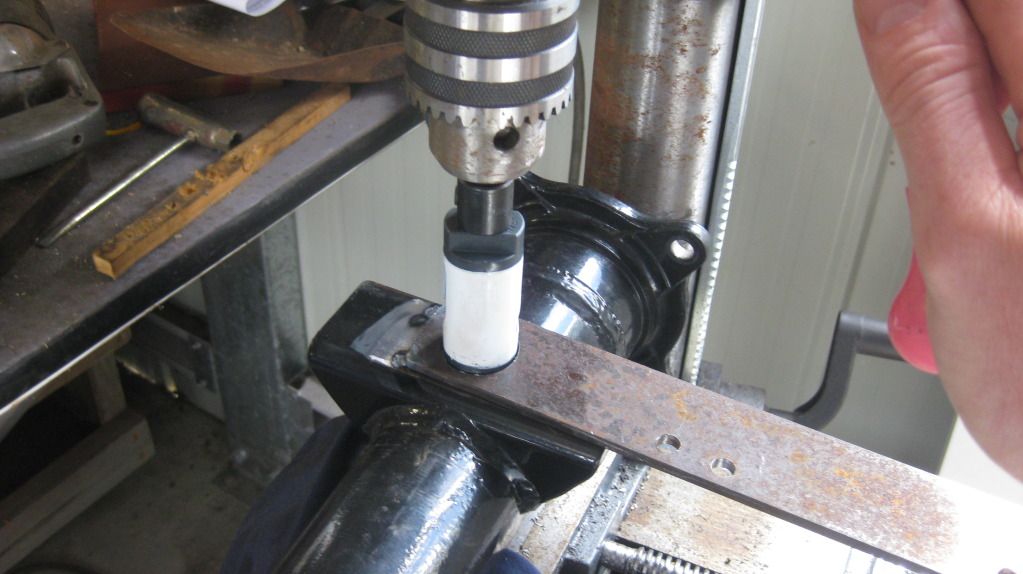
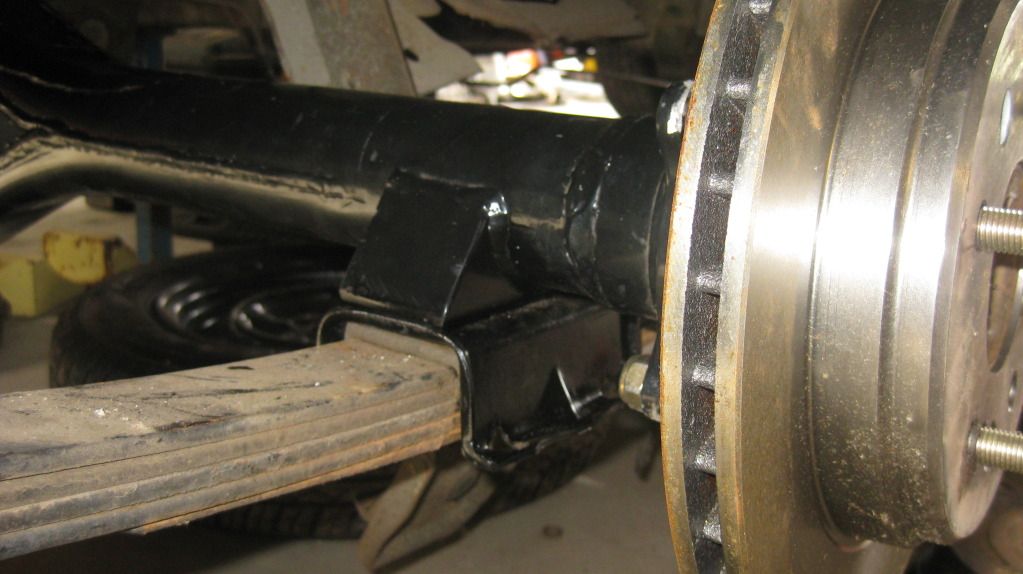
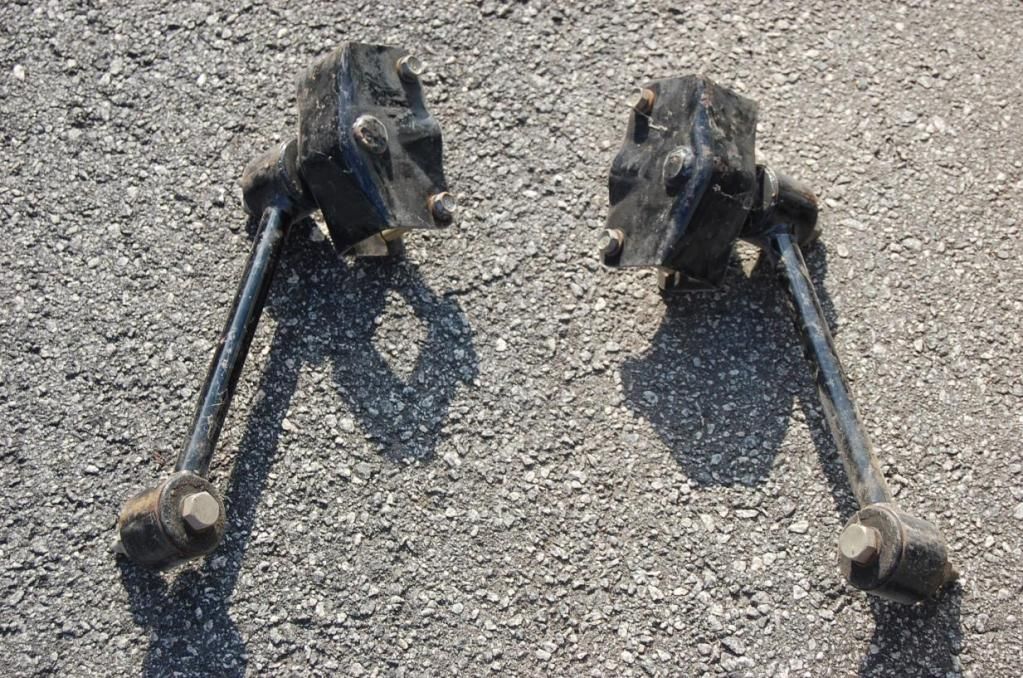
Well I've had a bit on the go with a few home projects, work, family and serious case of CBF at times. In the meantime I purchased a Toyota Hilux diff with the mounts already at the correct width for my RX4 with the axles machined and drilled for 4 x 110 studs and SV RX7 disks. I removed the old diff and as you can see it was painted purple. Only on the rear side and over dirt, grease and grime. I went to test fit the Hilux housing and found the holes used to locate the housing on the spring spigots was too small. :wallbash: So off to the local tool supplier and bought a 29mm hole saw. I cut a hole in a scrap bit of flat bar and then tack welded centrally around the hole on the housing. I took the center drill out of the hole saw arbour and drilled a larger hole in the spring mount. I cleaned the spring saddles and repainted them. Did the same to the otherside then test fitted the housing. Even got to see what my Simmons look like on for the first time. Now I am planning to duplicate the factory diff torque rods and mounts fitted factory to some rare RX4s but with some adjustability.
__________________
RX4 coupe 20B conversion http://www.rotarycarclub.com/rotary_...ead.php?t=9884 |
10-26-2012, 08:28 PM | #60 |
Rotary Fan in Training
|
A bit more progress!
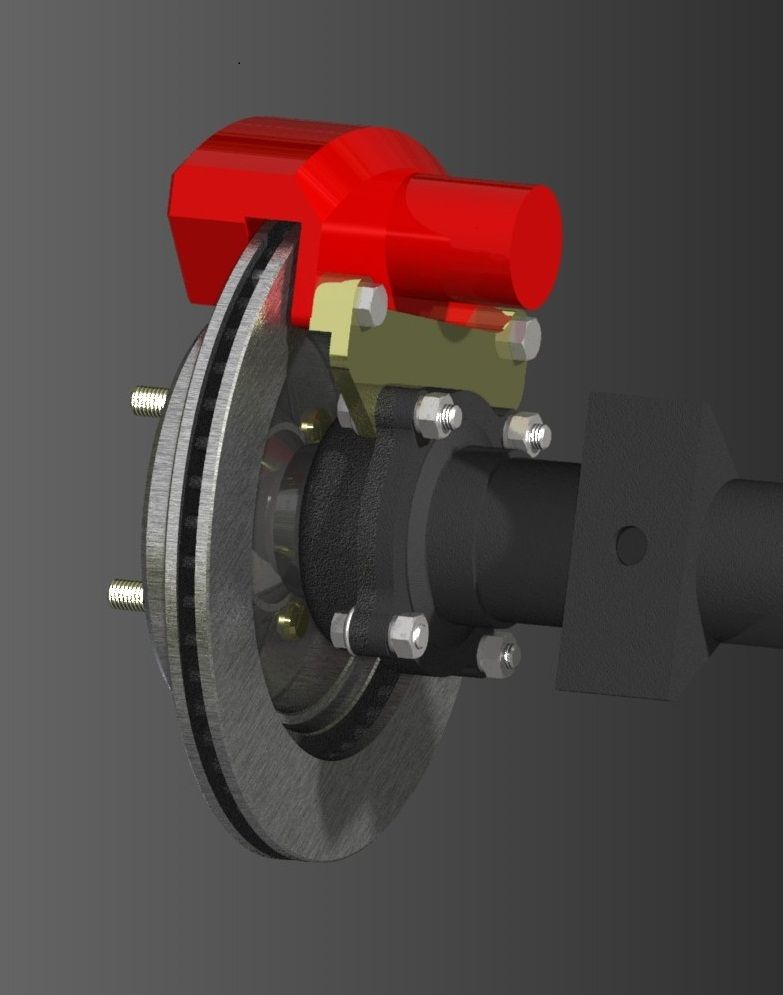
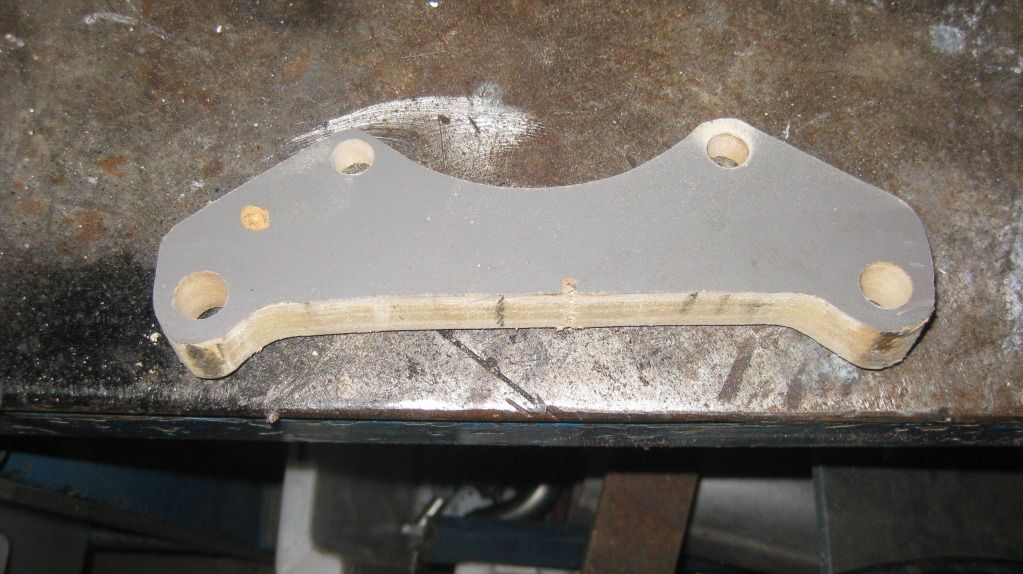
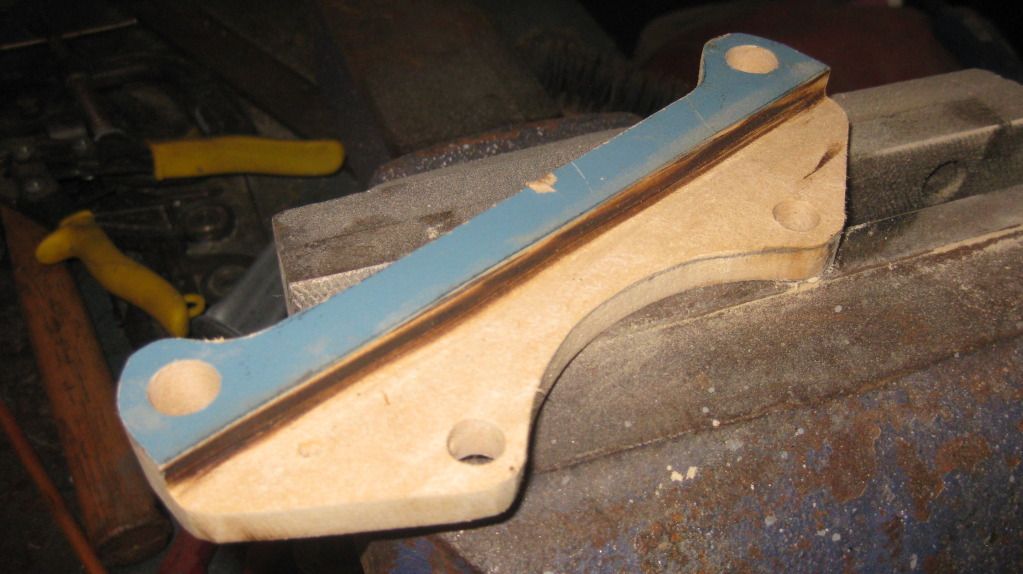
I have made my rear caliper brackets to adapt the RX7 calipers to fit the Toyota Hilux diff housing. First I created a CAD model of the diffhousing, axles, bearing and housing, disk rotor and a rough model of the RX7 caliper. Then I printed a 1 to 1 drawing of the profile an cut it out of MDF. Then ground out the step down. When I was happy with the fit I created a DXF file and had them laser cut and had a mate mill the step into them. And here is one fitted! I also bought some new rubbers that go top and bottom of the leaf springs. Bought almost the last lot that Mazda had left.
__________________
RX4 coupe 20B conversion http://www.rotarycarclub.com/rotary_...ead.php?t=9884 |