|
|||||||
| Show your rotary car build up. Show off your Rotary Car build! |
 |
|
|
Thread Tools | Display Modes |
|
|||||||
| Show your rotary car build up. Show off your Rotary Car build! |
 |
|
|
Thread Tools | Display Modes |
|
|
#31 |
|
Rotary Fanatic
Join Date: Feb 2008
Location: HuntsVEGAS
Posts: 249
Rep Power: 18  |
More Interior Upgrades
Well, on to the most important item in the interior, the steering wheel. I never really cared for the plain stock wheel but didn't like most of the aftermarket wheels either. When I had visited Phil (Herblenny) on numerous occasions, I saw the display of all the steering wheels he had collected over the years and there was one that really caught my eye, an Efini wheel. I quickly dismissed the thought of getting one when he told me how much he had paid for it
 . I'm not a cheap bastard by any means, but there are things that I will put off until "the price is right". Fast forward about 2 year... while checking eBay, I came across the very wheel I would want as a replacement for the bland OEM one. From looking at the pics and the description given, it seemed to be in excellent condition. It was local, meaning no over-seas shipping cost, and the deal maker... it was only $78 shipped. I jumper on that deal and took receipt of my new replacement steering wheel. . I'm not a cheap bastard by any means, but there are things that I will put off until "the price is right". Fast forward about 2 year... while checking eBay, I came across the very wheel I would want as a replacement for the bland OEM one. From looking at the pics and the description given, it seemed to be in excellent condition. It was local, meaning no over-seas shipping cost, and the deal maker... it was only $78 shipped. I jumper on that deal and took receipt of my new replacement steering wheel.According to everyone I had talked to and all the info I had read, this new steering wheel should be a direct bolt-on. After receiving it, I found that was not the case. First obvious thing was the new wheel had no airbag. In order to use it, I had to deal with this issue, so I painstakingly removed the airbag connectors, crash sensors and all related items. Next was the actual mounting of the wheel which was impossible to do and still retain the stock clock spring for the horn (and airbag if it was to be used), so here is where the major modification came into play. There was a write-up on a botched modification on another message board but I knew there was a better way to do it, so after removing the clockspring and looking at the wheel, I figured how I would go about it. After reading through the wiring schematics in the FSM, I took the steering wheel and clockspring apart. Last edited by HDP; 12-21-2008 at 02:43 PM. |
|
|

|
|
|
#32 |
|
Rotary Fanatic
Join Date: Feb 2008
Location: HuntsVEGAS
Posts: 249
Rep Power: 18  |
Modifying the Clockspring
First thing to do was to modify the stock clockspring to work with the new Efini wheel. The connector was too tall and in the wrong location for the Efini wheel to work, so I began by trimming about an inch off the top portion of the clockspring connector. After determining which pin was used for the horn, I soldered a longer wire to it to connect to the horn button then heat-shrinked and coated all exposed wires/pins then put the clockspring back together.
Last edited by HDP; 12-21-2008 at 04:07 PM. |
|
|

|
|
|
#33 |
|
Rotary Fanatic
Join Date: Feb 2008
Location: HuntsVEGAS
Posts: 249
Rep Power: 18  |
Modifying the Efini Steering Wheel
Next step was to modify the steering wheel to work with the modified clockspring. It was obvious the new steering wheel was designed to work with some sort of clockspring because it has an opening for the connector similar to the OEM wheel except it entered through the top rather than the bottom. The bottom spoke on the Efini wheel prevented the stock clockspring from being used, thus it had to be modified as shown in the previous post. To allow an access for the new horn wire, the back of the Efini wheel had to be altered as well. After determining where the clockspring connector came in contact with the back of the steering wheel, I used a soldering iron to melt a new opening. Since the bottom spoke didn't have an access for the clockspring wiring, I drilled a small hole to allow the horn wire to be pulled through. Now, the Efini wheel can be used with the stock clockspring configuration.
|
|
|

|
|
|
#34 |
|
Rotary Fanatic
Join Date: Feb 2008
Location: HuntsVEGAS
Posts: 249
Rep Power: 18  |
More...
|
|
|

|
|
|
#35 |
|
Founder/Administrator/Internet Pitbull :)
Join Date: Jan 2008
Posts: 644
Rep Power: 10   |
Don,
Car's looking great!! Are you going to bring it to DGRR?
__________________
 DGRR 2013 - Year of 13B www.DealsGapRotaryRally.com http://www.facebook.com/Herblenny |
|
|

|
|
|
#36 |
|
Rotary Fanatic
Join Date: Feb 2008
Location: HuntsVEGAS
Posts: 249
Rep Power: 18  |
|
|
|

|
|
|
#37 |
|
Rotary Fanatic
Join Date: Feb 2008
Location: HuntsVEGAS
Posts: 249
Rep Power: 18  |
PFC, Commander and Datalogit
Even though I've had my PFC and commander for about 5 years (2003) I only used it for maybe a year or so before my engine completely let go. In hopes of learning to tune my own car, I decided to buy a Datalogit. I had seen most people who had Datalogits installed appeared temporary as all the cables and wires were run across the passenger floor. This would pose a problem for me because I wouldn't want a passenger to get tangled in the mess of wires and it just wouldn't look professional. In order to avoid this, the Datalogit had to be installed permanent but there had to be a way to interface with it using a laptop. Pulling the kick panel was one solution but I wanted something less cumbersome. I had seen a write-up from someone who installed USB adapters through the kick panel connected directly to the Datalogit. When they needed to access it, just plug in. Neat idea! Since my laptop (very old) still used DB9 serial connection, I would use this type rather than USB.
The commander mount I did was also someone's (David Garfinkle) idea that I though was neat and I added my own flare to it. I use a flex mount for an old portable CD player and an adjustable cell phone car cradle to make my commander mount. I welded a metal brace to the tranny tunnel to screw the base of the mount to. I ran the cable into the glove box and use it to store the commander when not in use. Last edited by HDP; 12-21-2008 at 07:14 PM. |
|
|

|
|
|
#38 |
|
Rotors > Pistons
Join Date: Sep 2008
Location: Port Saint Lucie, Florida
Posts: 316
Rep Power: 18  |
Cool build-up. I love the commander mount you put together. I too bought a datalogging system and I was trying to figure out a place to mount the controller in my FC, instead of the passenger seat. Maybe I'll resort back to your setup one day. Keep up the great work!!!
|
|
|

|
|
|
#39 |
|
Rotary Fanatic
Join Date: Feb 2008
Location: HuntsVEGAS
Posts: 249
Rep Power: 18  |
Safety First
Before I even bought my RX7, I had read and was told you should buy and keep a fire extinguisher in the car; I guess that wouldn't be a bad idea for any car, but more so for the 7. When I got my car I bought a small 1 lbs. disposable extinguisher from Wal-Mart and stored it in the driver's side rear bin. I had seen others mount their extinguishers in very visible locations which I thought looked kind of ricey so I preferred to keep mine out of sight. Fortunately, I never had to use mine but I recently learned the extinguisher I bought wasn't large enough to be affective in case of a major fire and it would probably cause more damage than good because of the mess it would leave behind. So this time around I chose a clean agent extinguisher in a larger 2.5 lbs. size. Also I wanted to securely mount the extinguisher rather than just toss it in the rear bin like before, so I attached the mounting bracket to the underside of the bin lid with pop-rivets.
|
|
|

|
|
|
#40 |
|
Sua Sponte
Join Date: Feb 2008
Location: Killeen, TX
Posts: 839
Rep Power: 18  |
Looks great Don! Does your commander ever fly out of the holder when you accelerate quickly? I had an issue with that when I used a holder similar to that.
__________________
Road Atlanta August 2011 NASA TT 1:33 http://www.youtube.com/watch?v=IFY00PAK_Ps Traqmate's video of my car from the 2011 UTCC at VIR http://www.youtube.com/watch?v=2Zcn6...layer_embedded Video of Yellow LS1 FD at NASA TT at VIR http://www.youtube.com/watch?v=e6k0lJkcwrM |
|
|

|
|
|
#41 | |
|
Rotary Fanatic
Join Date: Oct 2008
Posts: 274
Rep Power: 18  |
Quote:
|
|
|
|

|
|
|
#42 | |
|
Rotary Fanatic
Join Date: Feb 2008
Location: HuntsVEGAS
Posts: 249
Rep Power: 18  |
Quote:
EDIT: I forgot to mention, I superglued the wings to the size of the commander so it could not be adjusted. I clamped them snugly around the commander then glued, so that may be another reason it stays put. Last edited by HDP; 12-27-2008 at 01:08 PM. |
|
|
|

|
|
|
#43 |
|
Rotary Fanatic
Join Date: Feb 2008
Location: HuntsVEGAS
Posts: 249
Rep Power: 18  |
|
|
|

|
|
|
#44 |
|
Rotary Fanatic
Join Date: Feb 2008
Location: HuntsVEGAS
Posts: 249
Rep Power: 18  |
Two years later...
After a bout with Mother Nature
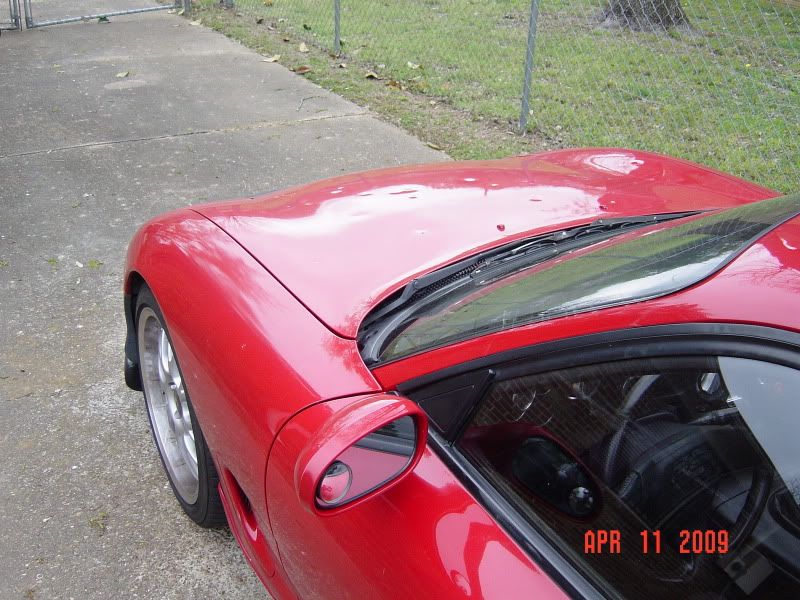 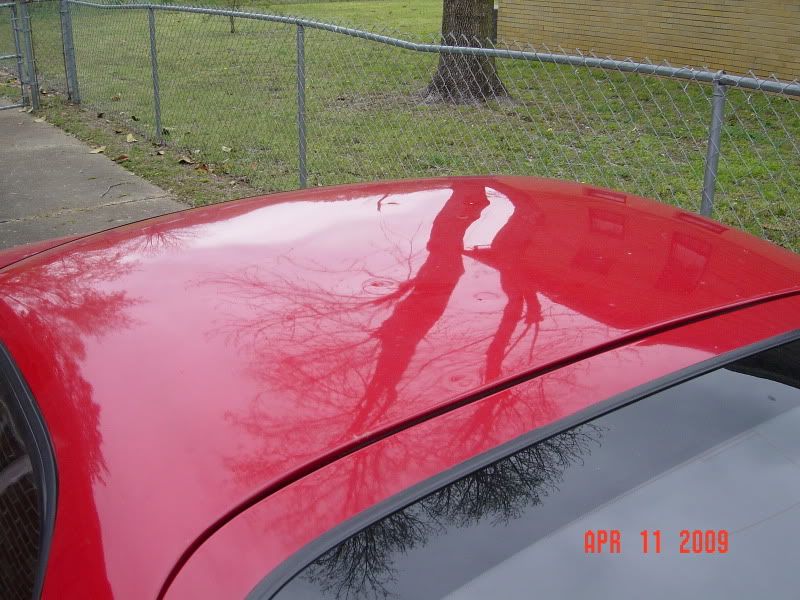 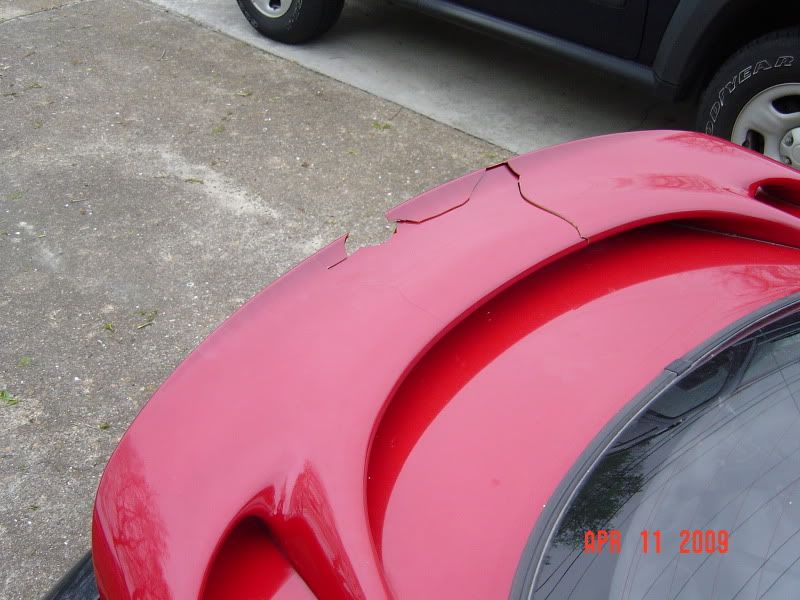 and the subsequent repairs, 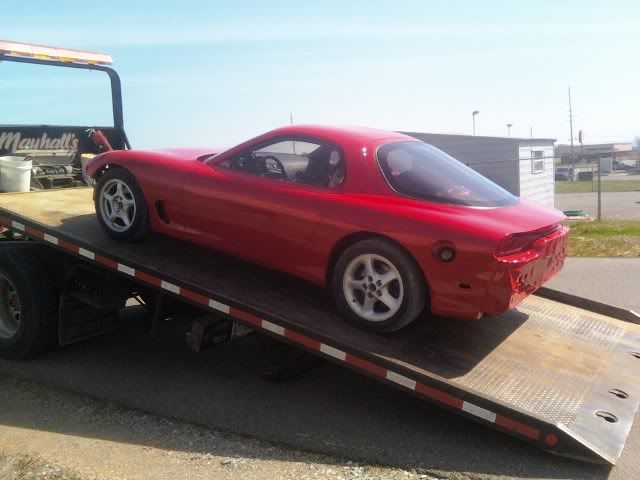 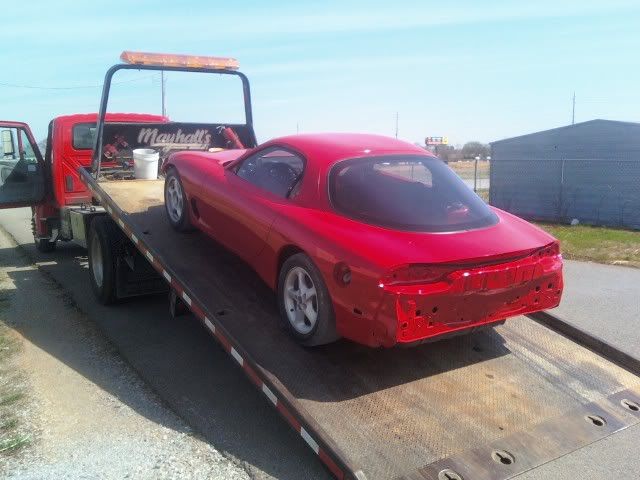 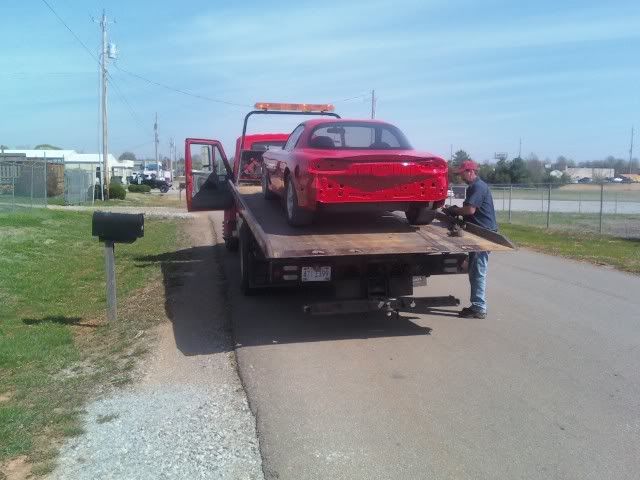 I think I'm almost where I want to be... 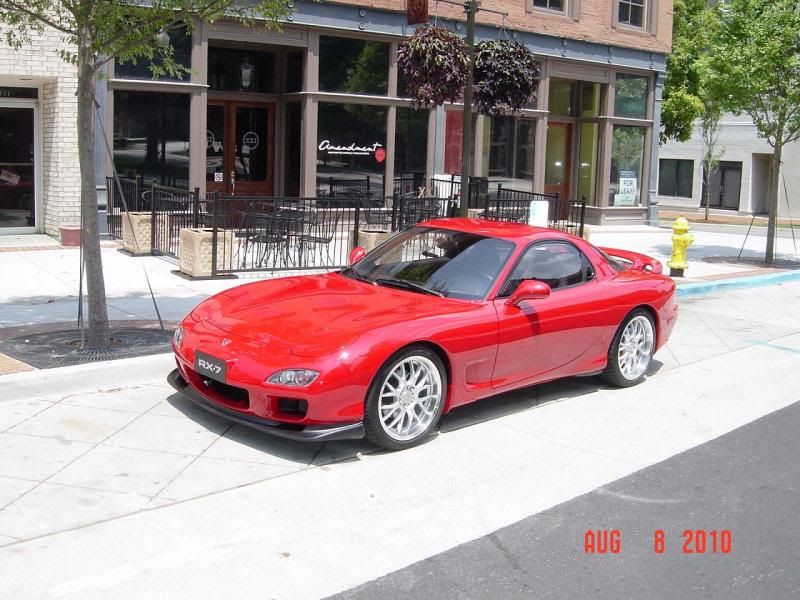 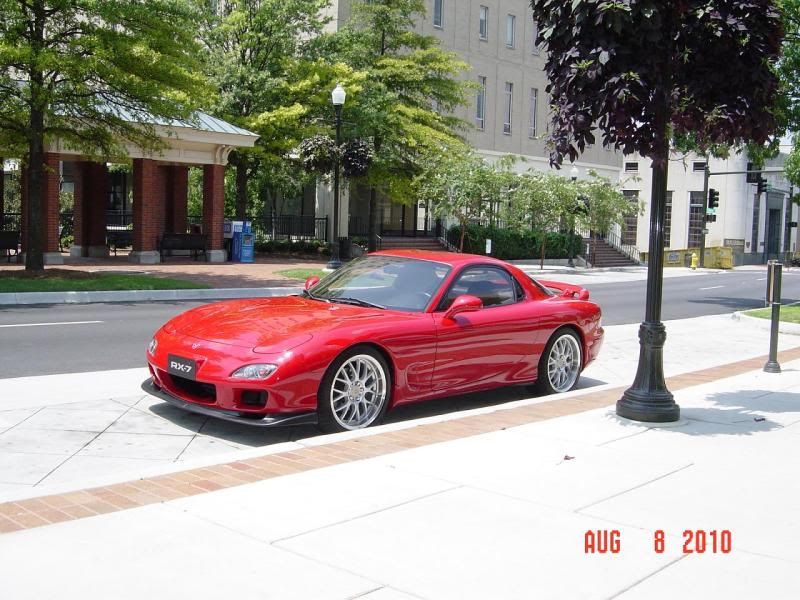 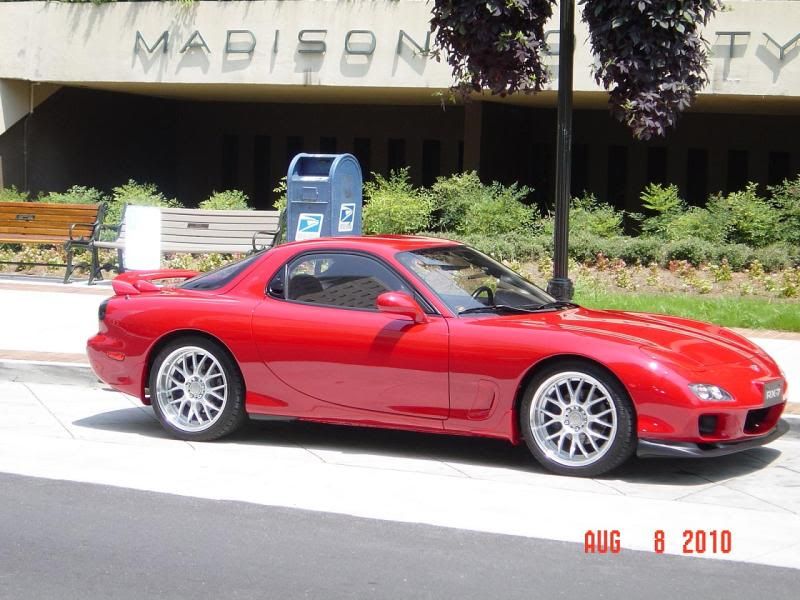 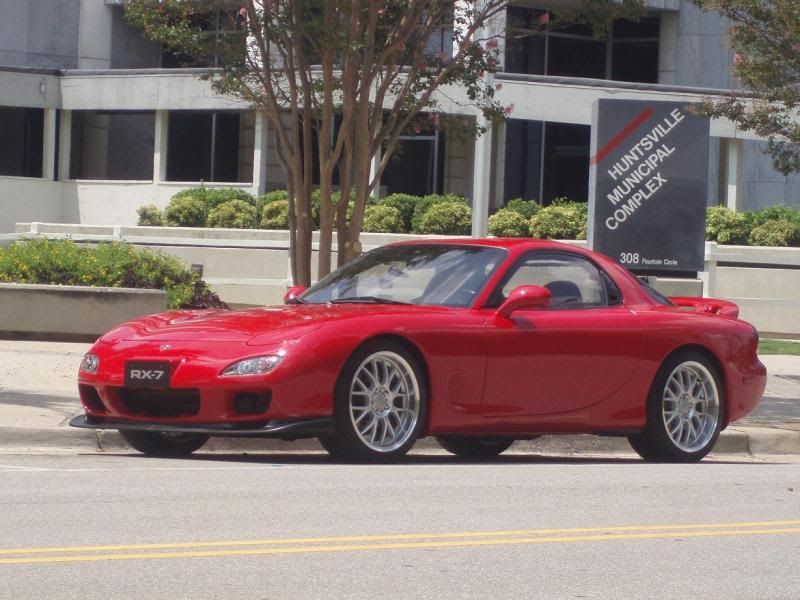 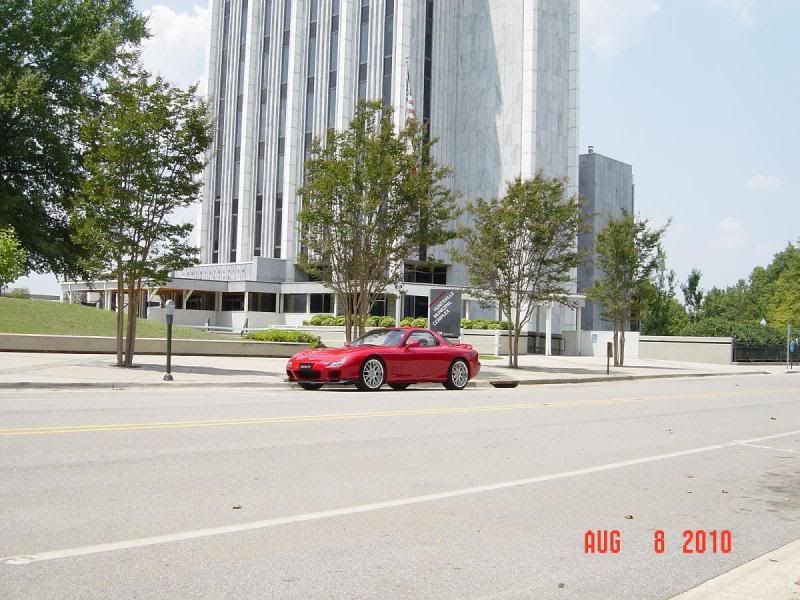 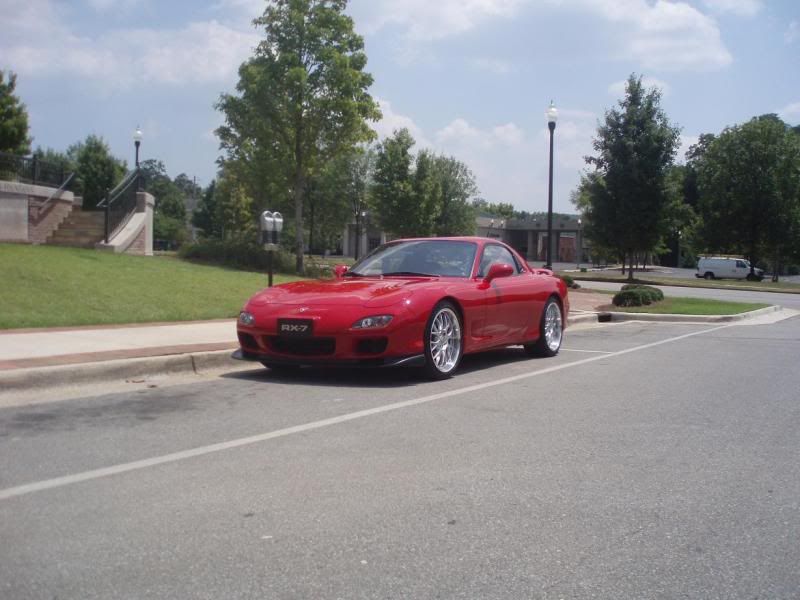 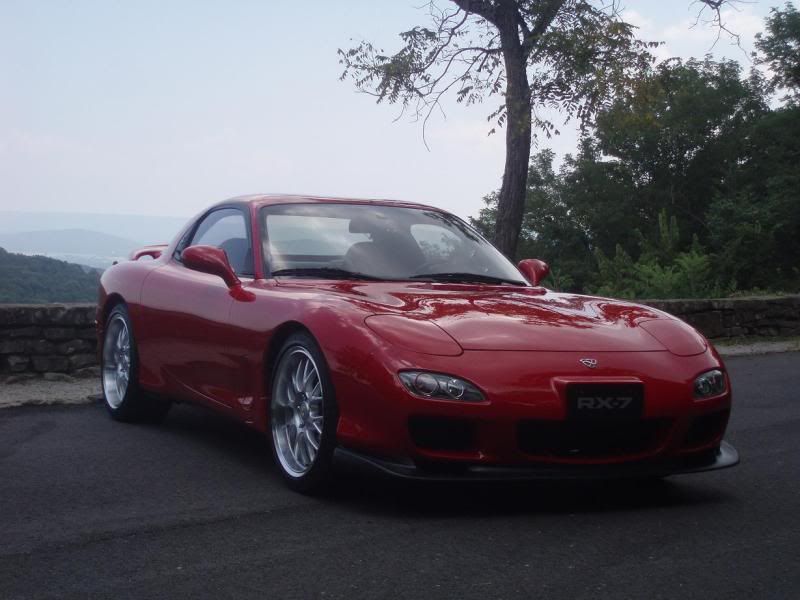 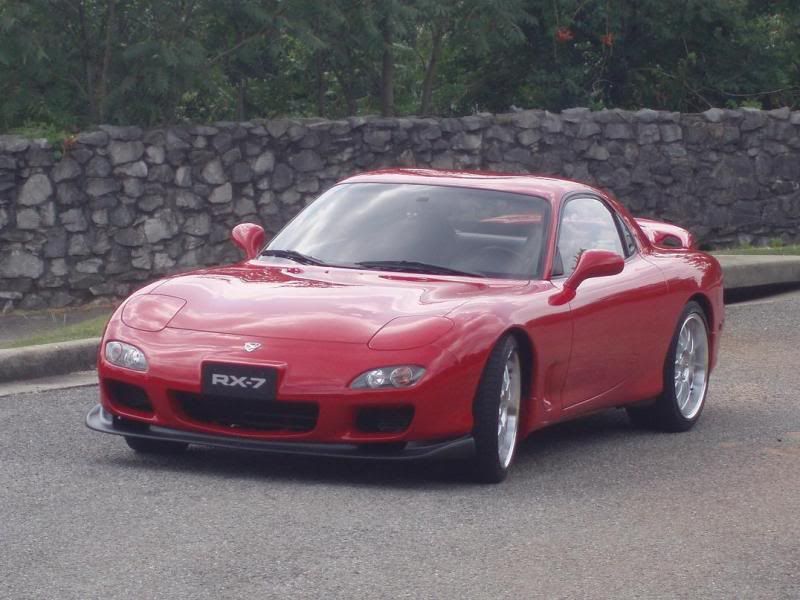
|
|
|

|
|
|
#45 |
|
Rotary Fanatic
Join Date: Feb 2008
Location: HuntsVEGAS
Posts: 249
Rep Power: 18  |
I still have a little work I need to complete under the hood, suspension and undercarriage and install rear diffuser. Winter projects...

|
|
|

|
 |
| Bookmarks |
|
|