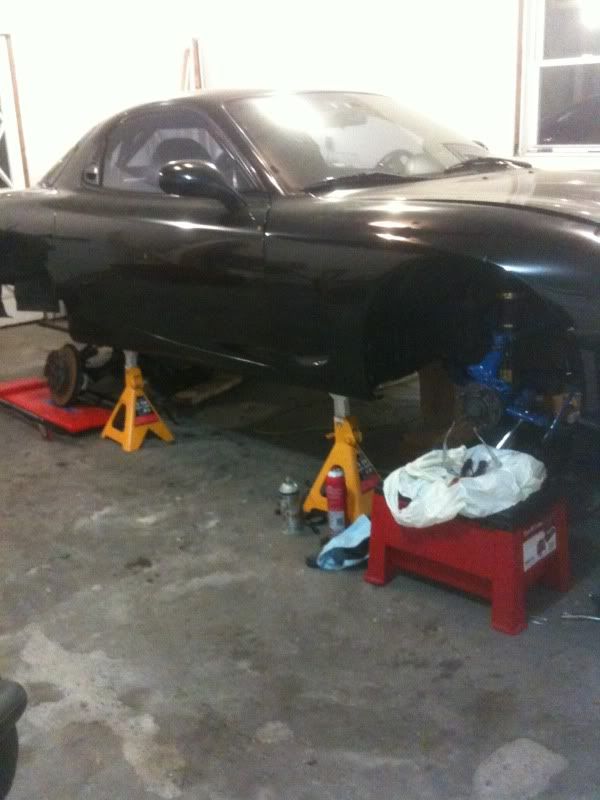
Just got in from pulling the rear subframe. I had originally started to just replace all of the bushings/pillowballs. I started with the front, then I got bit by the bug and said, "I'm not going to have this apart for a long time, so now's the time to clean & paint". So instead of just new bushings, I cleaned the disgusting wheel wells, resprayed with rubberized coating, cleaned and painted all the suspension arms, installed new rubbers on the ball joints.
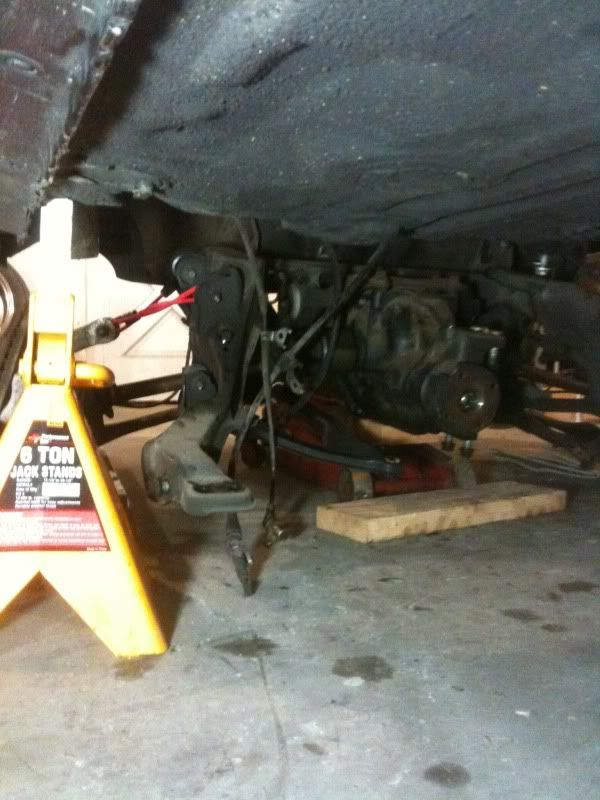
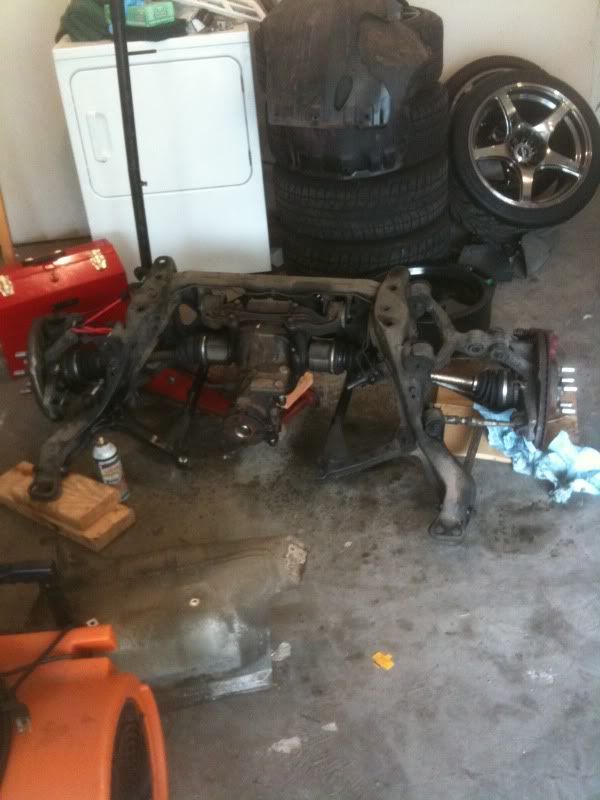
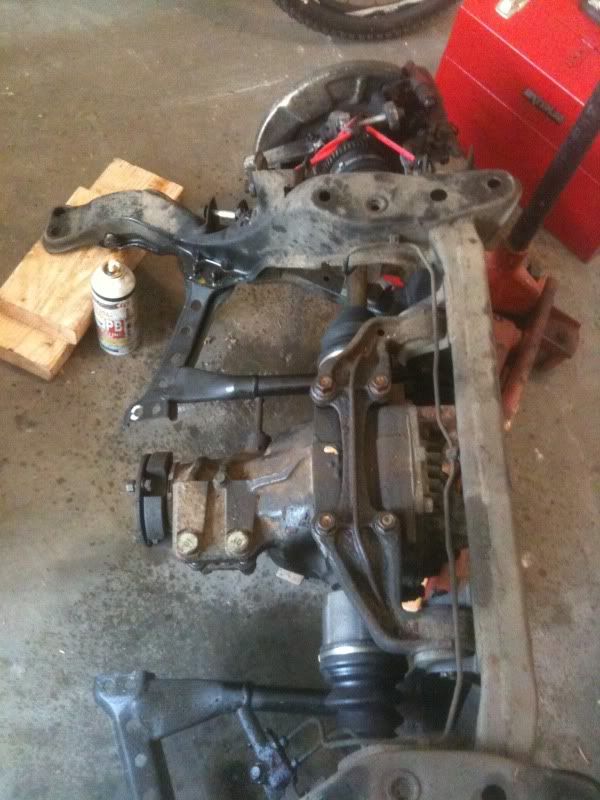
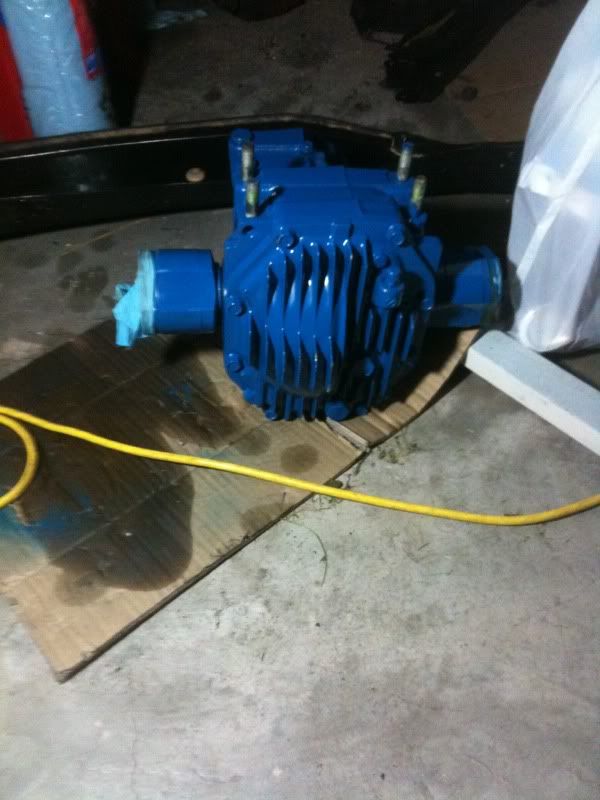
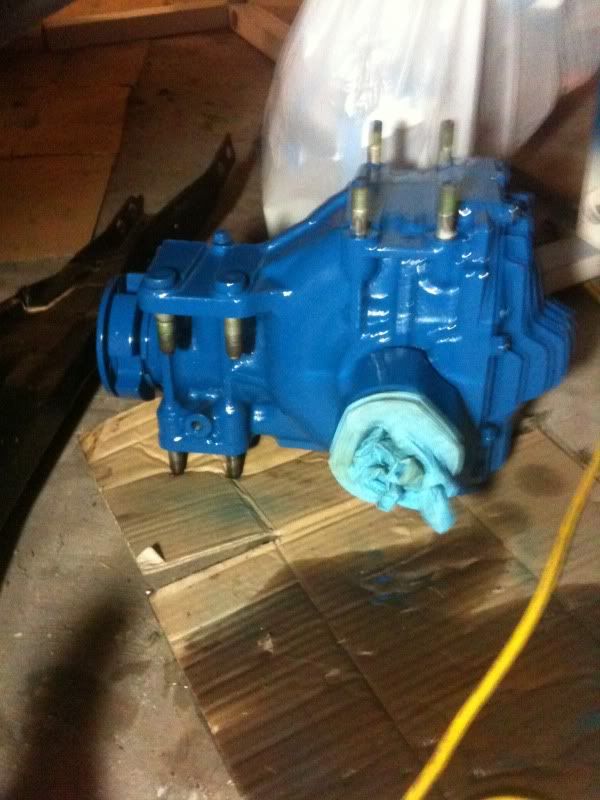
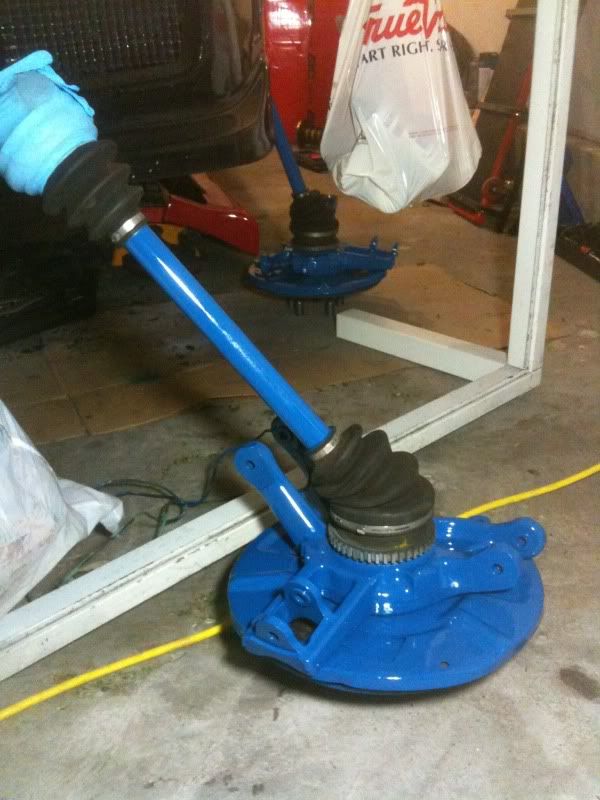
And of course, after all that, I couldn't just leave the rear alone. So tonight I removed the subframe, which will now be sent away for powdercoating along with the PPF and driveshaft. I'll paint all the suspension arms, diff, and axles.
I've been painting the suspension arms because aluminum can become brittle unless done exactly right (slow heat, cure powdercoat, and slow cool down). I don't really trust anyone enough to take the risk on brittle suspension arms, so paint will have to do.
Here's a few pics (the theme is black and blue on the entire car):
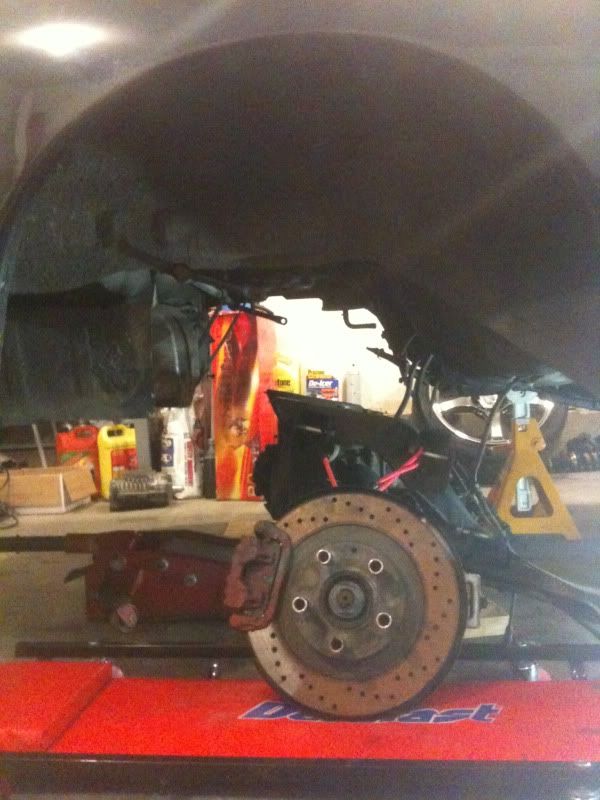
The subframe is a bear to get out by yourself haha.
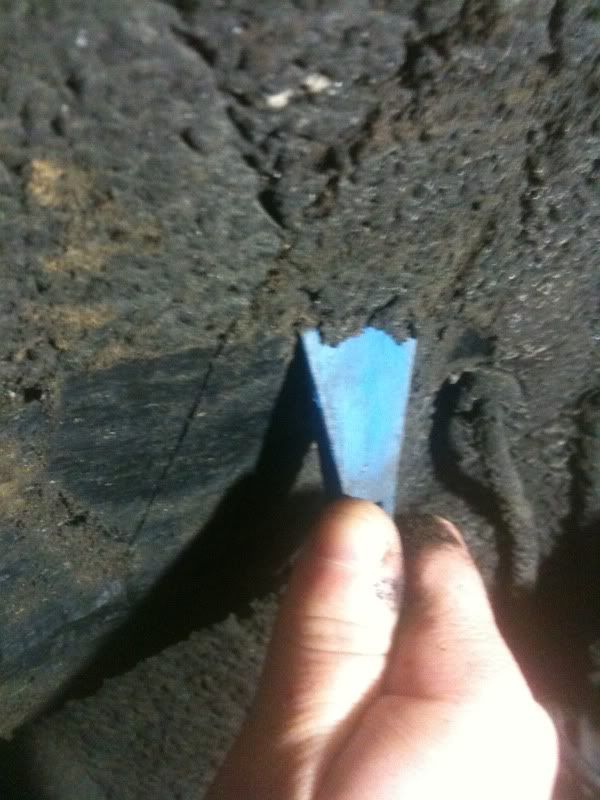
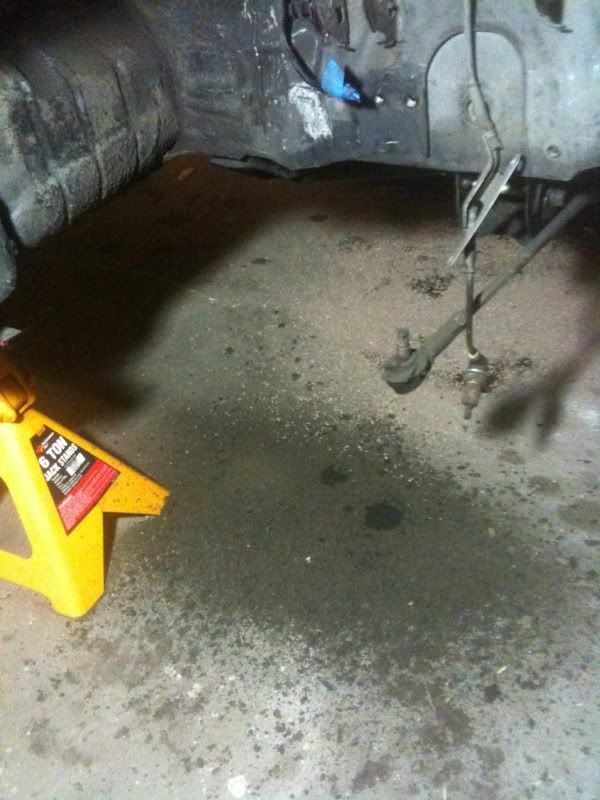
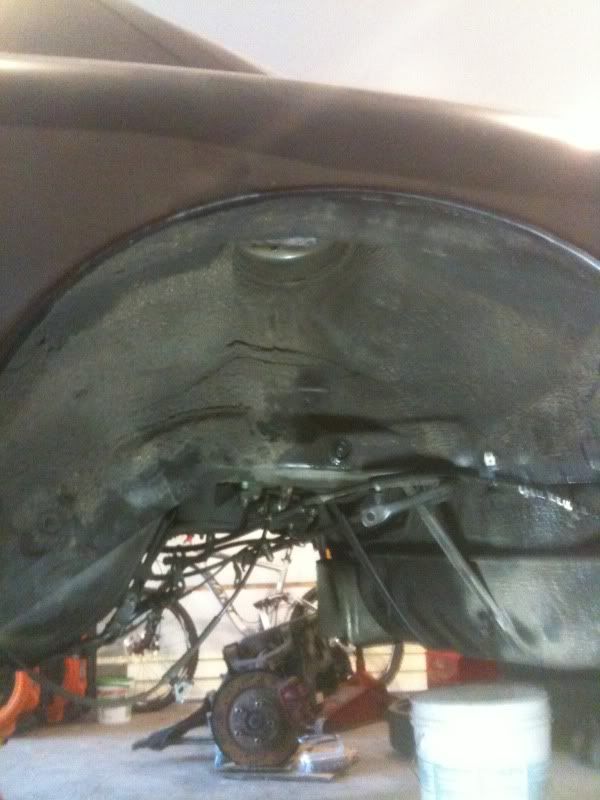
A glimpse of the amount of dirt caked onto the front wheel wells:
The amount that came off just one side:
A clean wheel well (before new rubberized coating)
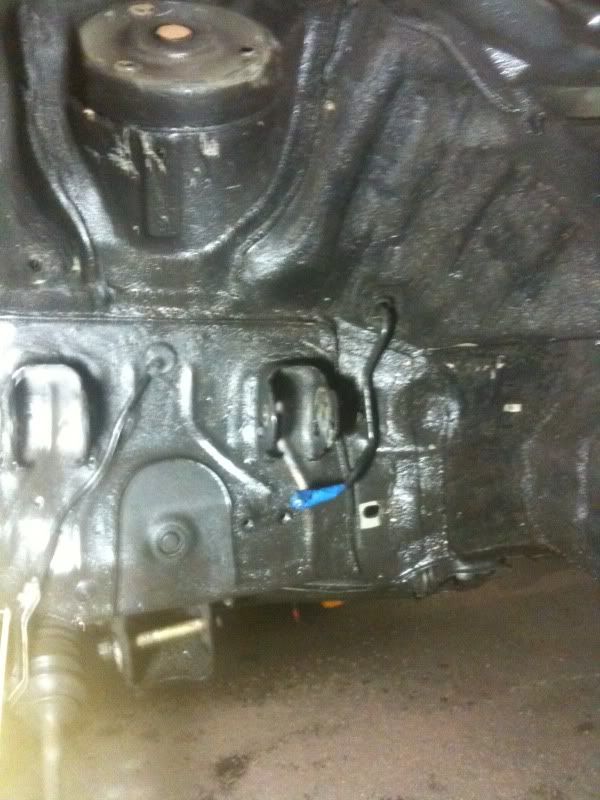
(I also sprayed the liners)
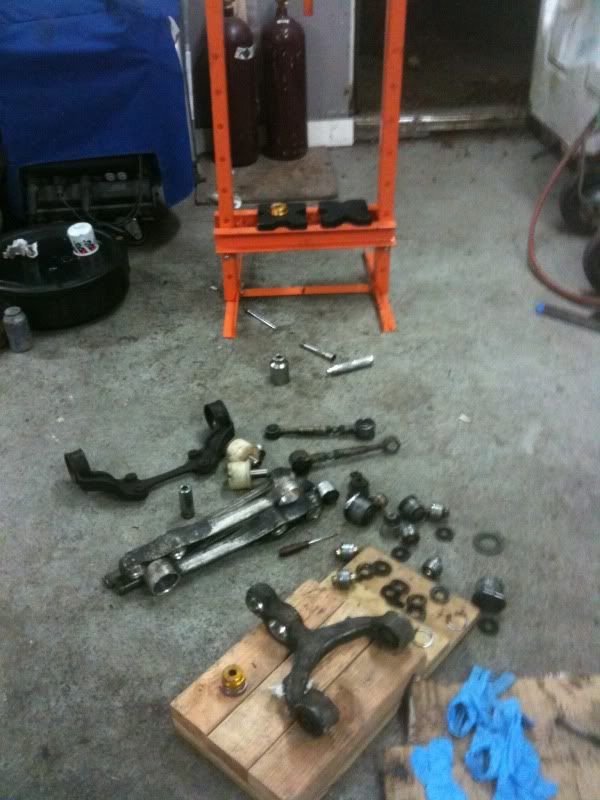
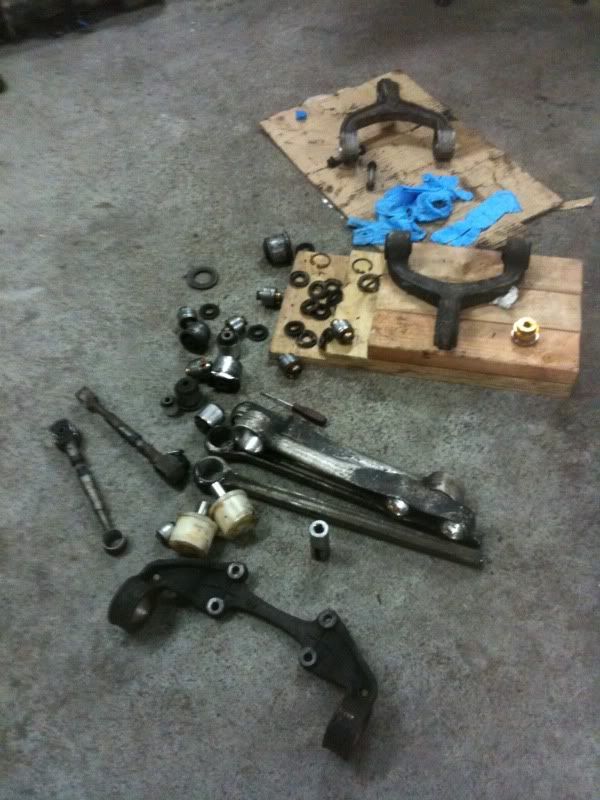
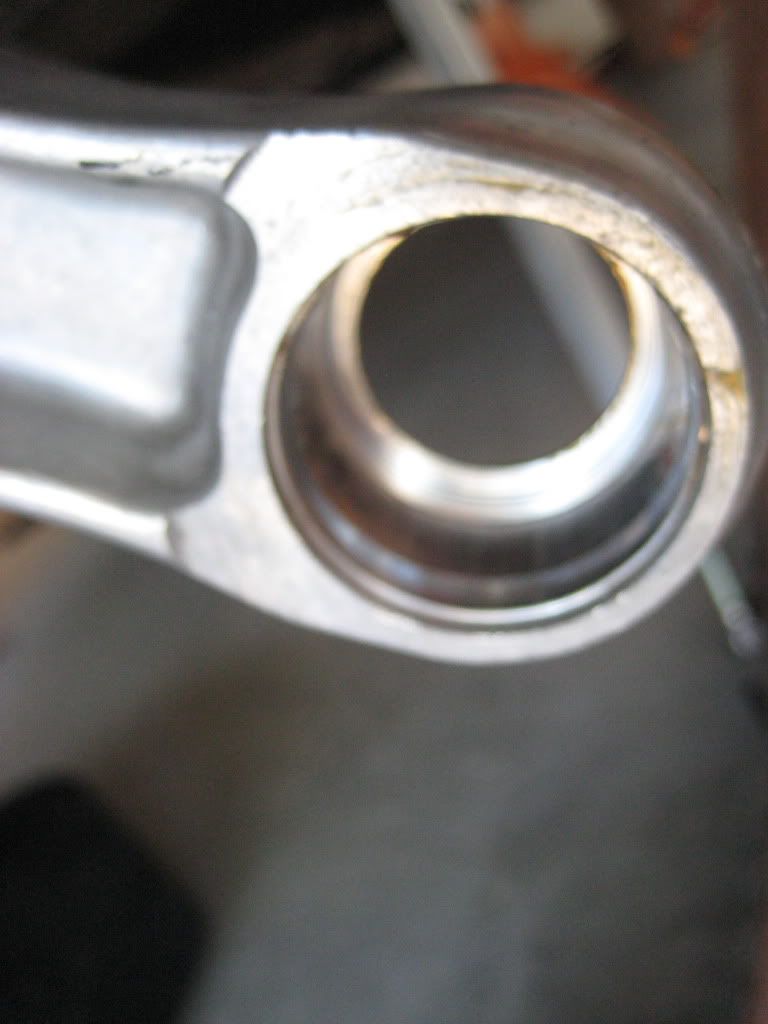
Dirty Arms:

Clean arms:
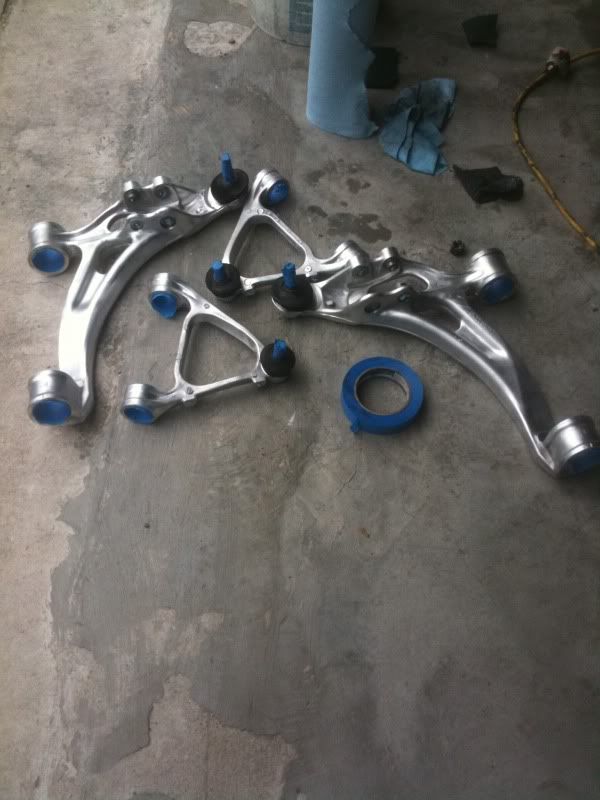
These all have the old rubber boots, which i left on to keep paint out of the joints, I then installed nice new boots from Malloy Mazda (Ray's the man)
Primered Arms:
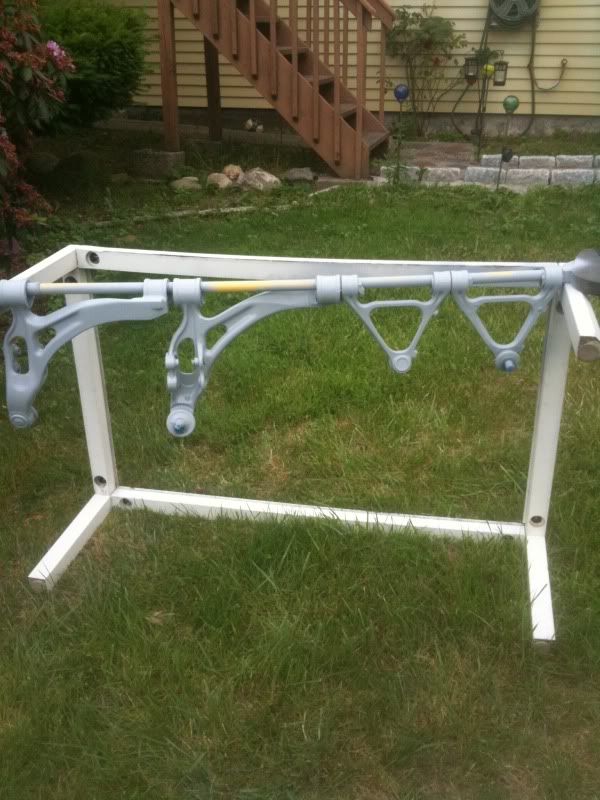
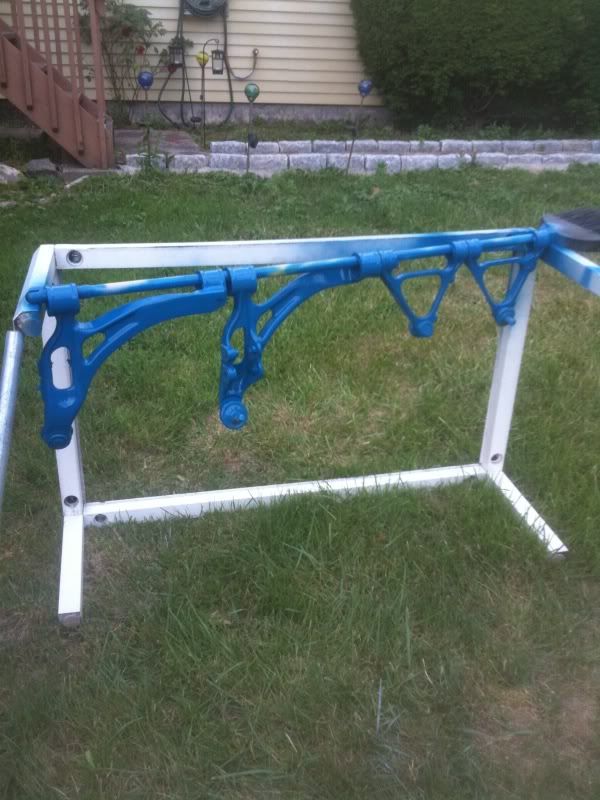
Painted Arms:
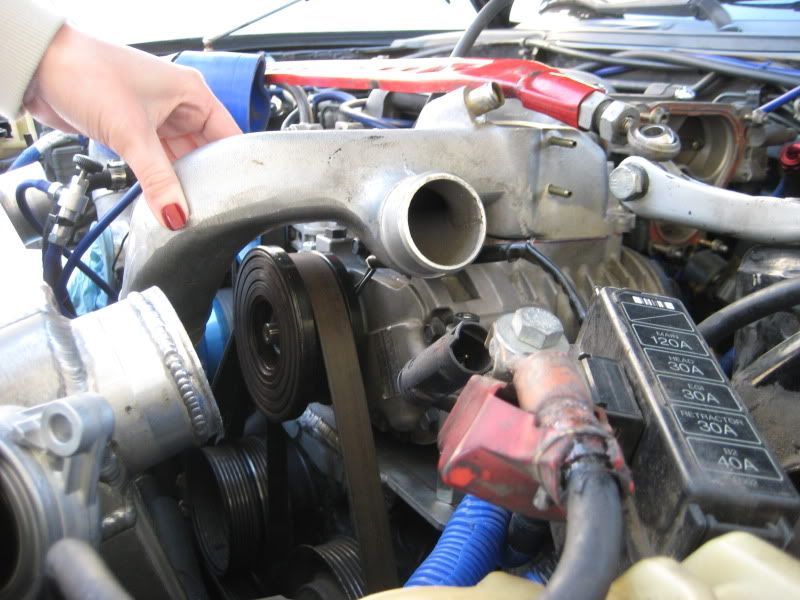
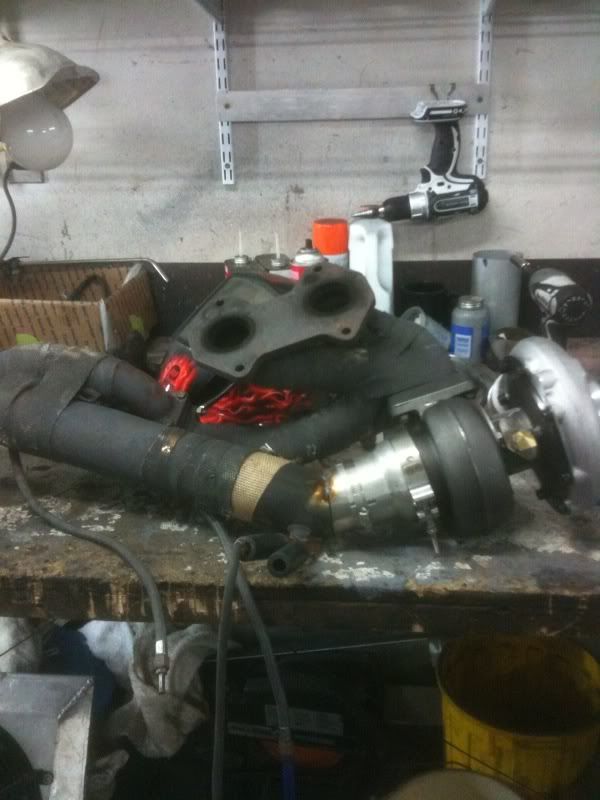
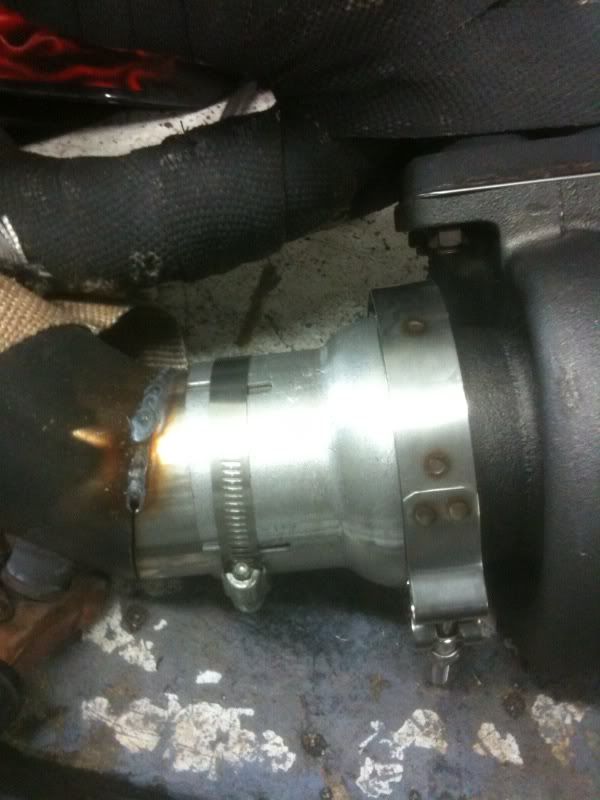
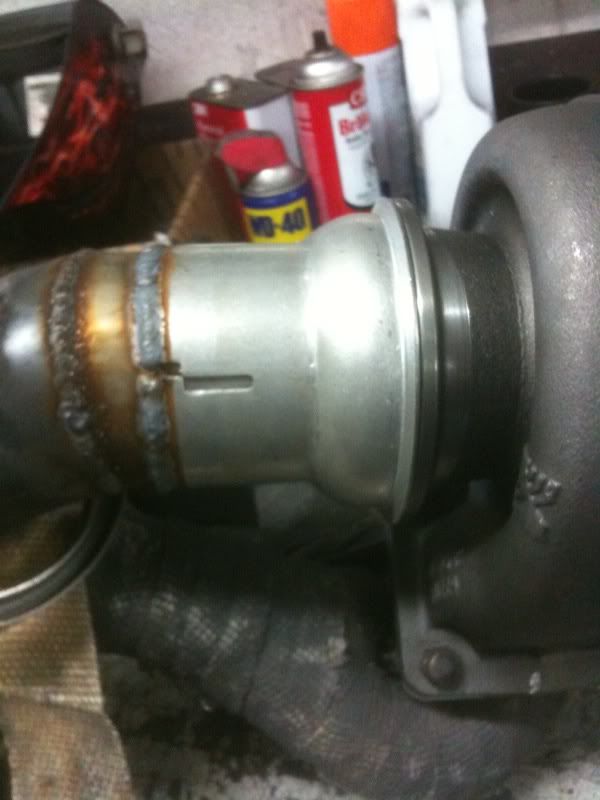
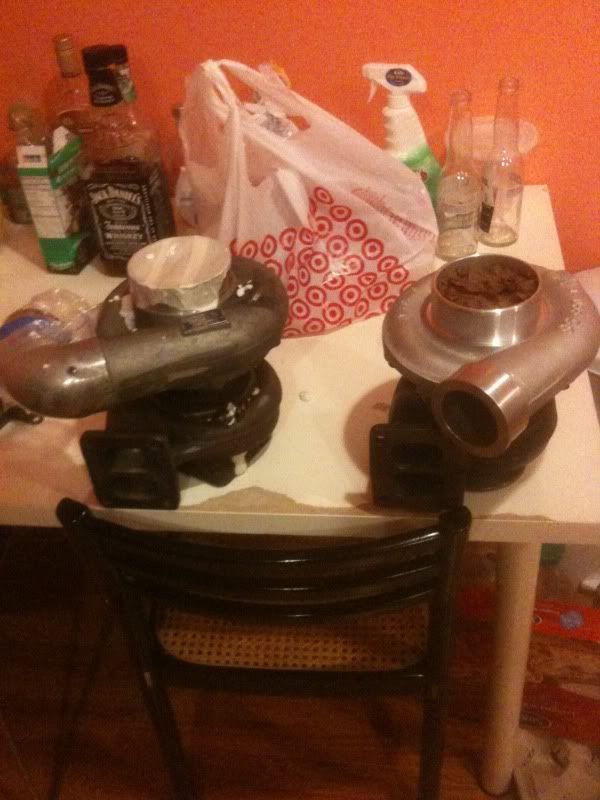
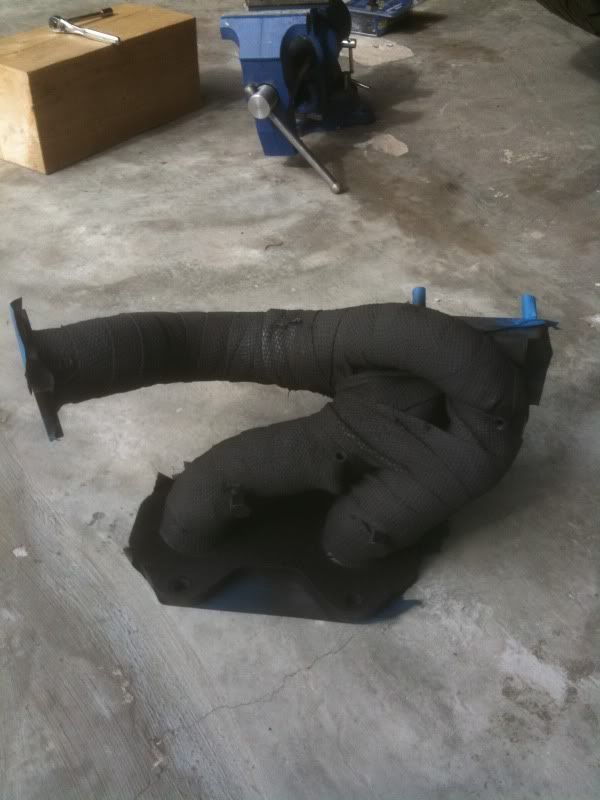
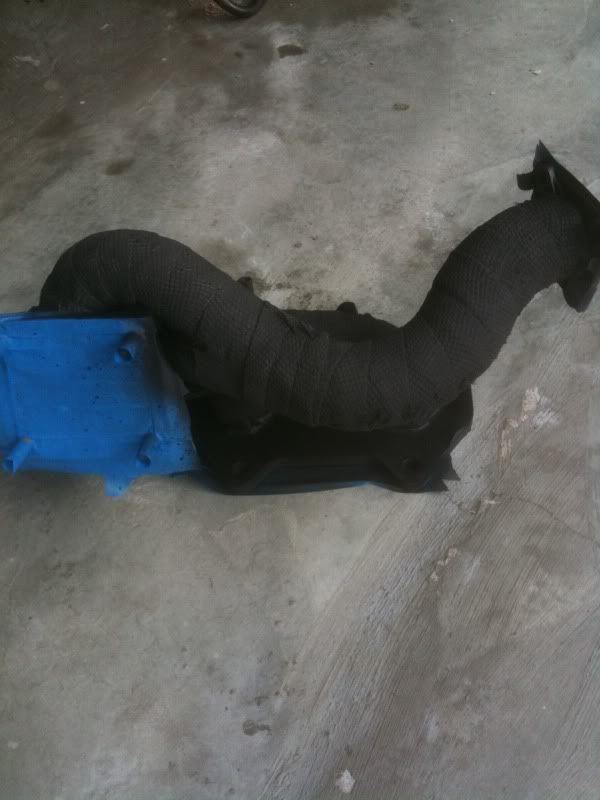
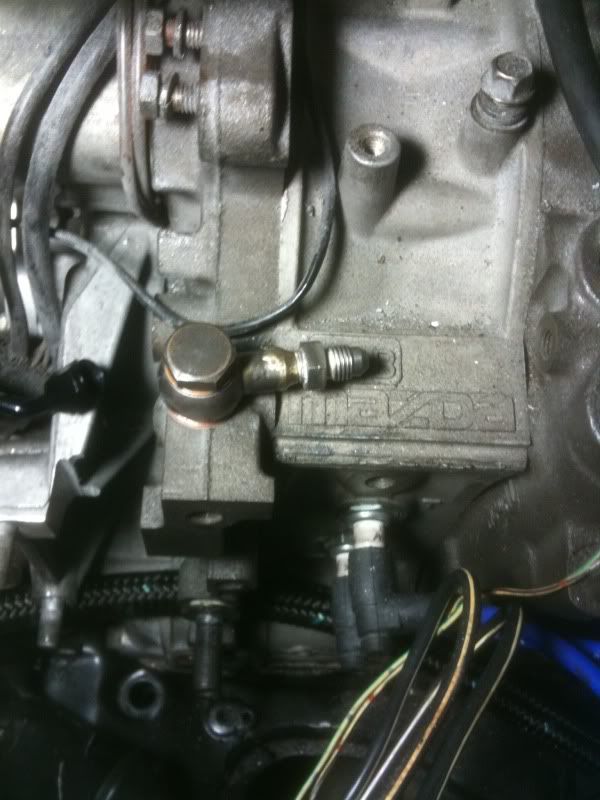
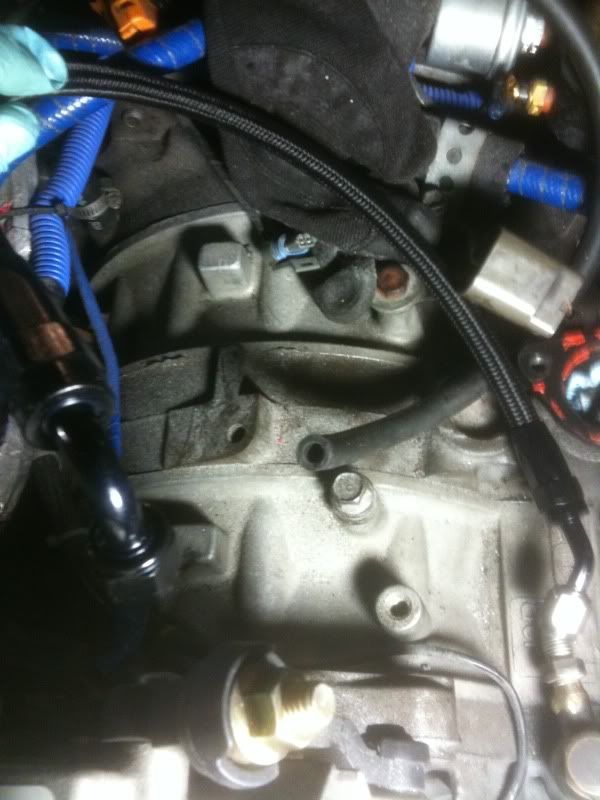
Quick update on the twin charged part of the project, haven't really made any progress on the boost system lately, working on finishing the suspension & undercarriage, then driving it over to my awesome welder's to do some work. While its there, I'll be changing the oilpan and installing the oil pan brace. I'll be taking the engine out when I do this so I can have the subframe powdercoated, engine bay painted, and every piece in the engine bay powdercoated.
I'm doing this at my Brian's place so that we can clean up some of the piping that you can't really inspect when the engine is in the car, so we'll have the engine out, with all the piping installed, and make sure nothing is rubbing and do some other cleanup.


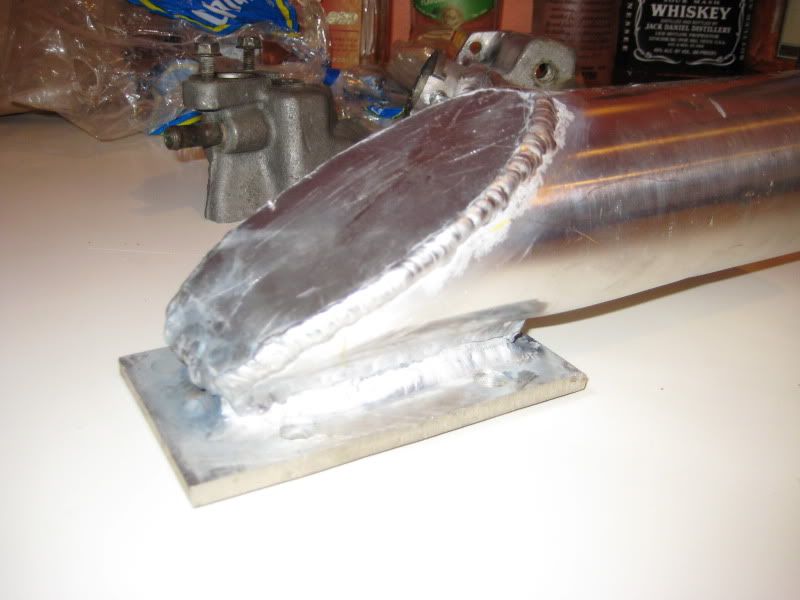
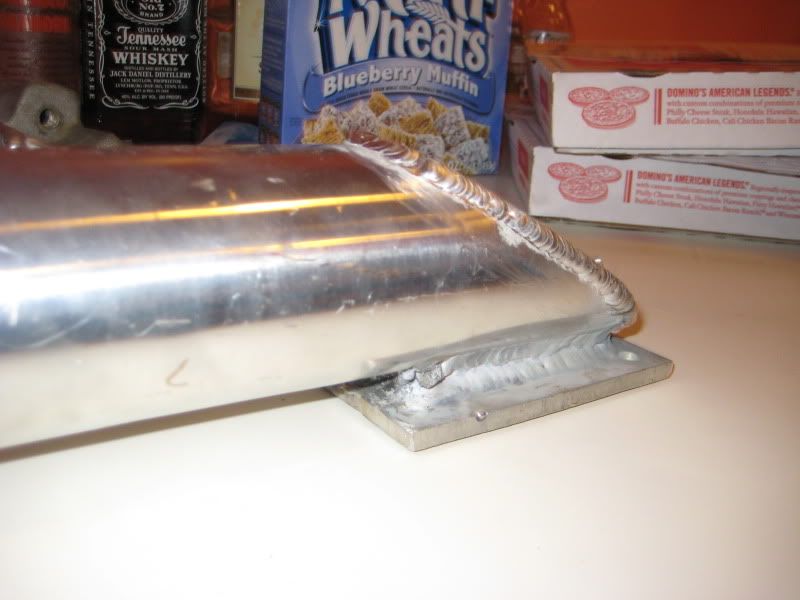


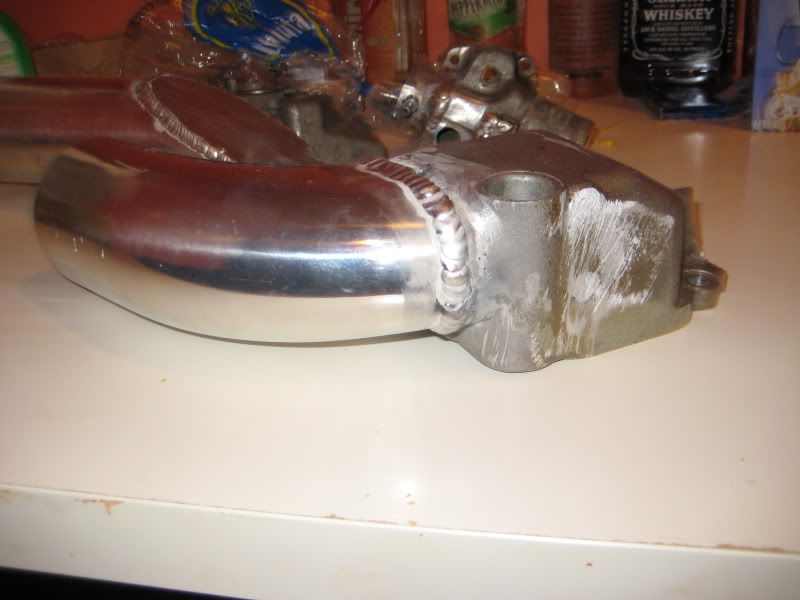
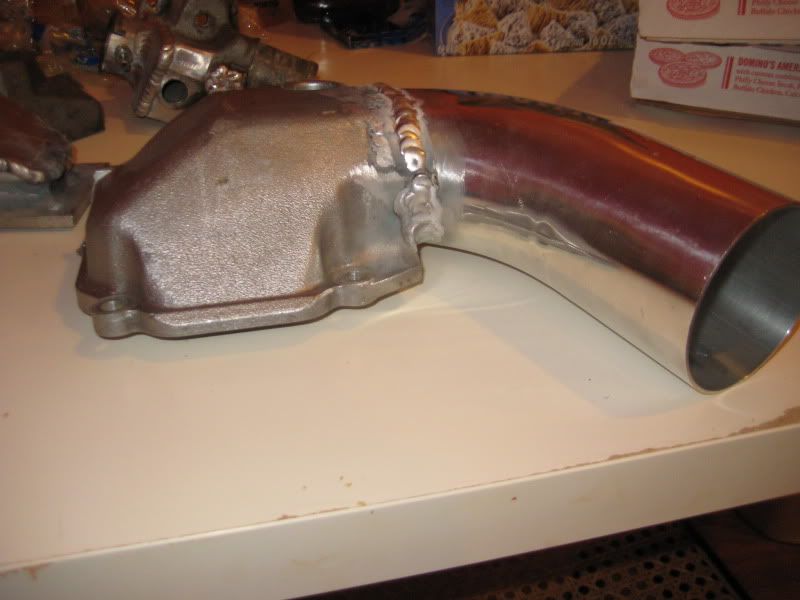
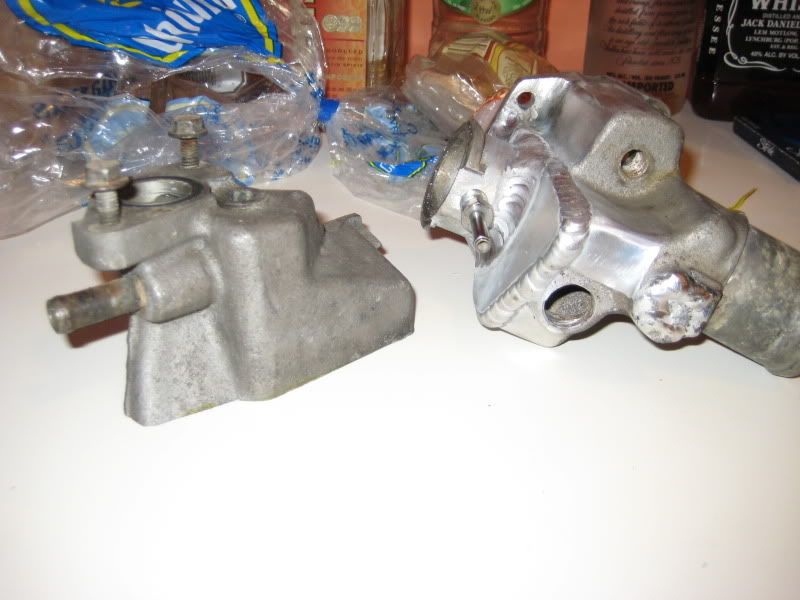
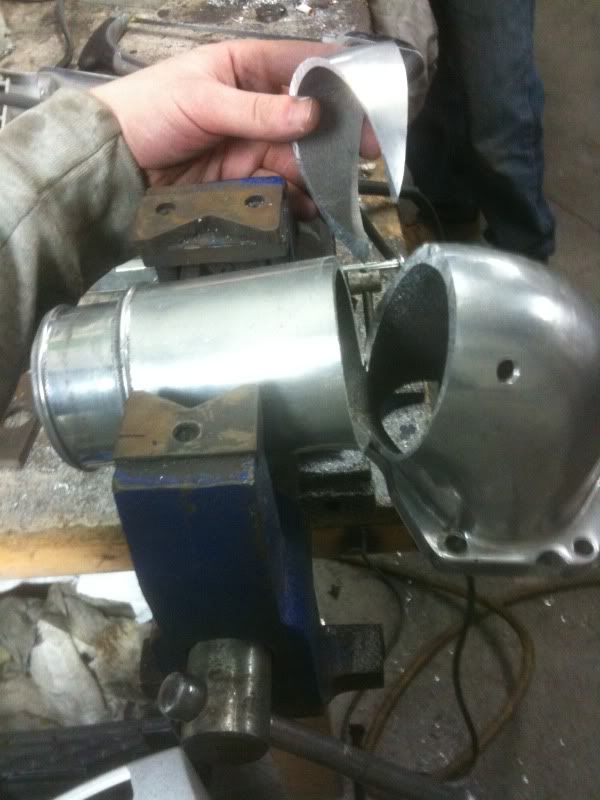
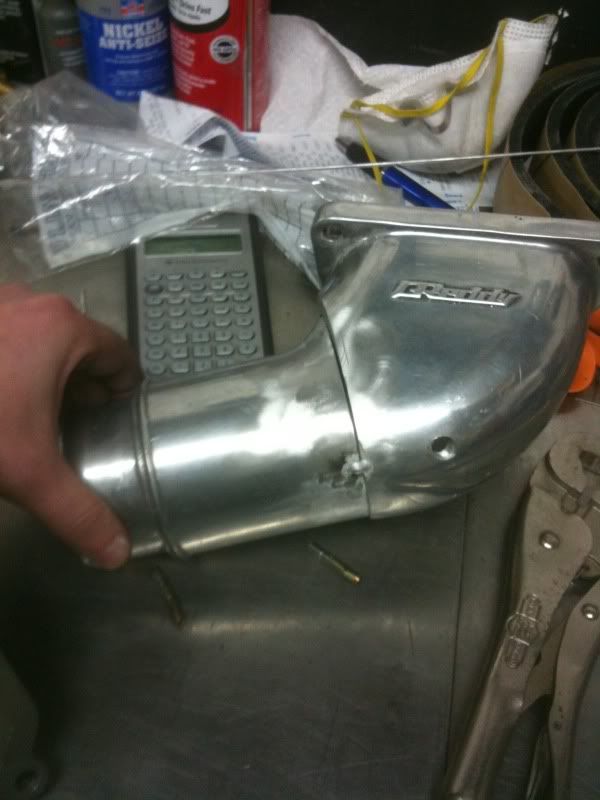


 Someones a bad influence
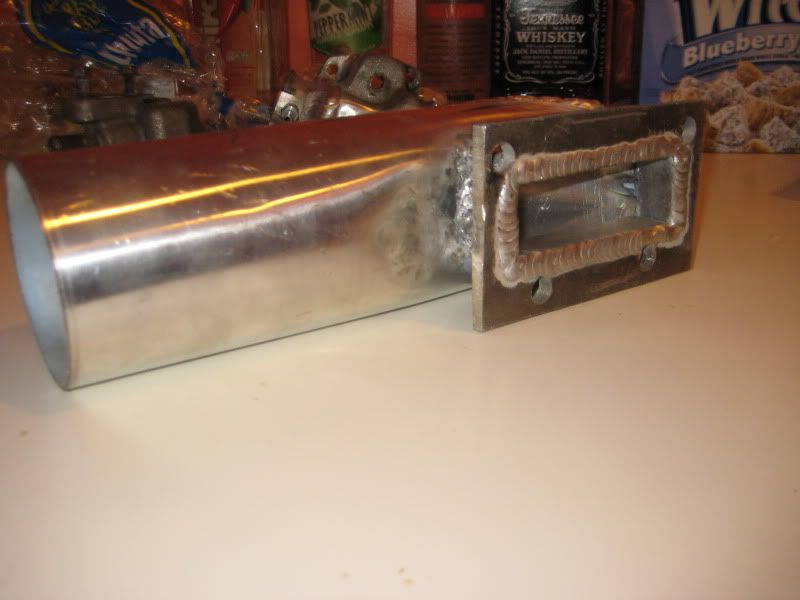
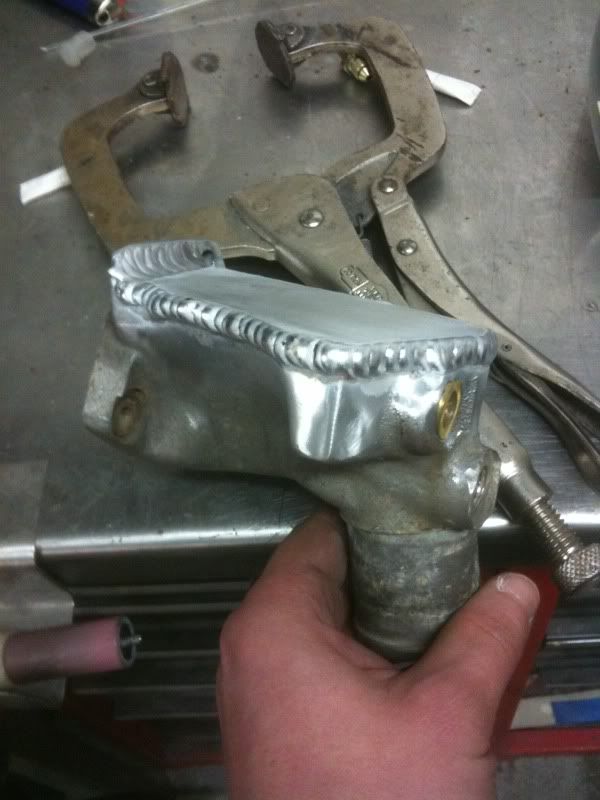
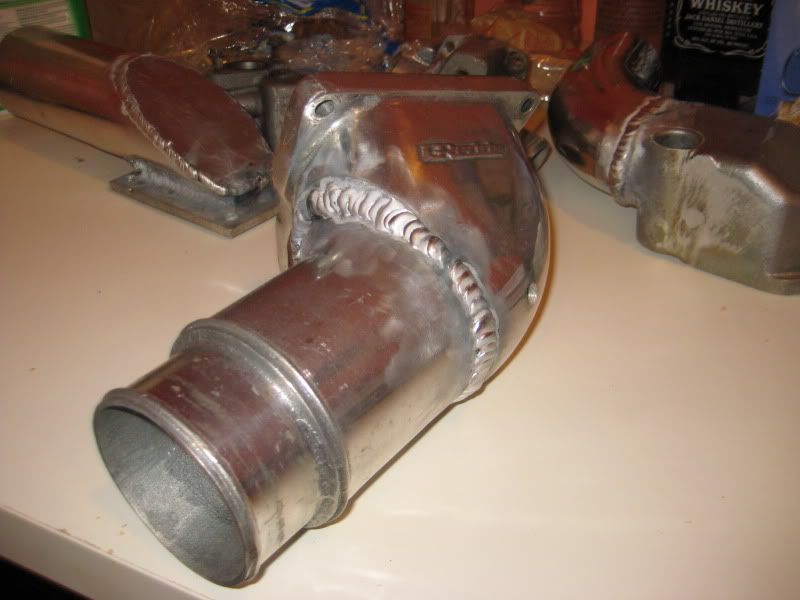
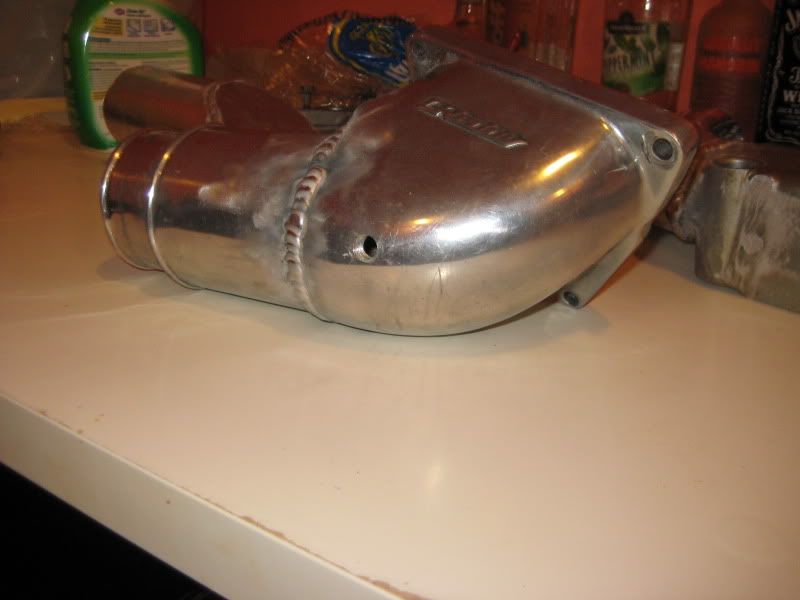
 Yeah man, whenever you've got that DP ready, shoot me a txt and we'll get it all welded up, and whenever you've got the time, I've got the tester.


 Linear Mode

