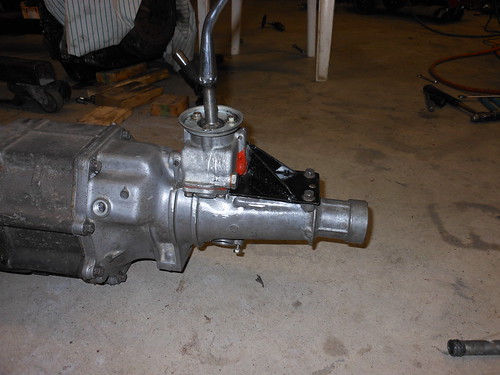
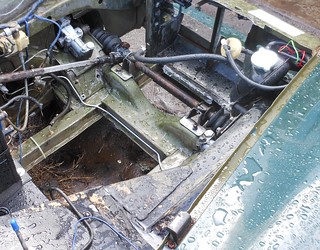
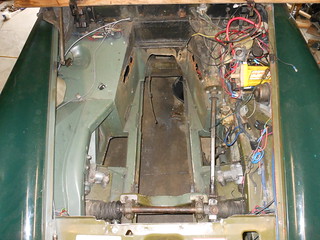
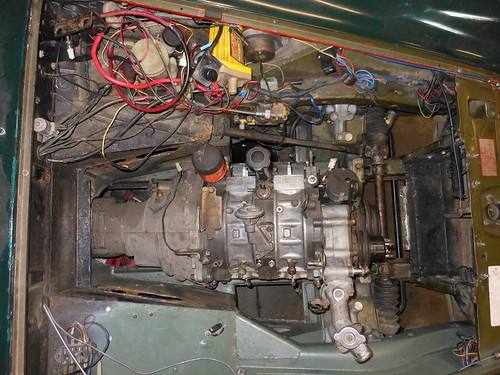
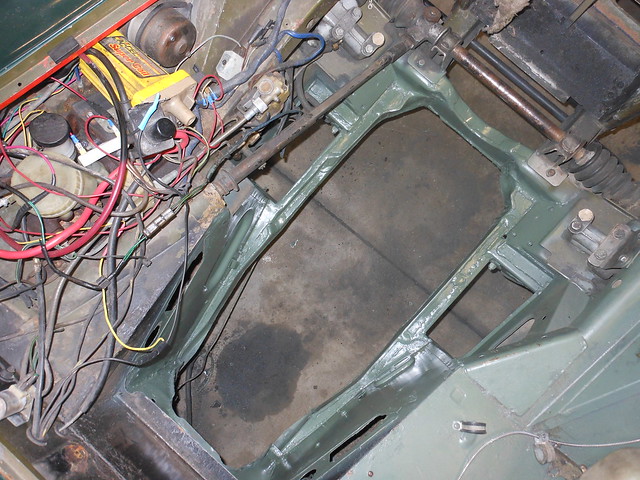
Here's my solution to a really short shifter. The first picture I had to steal off the internetz as I forgot to take a "before" picture. The FB box in the rear is very similar to the FC box that I have. The shifter box actually sits behind the tail shaft. This is a no go in my application.

So I moved the box forward 9 inches to put it in the stock MG shifter location.
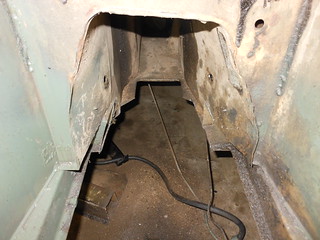
 short shifter 2
 by
Kevin Frank, on Flickr
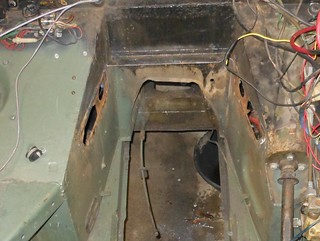
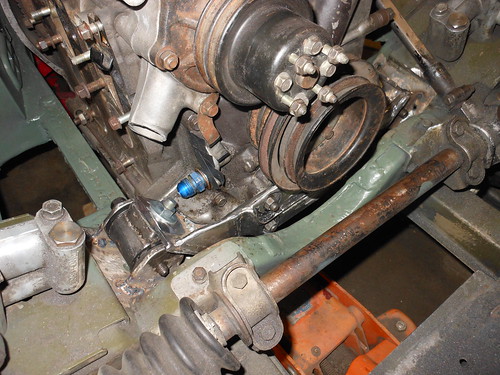
 short shifter 1
 by
Kevin Frank, on Flickr
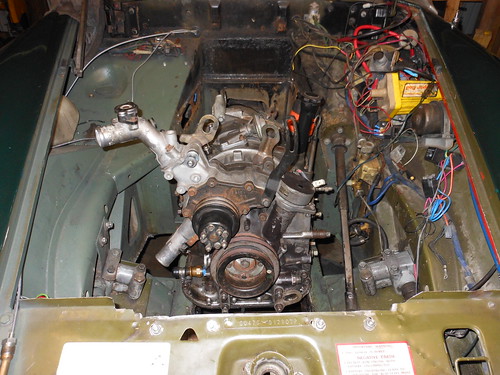
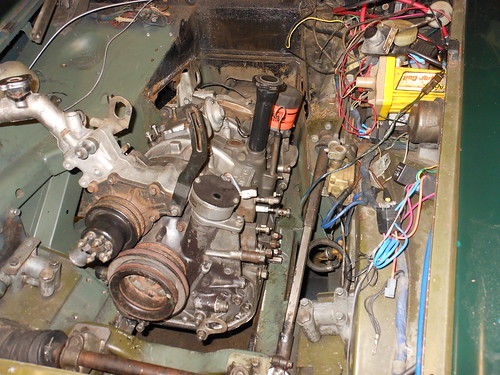
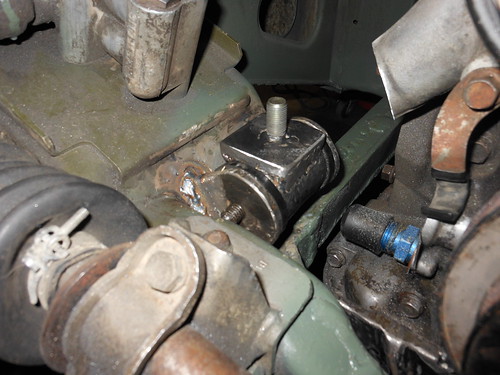
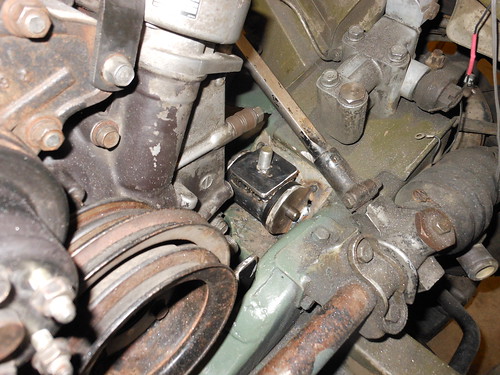
I've seen prettier renditions of this, but this is how I did it.
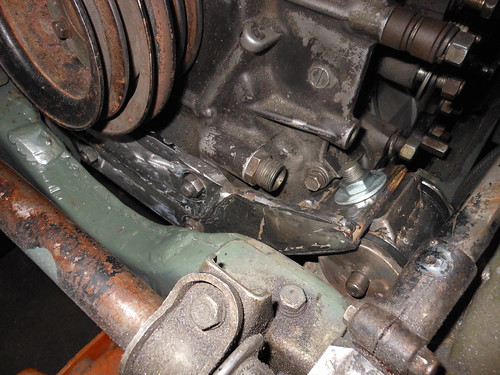
The mount was cut off right next to the box and I used the side cover plate to attach a mount using the original rear bolts, one side bolt, and the locator pins. The shaft for the shifter was cut 9 inches and the roll pin hole re-drilled. (I had a machine shop do this for me as I always get the hole off center when I try to drill a round rod). The shaft is not hardened toward the rear so drilling it wasn't a problem. I also had to do a little "massaging" with a grinder on the tail shaft housing. This was necessary to get the box to sit all the way forward against the opening that the shifter shaft exits the case.
It works, but it seems a little stiff right now. Could be that the shaft is binding a little bit which should work it ways out as it gets used or it may be that the RTV I used between the box and the case is pushed up against the shaft.

It does go in and out of all the gears just fine, so I'll give it a try as is.
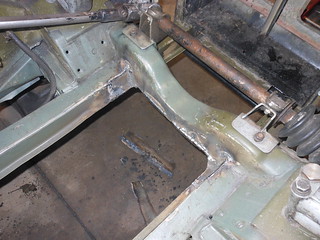
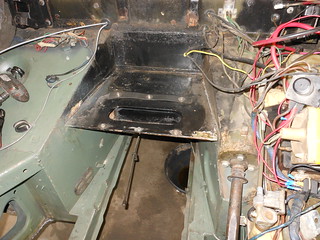
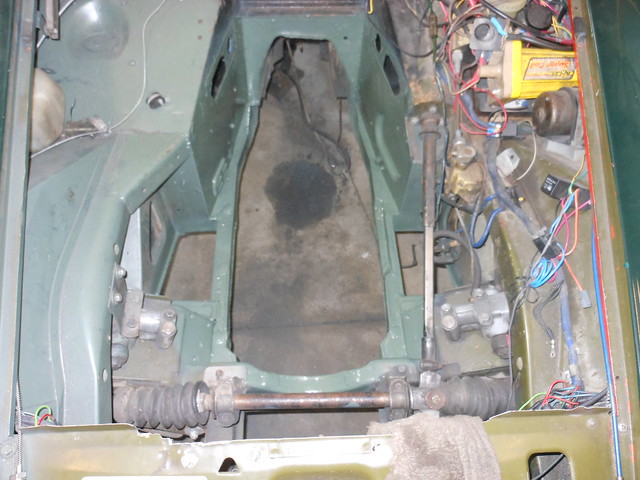
Right now I'm working on notching the lower frame rails to give me enough room to drop the engine a little lower in the frame.


 Linear Mode

