|
|
|
|
#1 |
|
Rotary Fanatic
Join Date: Dec 2008
Location: Mesa, Arizona
Posts: 114
Rep Power: 17  |
I stuffed a wad of steel wool down the EGR passages and JBwelded them shut. I also did the other side too.
 I ported my extension manifold with a hacksaw and dremel. I removed the center support where the butterflies used to be then knife-edged and smoothed the exposed primary/secondary walls. 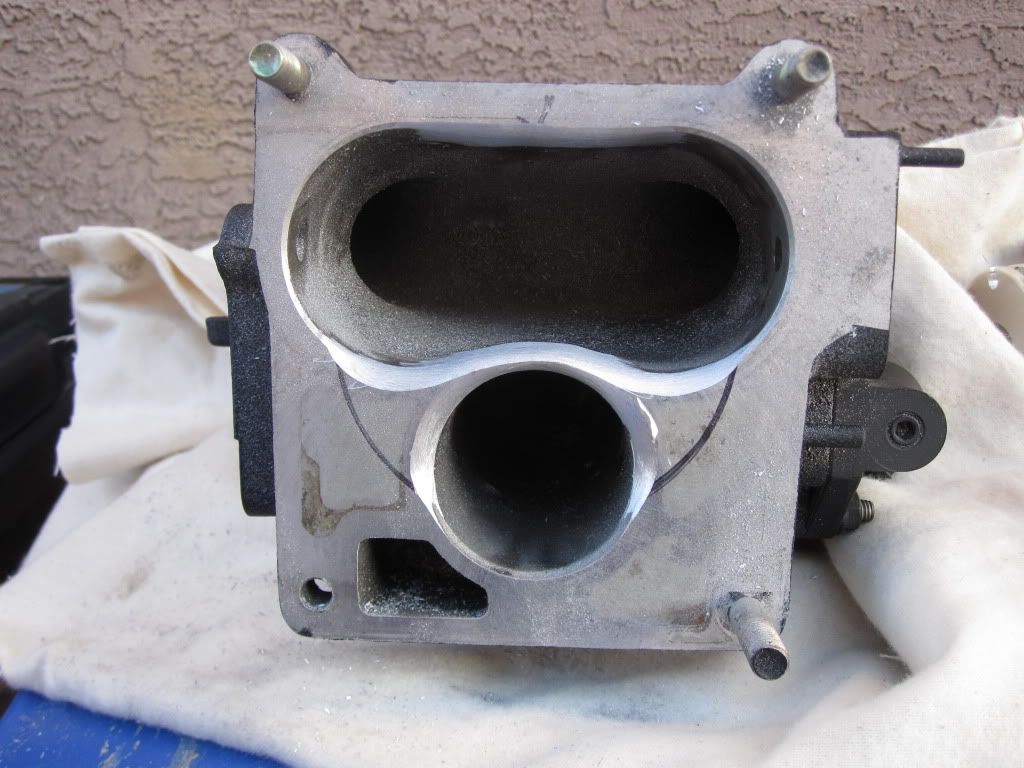 Now theres a better chance of taking advantage of the bigger throttle body: 
|
|
|

|
|
|
#2 |
|
Rotary Fanatic
Join Date: Dec 2008
Location: Mesa, Arizona
Posts: 114
Rep Power: 17  |
I used the OEM intake gasket to port match the LIM to UIM, and the gizzmo phenolic gasket to port match the LIM. It wasn't a lot of material but it sure did take awhile with the dremel.
Now that its done, I'm not sure if this was a good idea or not, as a local rotary expert told me that while it will help top end power by a few hp, it may create excessive intake reversion and low speed cruise backfiring/sputtering. Anybody else have any experience with this? I'm hoping the effect is minimal on my mostly stock ports as I anticipate a bit of a driveability loss already by replacing the stock throttle body and loosing the way it opened up the primary butterfly first. Xcessive LIM top (to stock UIM):  Xcessive LIM bottom:  stock UIM (to LIM): 
|
|
|

|
|
|
#3 |
|
Rotary Fanatic
Join Date: Oct 2008
Posts: 274
Rep Power: 18  |
Very original, thinking out of the box.
|
|
|

|
|
|
#4 |
|
Rotary Fan in Training
Join Date: Sep 2008
Location: NE Mesa, AZ
Posts: 46
Rep Power: 0  |
My new project
 It took a lot of convincing to get Jesse to agree to this. He was not that happy about having to remove the ABS, brake drum and everything else. But he did, and I think it is well worth it. Now we can also clean up all the stuff that was removed. I am a very happy camper now! It took a lot of convincing to get Jesse to agree to this. He was not that happy about having to remove the ABS, brake drum and everything else. But he did, and I think it is well worth it. Now we can also clean up all the stuff that was removed. I am a very happy camper now!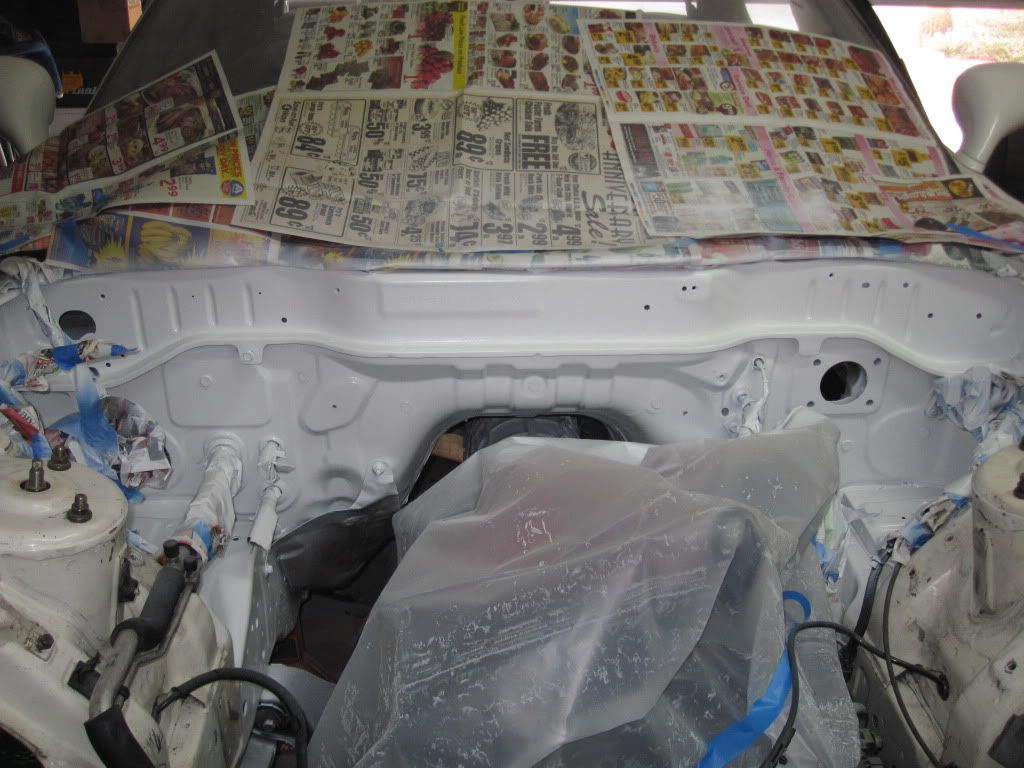 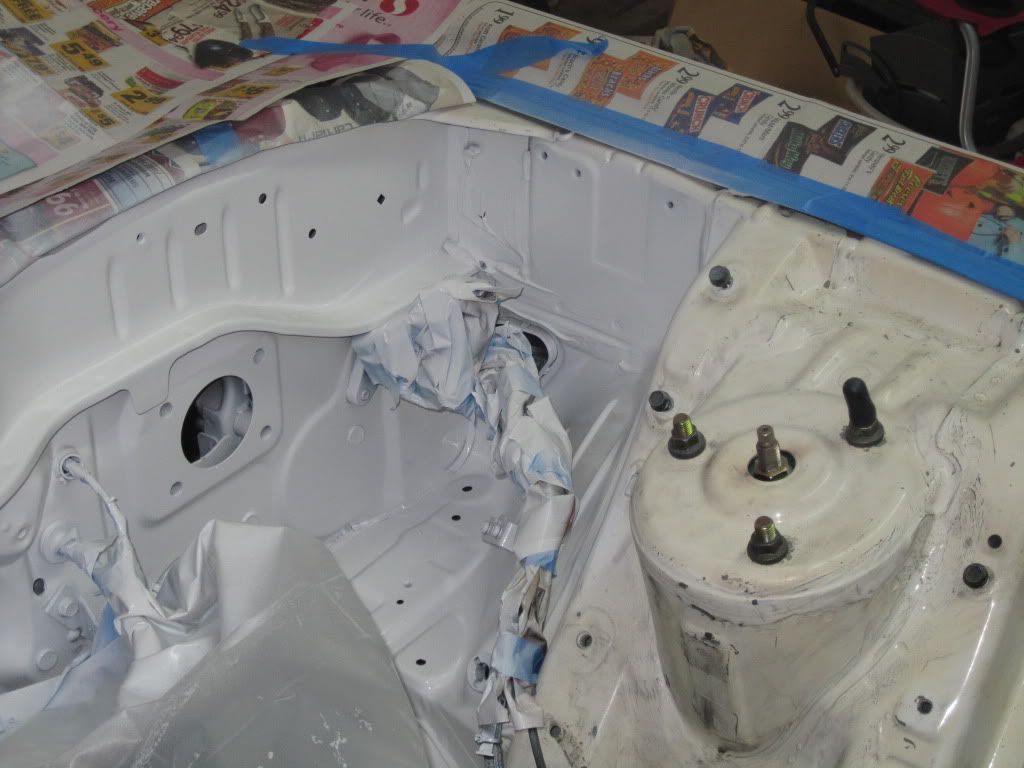 The white is not an identical match. But it is much better than the dirty, yellowed, burnt color currently in the engine bay. YAAA!! |
|
|

|
|
|
#5 |
|
Rotary Fanatic
Join Date: Mar 2008
Location: Phoenix, AZ
Posts: 288
Rep Power: 18  |
So, are you guys planning to paint the entire engine bay (around the shock towers and up to the front as well)? When are you going to be done with this project? Next Sevenstock?
 Tell Jesse to start burning up some of his vacation time!! Tell Jesse to start burning up some of his vacation time!!
|
|
|

|
|
|
#6 | |
|
Rotary Fanatic
Join Date: Dec 2008
Location: Mesa, Arizona
Posts: 114
Rep Power: 17  |
Quote:
Taking some vacation next week but not working on the car-- going to SEMA again. I had to stop my fiberglass water/meth tank because I ran out of the special methanol resistant resin and its not something you can find anywhere local. I got the internal baffling done though. Fasteners I got through ebay. I changed my mind about using the red ones since I think they're just a little too showy for me and am planning on using only the black ones. http://cgi.ebay.com/ebaymotors/ws/eB...K%3AMEWNX%3AIT 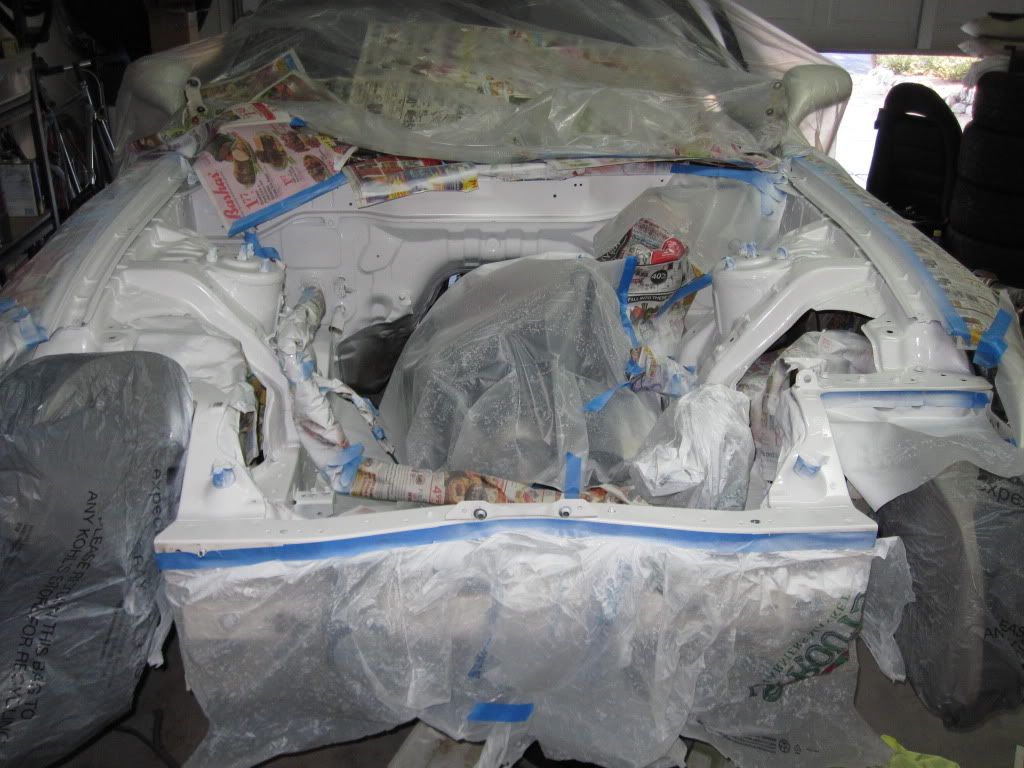 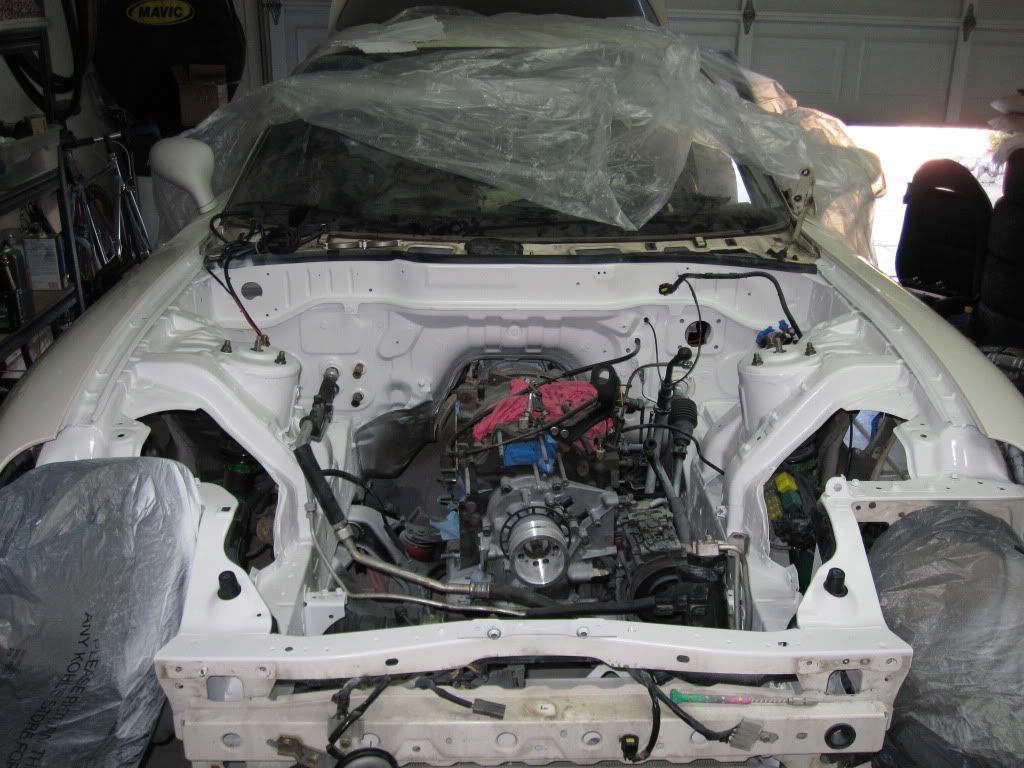 
|
|
|
|

|
|
|
#7 |
|
Rotary Fan in Training
Join Date: Sep 2008
Location: NE Mesa, AZ
Posts: 46
Rep Power: 0  |
This post is not about the FD, sorry. But, since we are in Las Vegas, it is about SEMA. Just having to brag a little bit. While walking around we ran into Tanner Foust and I got a sig and pic with him. I LOVE Tanner!!!
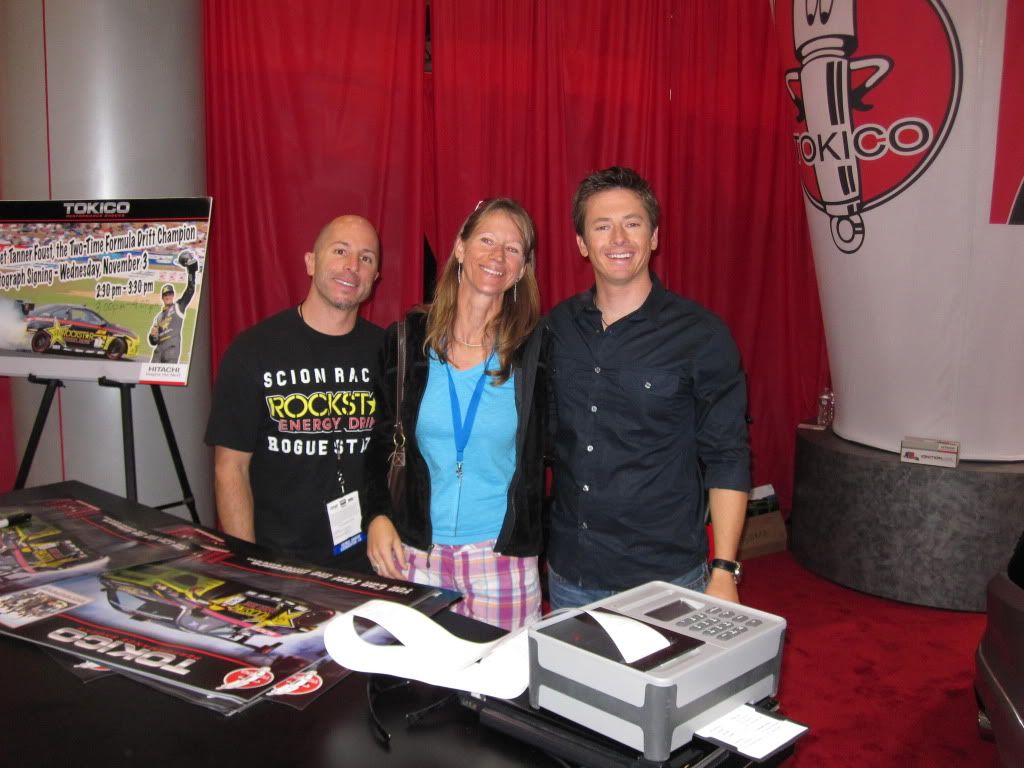 I don't know who the little bald guy is, he kind of slipped into the picture. He is some drifter guy that competes with Tanner. And for all you Petrol Heads, we were invited to an exclusive screening of the History Channels U.S. version of Top Gear. 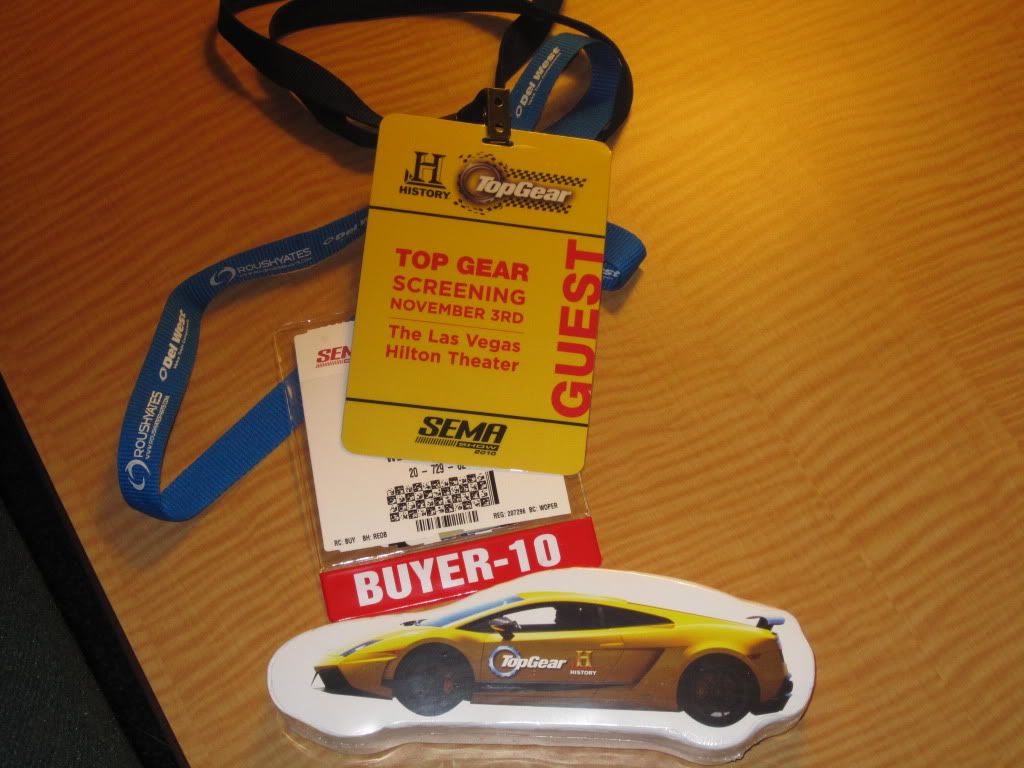 While Jesse and I were sitting there waiting for the show to begin we mentioned how we would never accept the new hosts since they would not be Jeremy, Richard or Captain Slow. Much to our surprise and excitement, one of the new hosts is TANNER FOUST!!!! Did I mention how much I LOVE Tanner?!!!?? They did not change a thing about the show. The great cinematography is the same, the same type of challenges and commentary while driving in the cars. I think they did a great job. And Tanner Foust is in it  They went with the History Channel so they can give honest opinions of the cars, without bothering whether it hurts the car manufacturer. The show starts Nov 21st at 10pm. Set your Tivo's now!! They went with the History Channel so they can give honest opinions of the cars, without bothering whether it hurts the car manufacturer. The show starts Nov 21st at 10pm. Set your Tivo's now!!We also got video of Ken Block drifting in the parking lot. He was giving ride alongs in his bad ass little 650hp Ford Fiesta. That would be a blast, as long as they had a barf bucket in there. We will post all the pics and videos in the regional section once we get back home. |
|
|

|
|
|
#8 |
|
RCC Loves Me Not You
Join Date: Mar 2008
Location: Colorado Springs, CO
Posts: 2,089
Rep Power: 20  |
The "little bald guy" is Stephen Papadakis LOL!! AFAIK he stared out drag racing Civics back in the day and now he's moved on to drifting, an S2000 I believe.
That's cool you got to meet those guys though. I wish we could have made SEMA again this year  I love the water/meth tank btw, my roommate was going to have one made but the company quoted him about $8k, YIKES!! Last edited by speedjunkie; 11-04-2010 at 07:48 PM. |
|
|

|
|
|
#9 |
|
Rotary Fanatic
Join Date: Dec 2008
Location: Mesa, Arizona
Posts: 114
Rep Power: 17  |
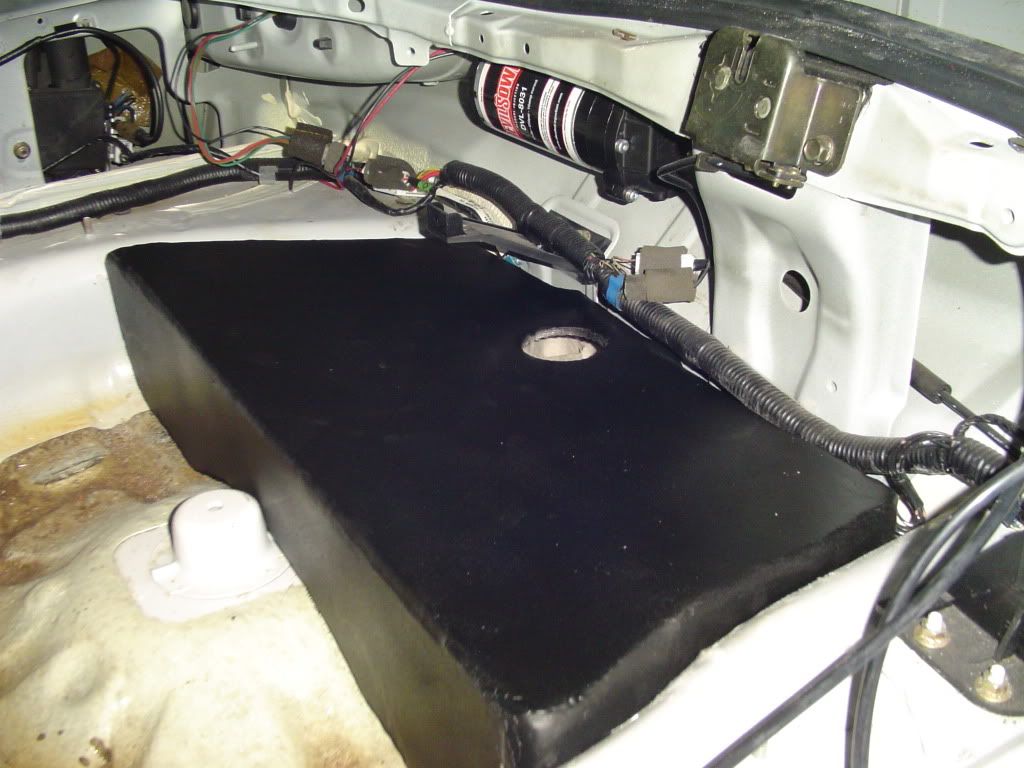
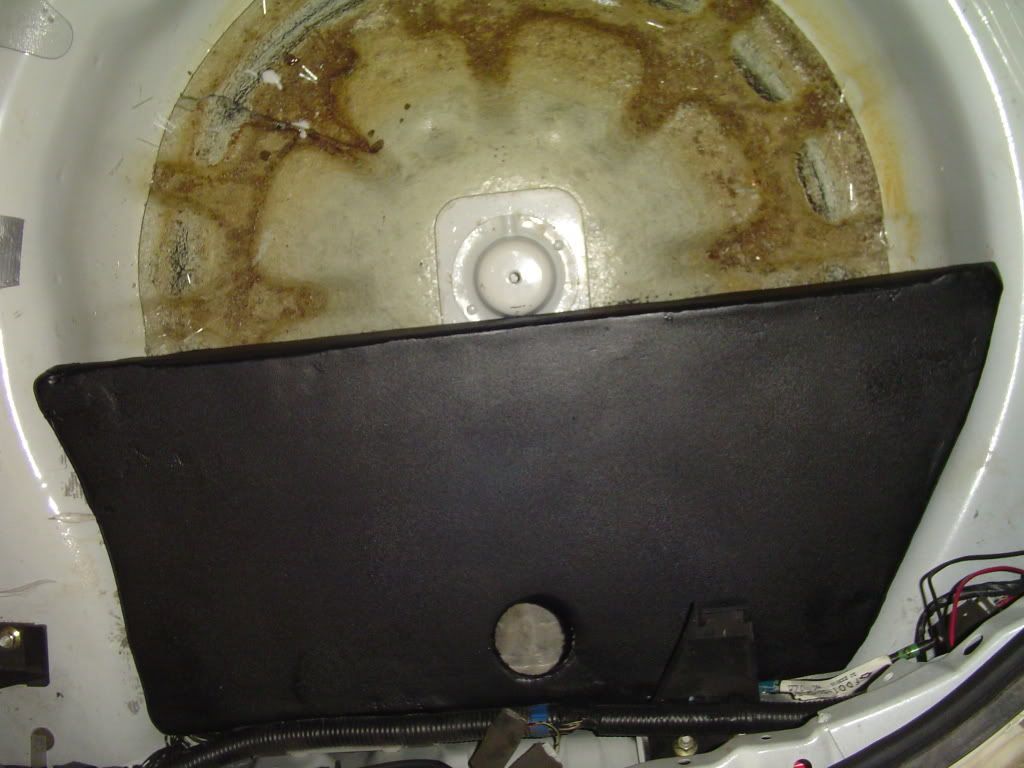
The fiberglass water/meth reservoir is done. It holds 3.9 gallons and locks in perfectly to the contours of the spare tire well. I'm going to use the stock rear washer fluid reservoir with a hidden hose to the spare-tire reservoir too for convenient fillup and slightly increased capacity. The rear pickup and internal baffling should keep things safe when accelerating or cornering.
|
|
|

|
|
|
#10 |
|
The quest for more torque
Join Date: Sep 2008
Location: Sheboygan, Wisconsin
Posts: 855
Rep Power: 18  |
That is cool, did you use a black resin or paint that tank?
The baffles are a really good idea, not only do they constrain the fuel, they add strength and support for the rear hatch area. Keep up the good work
__________________
1986 GXL ('87 4-port NA - Haltech E8, LS2 Coils. Defined Autoworks Headers, Dual 2.5" Exhaust (Dual Superflow, dBX mufflers) 1991 Coupe (KYB AGX Shocks, Eibach lowering springs, RB exhaust, Stock and Automatic) |
|
|

|
|
|
#11 |
|
Rotary Fanatic
Join Date: Dec 2008
Location: Mesa, Arizona
Posts: 114
Rep Power: 17  |
No, I used vinylester resin which dries a semi-translucent amber. The black is a truck bed liner spraycan.
|
|
|

|
|
|
#12 |
|
Bubble Tech
Join Date: Oct 2008
Posts: 161
Rep Power: 17  |
awesome man. do u have abetter picture of how the baffles work? i love this idea because the spare tire well is such a waste of space... great idea!
|
|
|

|
|
|
#13 | |
|
Rotary Fanatic
Join Date: Dec 2008
Location: Mesa, Arizona
Posts: 114
Rep Power: 17  |
Quote:
Under straight line acceleration, the fluid will collect toward the rear and the pickup is in the rear, so no problem there. Under lateral/cornering g-forces, the fluid on the sides must flow through the rear pickup chamber to get from one side to the other. The holes between the chambers are not big, so flow rate from one side of the reservoir to the other takes a long time. 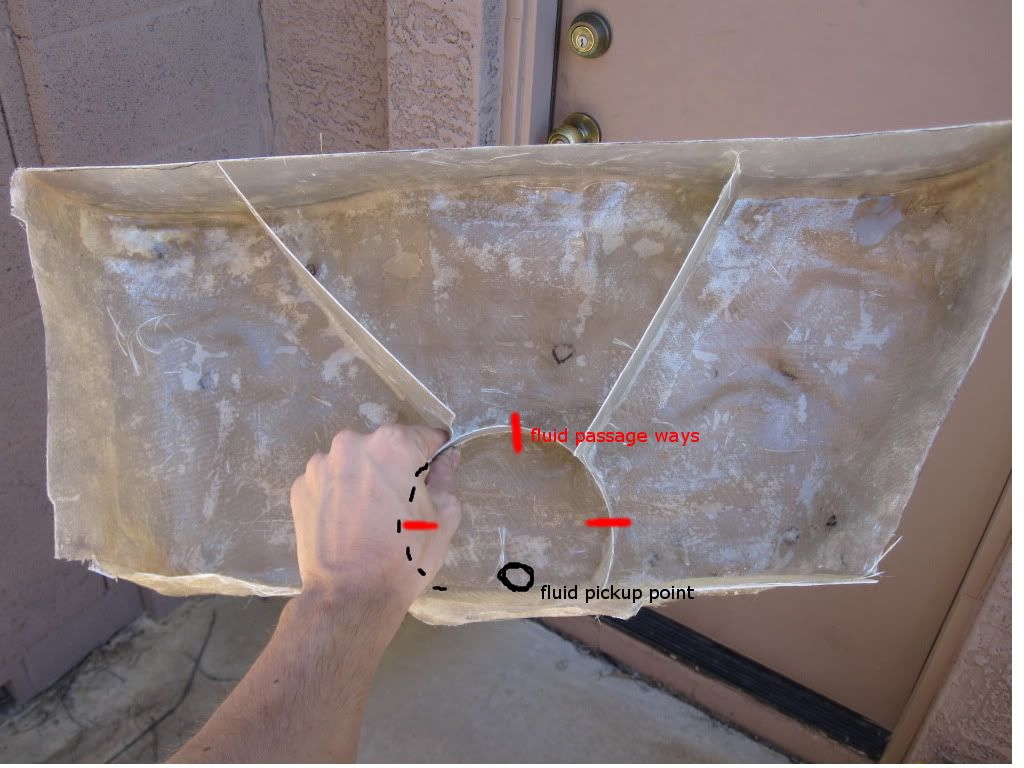
|
|
|
|

|
|
|
#14 | ||
|
Half bubble off plumb
Join Date: Jan 2010
Location: middle of Alberta
Posts: 301
Rep Power: 16  |
Have you considered creating something so it makes the passageways one way? little rubber flap or something to discourage the fluid from exiting the pickup point....?
either way, looks great... I'm currently considering removed my spare tire and getting a size appropriate battery, and mount it in the wheel well, As I have rear seats, and despise having the battery sitting out in open, maybe get a Braille battery that can be mounted sideways.... Looks great, waiting for more updates... J.
__________________
Quote:
Quote:
"The most respected cars in history are the ones which stick to their guns, do things differently and make no apologies for it." 360 gamertag: Tichlis |
||
|
|

|
|
|
#15 | |
|
Rotary Fanatic
Join Date: Dec 2008
Location: Mesa, Arizona
Posts: 114
Rep Power: 17  |
Quote:
One of the reasons I went with such a large reservoir was partially to compensate a small intercooler by spraying more water/meth. This is now moot as I've had to abandon that PFS intercooler because I didn't like how I was going to have run the ductwork. So I decided to just do a vmount. Rotary-works sells a good starting point for a semi roll-your-own vmount. 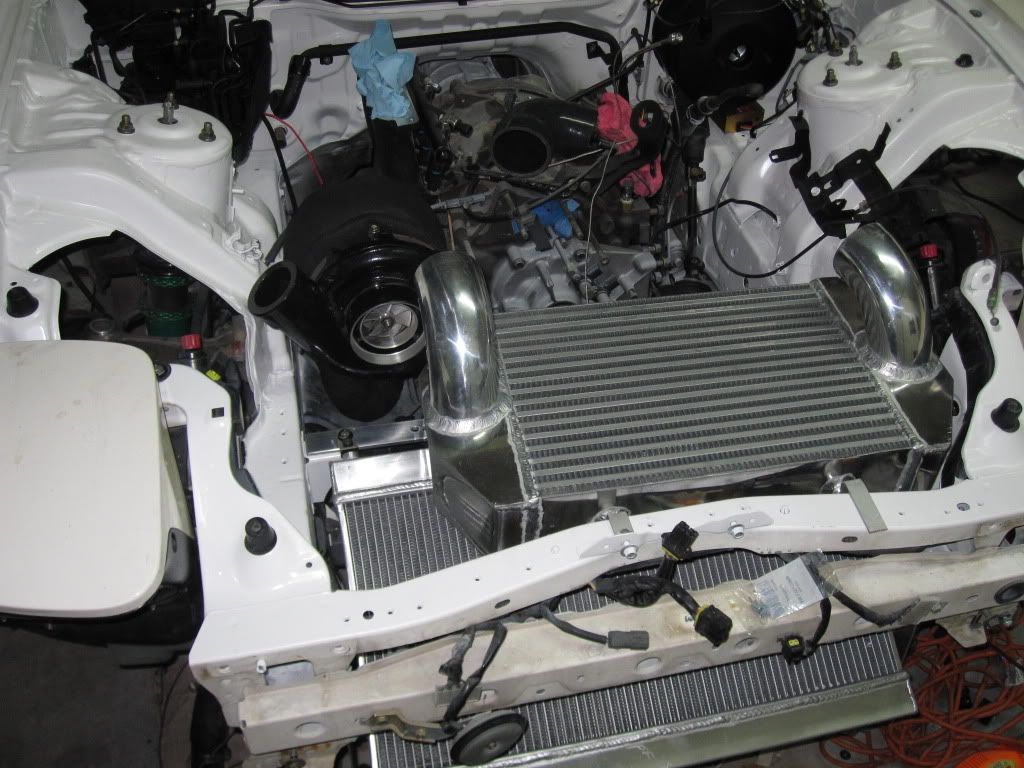 Nice thing about this setup is I have a lot of room to run a cold/ram air intake into the turbo-- I had to change and make some of my own brackets because the stock brackets center the intercooler (I shifted it all the way to the drivers side), but no welding which is good. The radiator and intercooler already have some M8x1.25 screw bosses welded on to make mount tweaking pretty easy.  The radiator did not have to be modified and is designed for this mounting configuration and has a nice clean looking bottom endtank:  One more pic: I header-wrapped my exhaust manifold with some lava-rock type header wrap that looks like carbon fiber and then painted it with some silicone-based header wrap paint. I also drilled & re-tapped the turbo flange to fit the expensive OEM inconel studs used on the stock twins. 
|
|
|
|

|
 |
| Bookmarks |
| Thread Tools | |
| Display Modes | |
|
|