|
|||||||


| Show your rotary car build up. Show off your Rotary Car build! |
 |
|
|
Thread Tools | Display Modes |
|
|||||||
| Show your rotary car build up. Show off your Rotary Car build! |
|
|
|
Thread Tools | Display Modes |
|
|
 09-11-2010, 05:44 AM
|
#1 |
|
Rotary Fanatic
Join Date: Mar 2010
Location: Norway
Posts: 163
Rep Power: 16  |
The RX7 will be staying in theis garage while i finish my bachelor degree, so i have the oppurtunity to do a bit more extensive work than i first had planned
 Picture time           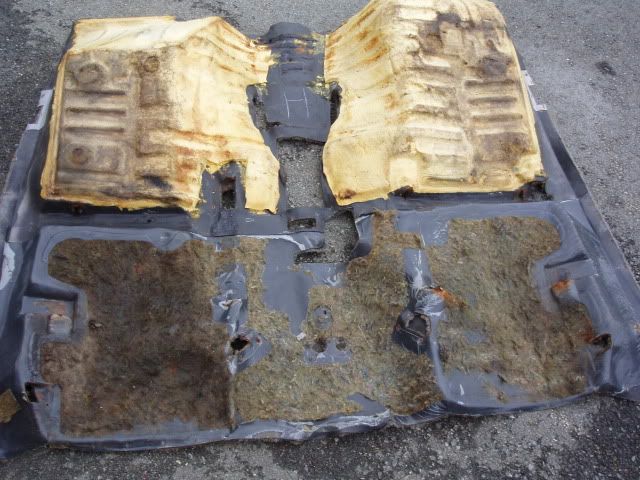 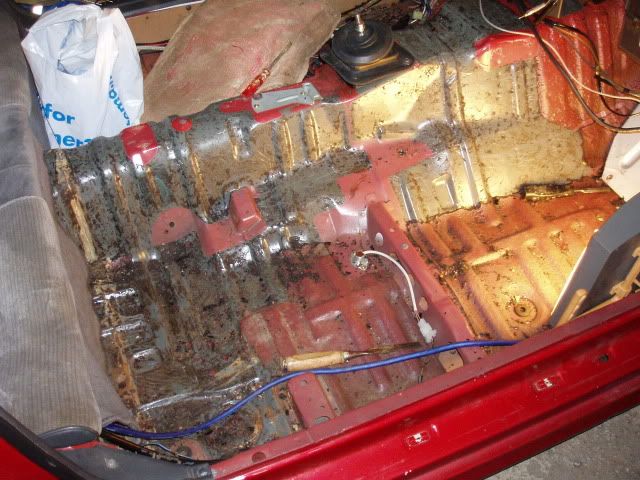 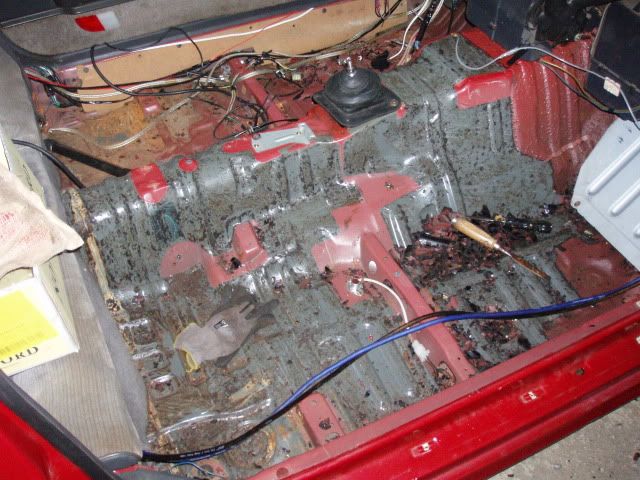 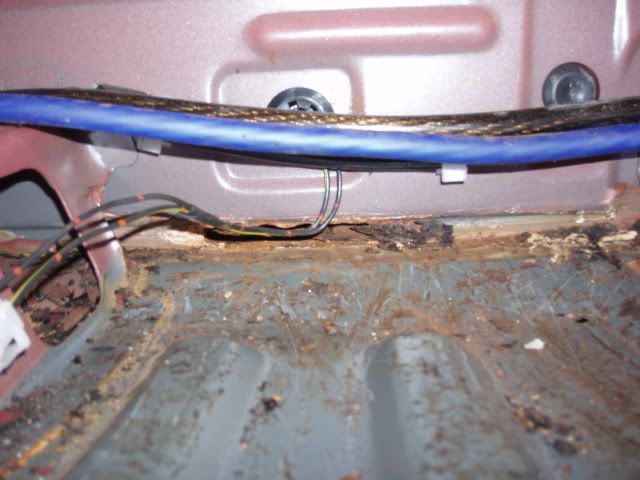 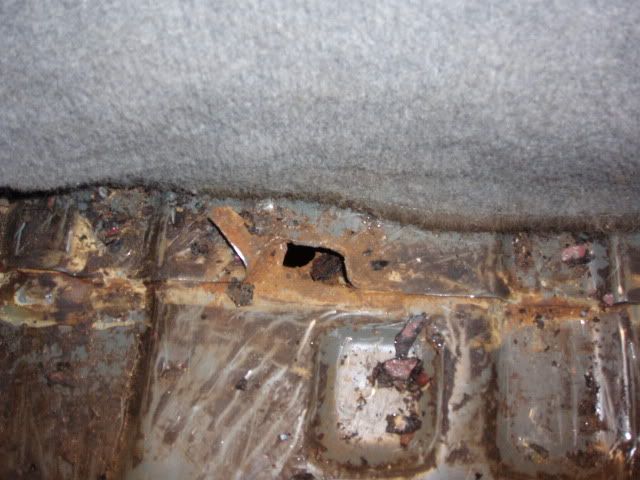  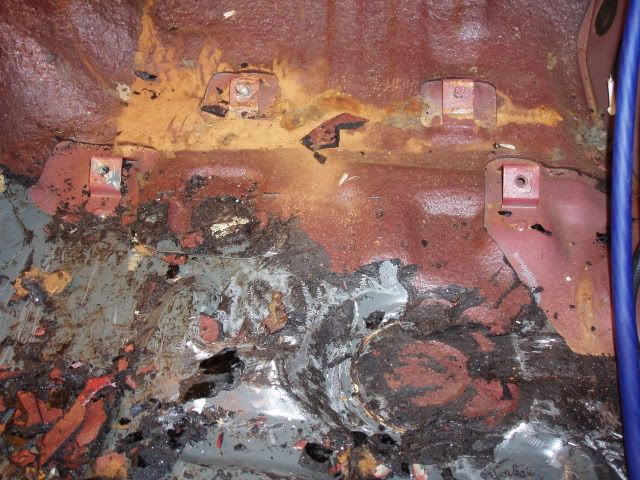 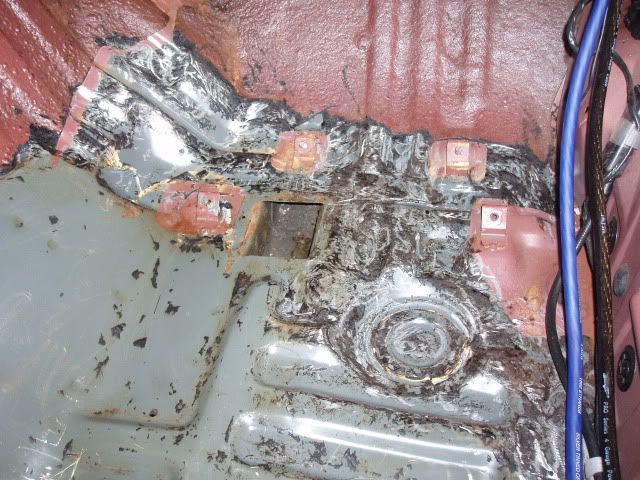
|

|

|
|
09-11-2010, 05:38 PM
|
#2 |
|
The quest for more torque

Join Date: Sep 2008
Location: Sheboygan, Wisconsin
Posts: 855
Rep Power: 17 |
The last shots look familiar, the interior is a pain on the FC, but it has to be fixed sometime...
I see you used the opportunity to run power to your subs - good idea, do it right and it probably won't short out and leave you stranded. Looks good so far. By the way Max777, the engine is typically the driving factor in air flow rate at a given boost level. With the intake air pressure (boost) kept constant, I can only think of two methods that the air flow rate through the engine could increase by merely changing the turbo: Method 1: More dense air (cooler charge) due to a more efficient compressor. This actually helps the engine keep from detonating. Method 2: Lower exhaust backpressure due to a more efficient turbine - decreases the exhaust reversion which lowers the intake air temperature... once again decreasing the tendency to detonate. The project looks good!
__________________
1986 GXL ('87 4-port NA - Haltech E8, LS2 Coils. Defined Autoworks Headers, Dual 2.5" Exhaust (Dual Superflow, dBX mufflers) 1991 Coupe (KYB AGX Shocks, Eibach lowering springs, RB exhaust, Stock and Automatic) |
|
|
|
|
10-03-2010, 06:29 AM
|
#3 |
|
Rotary Fanatic
Join Date: Mar 2010
Location: Norway
Posts: 163
Rep Power: 16 |
Found some more rust, and the worst i've seen on the car so far. Still it's not to bad for a car from 86
 And on the bright side, i should become fairly good at welding once i'm done with the rust repair. 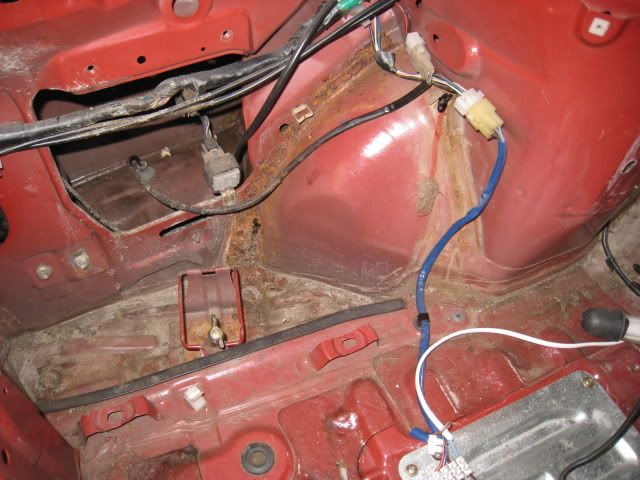 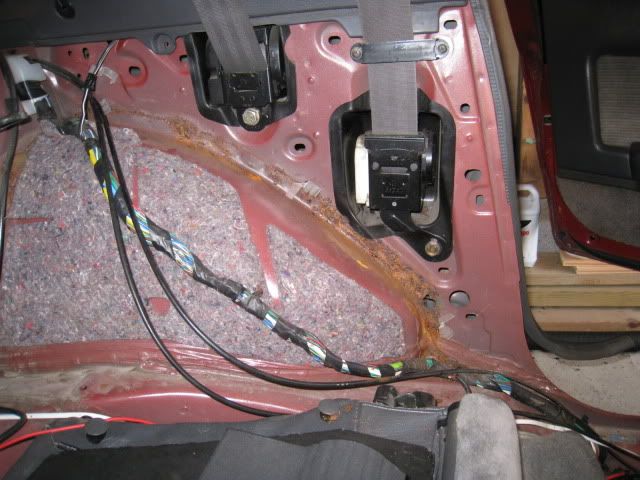 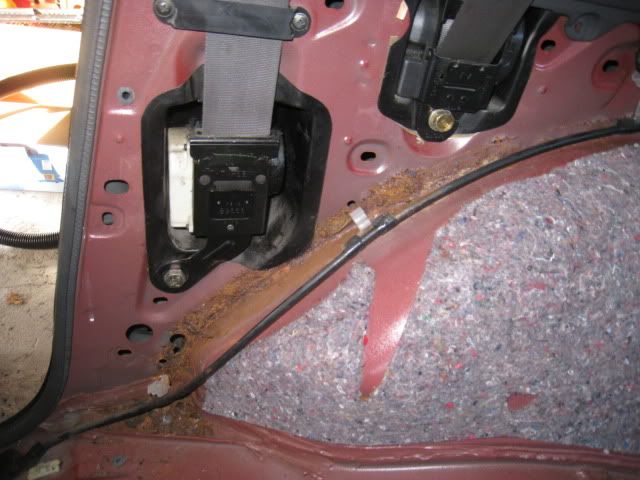
|
|
|
|
|
12-27-2010, 05:58 PM
|
#4 |
|
Rotary Fanatic
Join Date: Mar 2010
Location: Norway
Posts: 163
Rep Power: 16 |
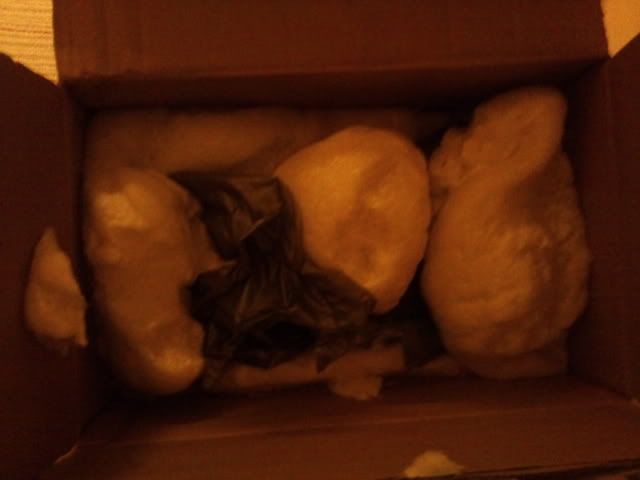
Bought a present from me to me

|
|
|
|
|
01-01-2011, 12:02 AM
|
#5 |
|
Not a fan of rust...

Join Date: Apr 2010
Location: Chicagoland!
Posts: 4
Rep Power: 0 |
Good progress. Much rust on the underbody?
__________________
88 vert 87 SE |
|
|
|
|
01-01-2011, 07:32 PM
|
#6 |
|
Rotary Fanatic
Join Date: Mar 2010
Location: Norway
Posts: 163
Rep Power: 16 |
No, the underbody was done by the last owner, and from what i can tell the only place there is rust under the car is on the rear tow hook
I tried the mig today, probably going to take a little while before i'm good enough to weld anything on the car tho. |
|
|
|
|
01-16-2011, 07:00 PM
|
#7 |
|
Rotary Fanatic
Join Date: Mar 2010
Location: Norway
Posts: 163
Rep Power: 16 |
Gas tank is out, so now i can start prepping and welding
Also took of the entire exhaust to get rid of all leaks, and to get rid of the tension in the downpipe.  
|
|
|
|
|
01-26-2011, 08:10 AM
|
#8 |
|
Rotary Fanatic
Join Date: Mar 2010
Location: Norway
Posts: 163
Rep Power: 16 |
Welded up everything that had to be welded, but my dad wants the garage back since he wants it for his new car :/ so i haveto start putting the car back togheter, and postpone the full restoration until i have a place of my own.
Anyway, New stuff from mazdatrix 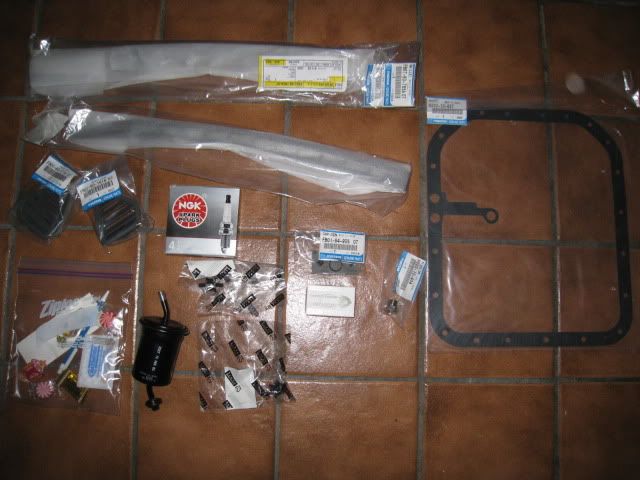 Gasket for oil pan, defroster covers, spark plugs, fuel filter with mountings, rotary key ring and some mazdatrix stuff + candy
|
|
|
|
|
01-28-2011, 06:20 PM
|
#9 |
|
Rotary Fanatic
Join Date: Mar 2010
Location: Norway
Posts: 163
Rep Power: 16 |
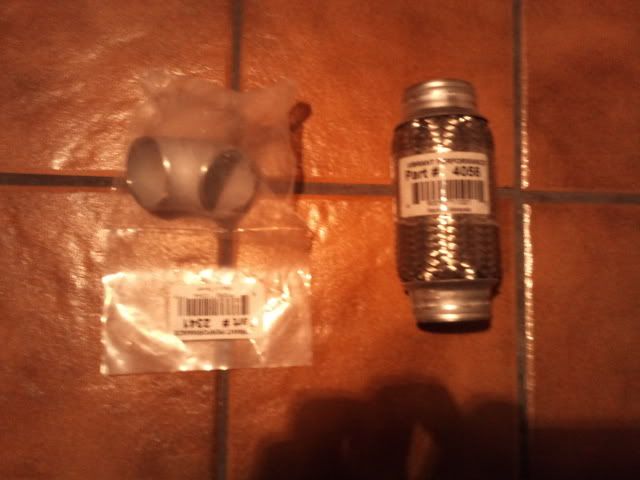
Some parts for the downpipe/wastegate arrived today
|
|
|
|
|
05-24-2011, 06:20 AM
|
#10 |
|
Backyard Mechanic

Join Date: Dec 2010
Posts: 50
Rep Power: 15 |
Looks good, was it a pain to put in that oil pan brace with the engine installed? I have one that i still need to install.
|
|
|
|
|
05-24-2011, 06:51 AM
|
#11 |
|
Rotary Fanatic
Join Date: Mar 2010
Location: Norway
Posts: 163
Rep Power: 16 |
Well i was in a garage with a garage pit, and i had help. But no it wasn't to difficult, just as long as you support the engine properly so it doesn't move when you take off the engine mount. The first time i had a jack underneath but the engine still shifted enough to make it a pita to get the engine mount back on, and with the engine further down the studs where almost impossible to get in some places, so i used some 2"4" and supported the engine from the top and it didn't move at all.
You can use an allen key on most of the studs, but on the front row i used two nuts thightened agains each other, and a little ratchet with and extender and a angle thingy(picture i don't know what it's called in english), it's a bit fiddly but it's doable. Also a warning, it's probably not possible to get the oil pan on without scratching agaisnt the studs, so i had the sealent on the block, not the pan. 
|
|
|
|
|
05-24-2011, 04:14 PM
|
#12 |
|
Rotary Fanatic
Join Date: Mar 2010
Location: Norway
Posts: 163
Rep Power: 16 |
Got started on tearing down, semi wiretuck and tb mod are among the stuff i plan to get done
Tmic, UIM, TB and vacumpipes are of the car.        Alot of unecessery when only 2 fuel lines and 3 vacuum lines where in used.  Anybody know what this is for? can i remove it? 
|
|
|
|
|
05-27-2011, 04:22 PM
|
#13 |
|
Rotary Fanatic
Join Date: Mar 2010
Location: Norway
Posts: 163
Rep Power: 16 |
assuming this is map sensor and FCD, shouldn't the vacum pipe be connected somewhere?
 Anybody know what this green plug is for? the wire runs by a relay out to the headlight, but not shure where it actually end's up.   Anybody know what theese to are?    New wires for 02 and water temp 
|
|
|
|
|
05-30-2011, 07:18 AM
|
#14 |
|
Rotary Fanatic
Join Date: Mar 2010
Location: Norway
Posts: 163
Rep Power: 16 |
Did the TB mod
 Stuff that came off the tb.  made some cover plates instead of using threaded plugs like the Fc3spro how to says. This way it's possible to return the tb to stock again.  
|
|
|
|
|
11-24-2011, 03:27 PM
|
#15 |
|
Rotary Fanatic
Join Date: Mar 2010
Location: Norway
Posts: 163
Rep Power: 16 |
Itb's arrived today, looks like they will be a perfect base for the semi pp itb setup
 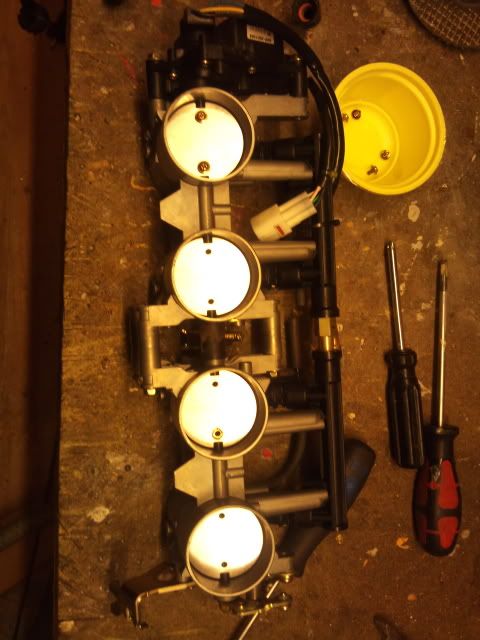 Removed secondary butterfly's 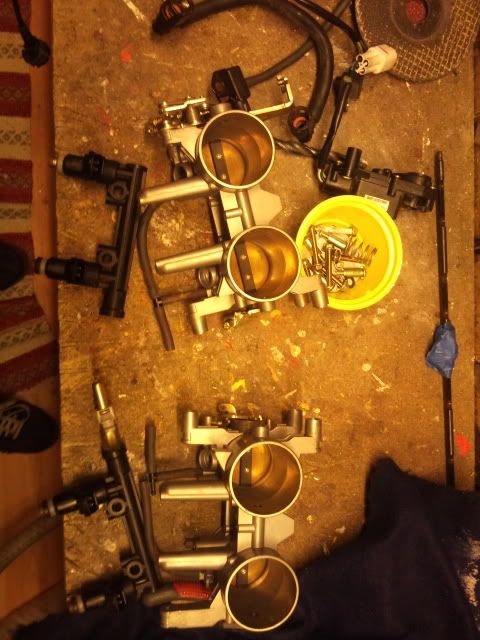 Fuel railene kan taes av og snus om sånn jeg vil ha de. 
|
|
|
|
|
| Bookmarks |
| Thread Tools | |
| Display Modes | |
|
|


 Hybrid Mode
