|
|||||||
| RX-7 3rd Gen Specific (1993-2002) RX-7 1993-2002 Discussion including performance modifications and Technical Support Sections. |
 |
|
|
Thread Tools | Display Modes |
|
|||||||
| RX-7 3rd Gen Specific (1993-2002) RX-7 1993-2002 Discussion including performance modifications and Technical Support Sections. |
 |
|
|
Thread Tools | Display Modes |
|
|
#1 |
|
Rotary Fanatic
Join Date: Mar 2008
Posts: 162
Rep Power: 18  |
My engine build
I picked up this car in December-ish 06'. Had about 2.5k miles on the rebuild by the previous owner. It was rebuilt by a builder in southern CA. Not long after owning the car, I started having cooling system issues. After I drove the car for a few thousand miles the issues kept getting worse. At this point I am certain of the cooling seals failing and start making plans to rebuild this motor myself. So I sucked it up and jumped into the open heart surgery.
To prepare, I watched Bruce Turrentine's videos on motor R&R and 13b overhaul. It was just a resource to get familiar with the job though, I pretty much just learned everything as I went. Started with everything late on a friday night. Drained coolant and oil. Disconnecting everything connecting the engine to the car. Pulled the engine harness connectors through the firewall, disconnected the connectors on the drivers side harness, and tranny. Undid the 6 pressure plate screws through tranny inspection hole. Disconnected oil cooler lines. 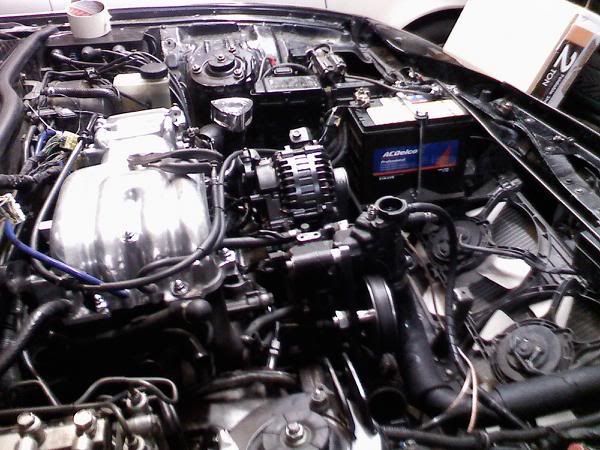 Bought an engine hoist from Kragen, pulled the engine out. 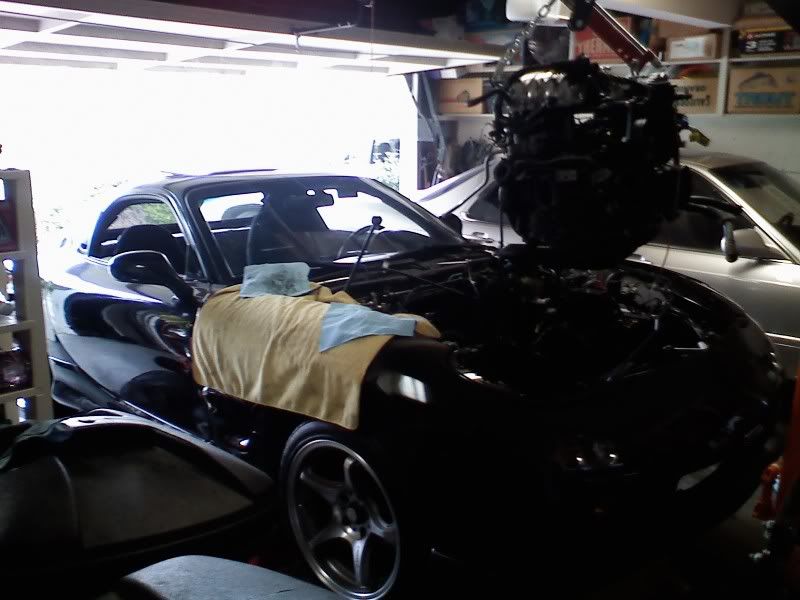 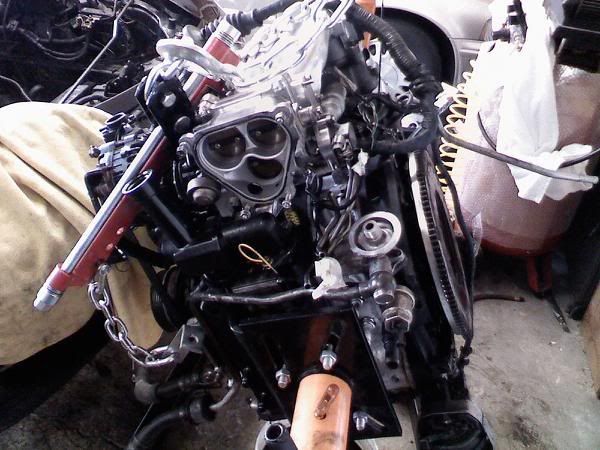
|
|
|

|
|
|
#2 |
|
Rotary Fanatic
Join Date: Mar 2008
Posts: 162
Rep Power: 18  |
Teardown
Tearing off the accessories from the longblock to shortblock, I found it best to take your time here! Taking the time to stay organized here will help greatly in the long run. Thoroughly clean parts and inspect them as you take them off, place all small items (nuts, bolts, keyways, etc.) in plastic bags and label them. Label all parts that you aren't very familiar with. My project took longer than I had expected, and if I were a little more organized, that would've saved headaches down the road.
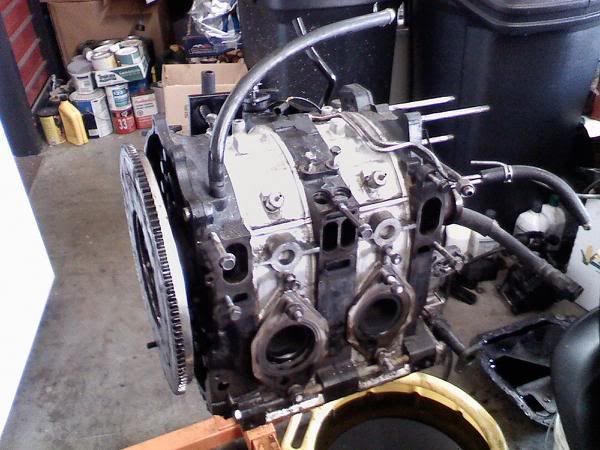 Staying organized is even more vital when you get into the motor! After teardown, cleanup, inspections, and measurements, I found that I could reuse a lot of parts from this motor (keep in mind it was just rebuilt a few thousand miles ago), and I also found parts that probably shouldnt have been used during the last build. 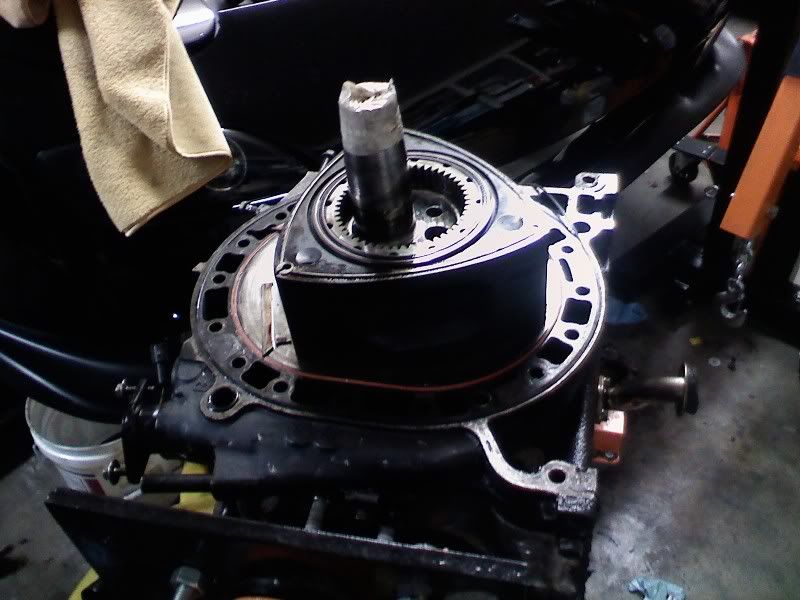 I found some uneven wear on the stationary gear bearings. Rather than build with a bit of doubt, I replaced them with RX8 gears. I could have replaced the bearings and reused the gears themselves, but looking at the price options for the bearings and the necessary special tool, I decided just to save the work of installing gears and spent a little more on new RX8 gears with bearings already installed. For some reason I found 11 of the FD blade type corner seal springs, and one older ring style spring. That corner seal happened to be cracked at it's thinnest point, may be just a coincidence, maybe not. I didn't realize it until that point, but I probably had low compression on those 2 rotor faces. I ended up replacing a few worn corner seals and 12 new corner seal springs. It's a mystery to me as to how it got there, but I also noticed before that my rear iron is from an automatic. My car model is an R1, so it was always manual transmission, but I guess in one of the previous motor builds they used an Auto rear iron. No big deal. As I was unstacking the housings, the water seals popped out by themselves. They were HUGE in diameter and looked swelled/stretched. Is this a usual occurance even on a low mileage rebuild? Does this indicate overheating? |
|
|

|
|
|
#3 | |
|
FUCK the fucking fuckers
Join Date: Mar 2008
Location: THE only Bay Area, Northern California
Posts: 3,172
Rep Power: 21  |
damn,props for jumping into it like this. Best way to learn is to do it yourself. You worked your ass off. How long from start to finish?
__________________
Quote:
 Last edited by Phoenix7; 09-11-2008 at 07:50 PM. |
|
|
|

|
|
|
#4 |
|
Rotary Fanatic
Join Date: Mar 2008
Posts: 162
Rep Power: 18  |
Porting, waiting for parts, etc.
I dropped off my irons and housings to Rene at RMS (Rene's motors sports). He did an awesome port job. I talked it over with him a little and we decided a fairly big streetport was what I was looking for. HP figures are up in the air, but just in case later on I want to go for big numbers, we installed heavy duty studs to address flexing. There are 4 of them, and I reused the stock tension bolts on the other holes. He bored out the holes through all of the housings (the studs are larger diameter than stock) and made threads in the front iron.
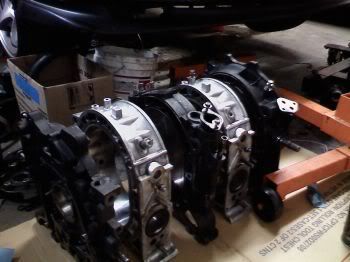 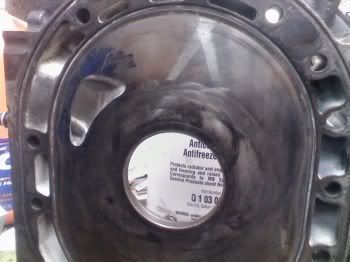 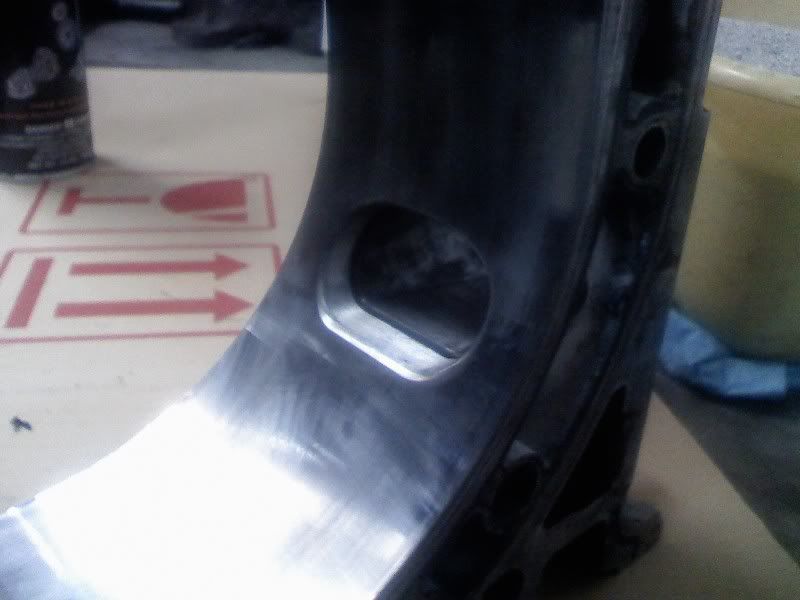
|
|
|

|
|
|
#5 |
|
Rotary Fanatic
Join Date: Mar 2008
Posts: 162
Rep Power: 18  |
Engine building
Now here's the fun part. It's actually a funny story. Not so funny for me when I was doing it, but now it's a funny story.
I had the motor together and everything was fine and dandy. I was about to put the rear iron on, and as I was doing so, I hear something small fall. I pull the rear iron off and I had a corner apex seal piece missing. No where to be found. Oh shit. The corner piece popped out of the rotor and into the cooling jacket. Only way to get it at this point was to tear the motor down. WOW. I tried gluing the apex seal pieces together at first, but I just made a mess, so I was just putting the corner pieces in, and carefully putting the pieces on top. For those that don't know, the corner pieces I am talking about are little triangles under spring tension. Attempt no. II. Retrieved the corner piece from the front iron, and went at it again. Everything went smoothly until I put the rear rotor on. I somehow I cracked one of the corner seals when I was setting the rotor onto the intermediate plate. GREAT. So I ordered another one and tore the motor down. My thinking at the time was that since there was silicone curing, that it would only cure right if the motor was together and the tension bolts torqued, so I tore the motor down AGAIN. Third and last attempt. Went smoothly and I had a freshly rebuilt shortblock which I was confident and proud of my work. I used Crisco to hold seals in place, and Marvel mystery oil, engine honey, and Mobil one synthetic as assembly lube. Here you can see the 4 studs. 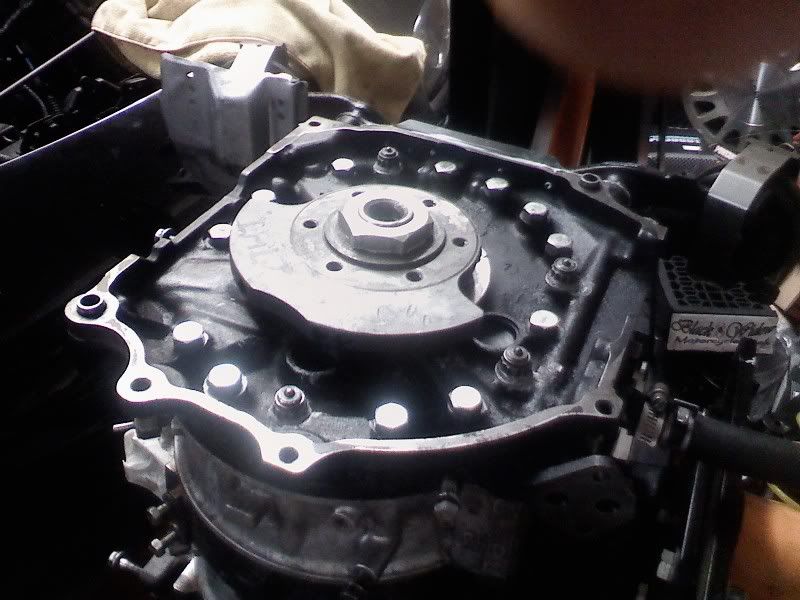 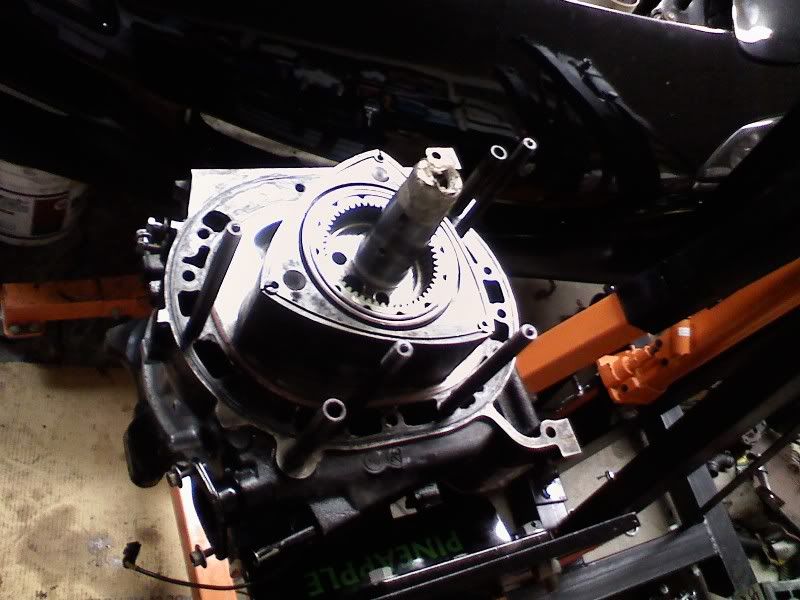
|
|
|

|
|
|
#6 |
|
Rotary Fanatic
Join Date: Mar 2008
Posts: 162
Rep Power: 18  |
Other mods/stuff, reinstalling engine
Had the front cover and a few other items powder coated by Rotary resurrection. Excellent job
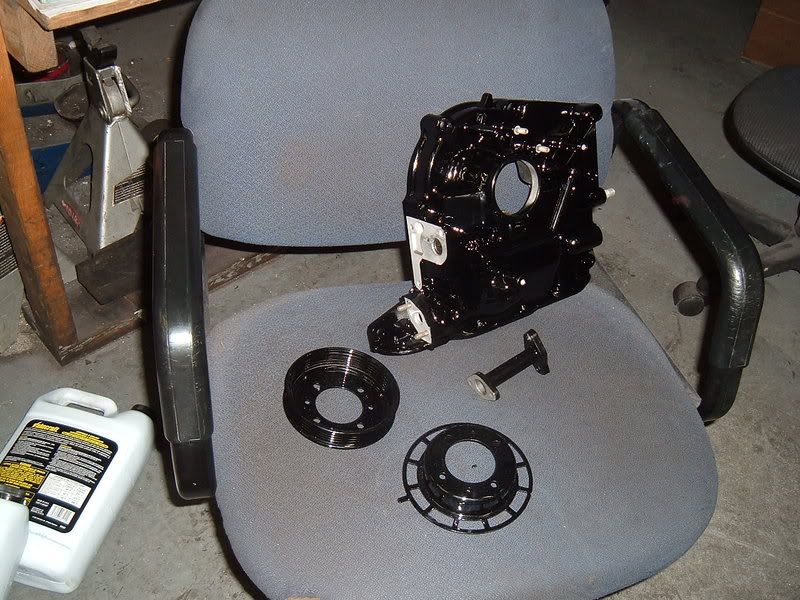 Since I deleted the throttle body coolant circuit, i cut off the nipples, tapped and plugged the holes in the rear iron and front thermostat housing. I used brass plugs with NPFT threads. I used special taps with these threads also, they are for dry sealing. 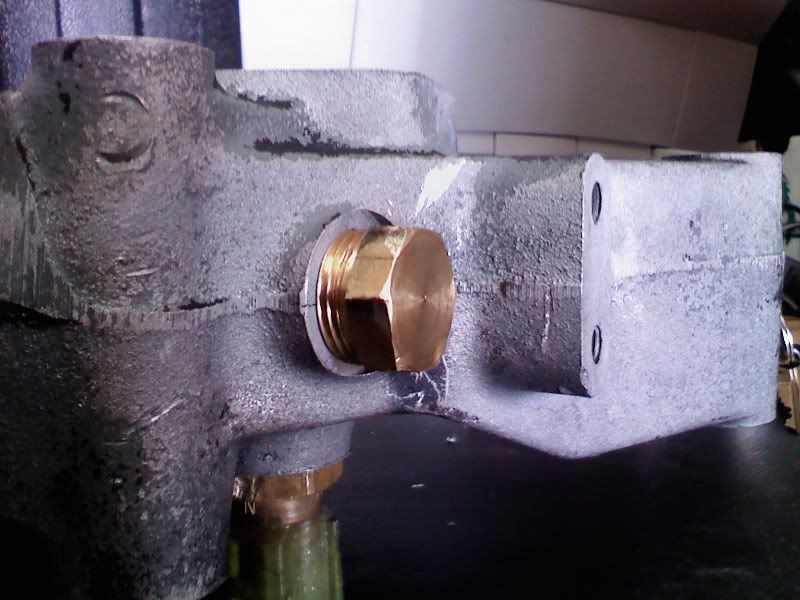 I installed a new oil pan with HondaBonda sealant. Garfinkle's oil pan brace, and a Moroso stud kit. Has held up well and so far has no leaks. New Mazda water pump. Replaced passenger side motor mount puck. ACT prolite flywheel and street/strip clutch. I already had an alum. 9.5lb flywheel and CW, but I found a killer deal on a package, so I went ahead and got it. My turbo setup for a while was the Poorman's nonseq. I cut off the flapper in the manifold and had a professional welder friend put a beautiful bridge sealing the manifold. Welded the other door open, installed a low mileage CHRA for the primary, and a rebuilt and balanced CHRA for the secondary. Ported the wastegate. Drilled and tapped the manifold for pre-turbo EGT sensors. I am using sensors from teamrip.com. Same welder welded shut the now unnecessary holes in my Efini Y-pipe. Deleted unneeded connectors from engine harness and rewrapped with 3M fabric tape. (I'm nonseq. and no emissions). Pressure tested block with Pineapple's special tool. Very useful tool to bring peace of mind to first time builders. 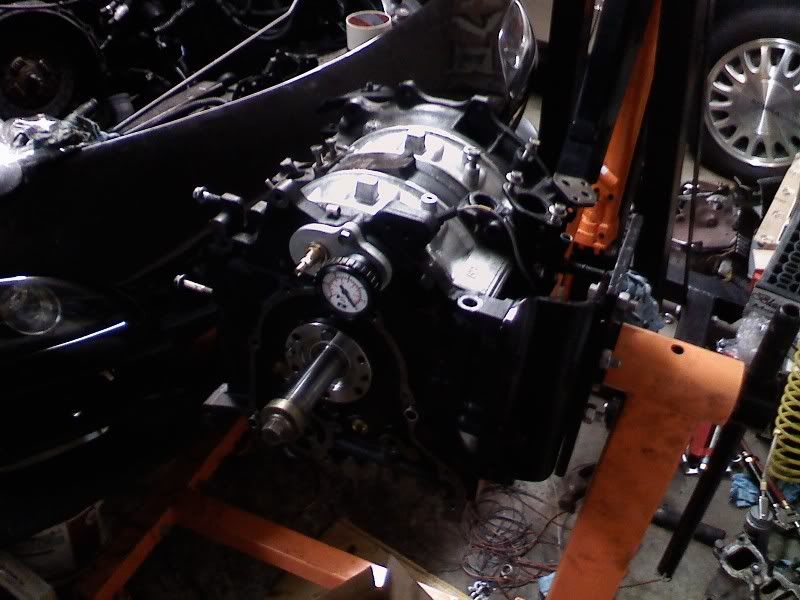 Plugged the OMP injector holes and blocked off the OMP with parts from Pineapple. Put back all the accessories to make the longblock ready to drop in. 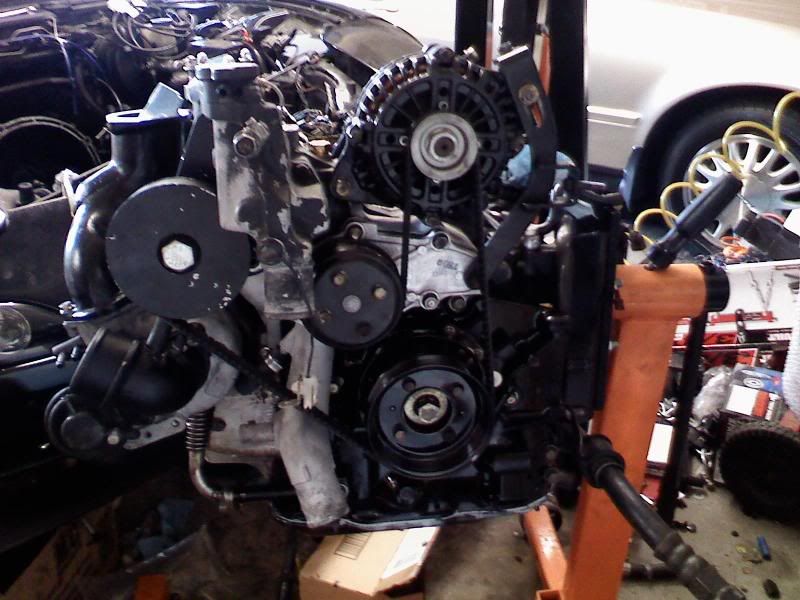 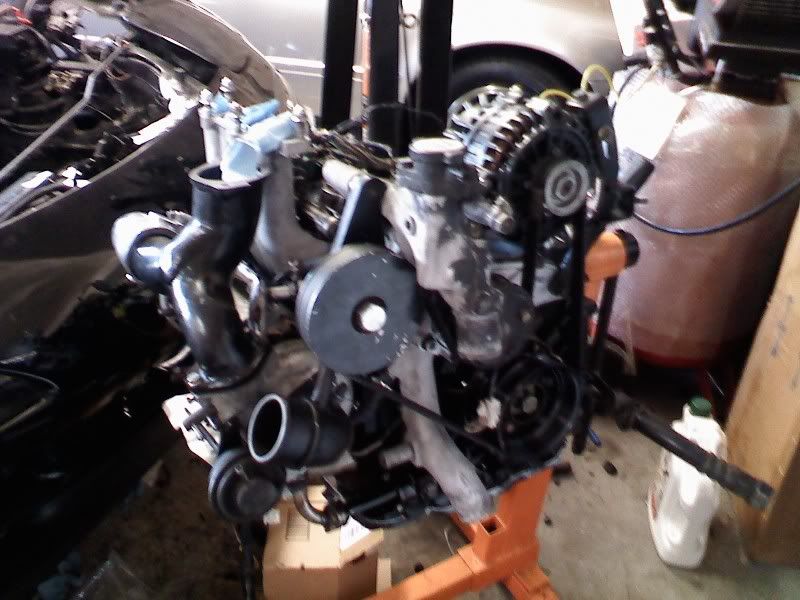 (Yes I know, the thermostat housing is hideous and needs a repaint) Last edited by AHarada; 09-11-2008 at 07:39 PM. |
|
|

|
|
|
#7 |
|
Rotary Fanatic
Join Date: Mar 2008
Posts: 162
Rep Power: 18  |
Now for another funny story. I had the engine back in and fired it up. Felt so great to have it running again! Jumped in the car to pull it out of the garage to let the car get some fresh air and finally a wash after months of dust collecting. Wouldn't go into gear. Some pondering and forum searching later, I realized i put the clutch disc in backwards. DOH!!!!
So i pulled the motor once more (in about 90 minutes this time). Flipped the clutch around and had the motor in again in another hour or so. Finally drove the beast and have put around 300 miles on it since. So far, the motor is running damn good. Smooth, feels strong, just feels good. Whew. Thanks for reading my thread. I obviously left out a million details as to the experience, but I think I've taken up enough bandwidth lol. 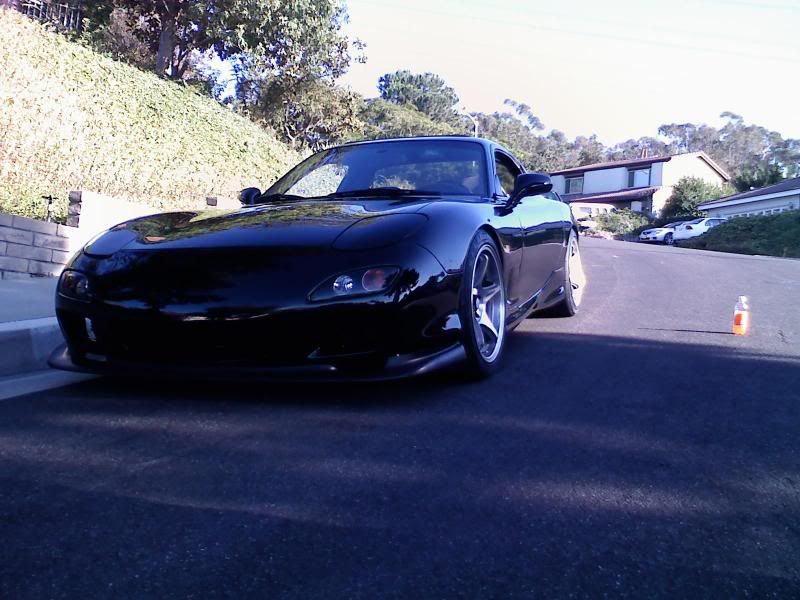
|
|
|

|
|
|
#8 |
|
RCC Contributor
Join Date: Mar 2008
Posts: 535
Rep Power: 18  |
Great ,Good skill , With all the power you will need a Garfinkle Engine Torque Brace .
|
|
|

|
|
|
#9 |
|
Rotary Fanatic
Join Date: Mar 2008
Posts: 162
Rep Power: 18  |
Ahhh, I actually have your torque brace. I am the one you made the new longer link for since my old link didn't fit after the build. Did you recieve the old black spray painted link and the check for shipping?
Garfinkle's brace is one of my favorite mods. If you don't have one........Get one! |
|
|

|
|
|
#10 |
|
Rotary Fanatic
Join Date: Mar 2008
Posts: 162
Rep Power: 18  |
Here's an old pic with the brace in it.
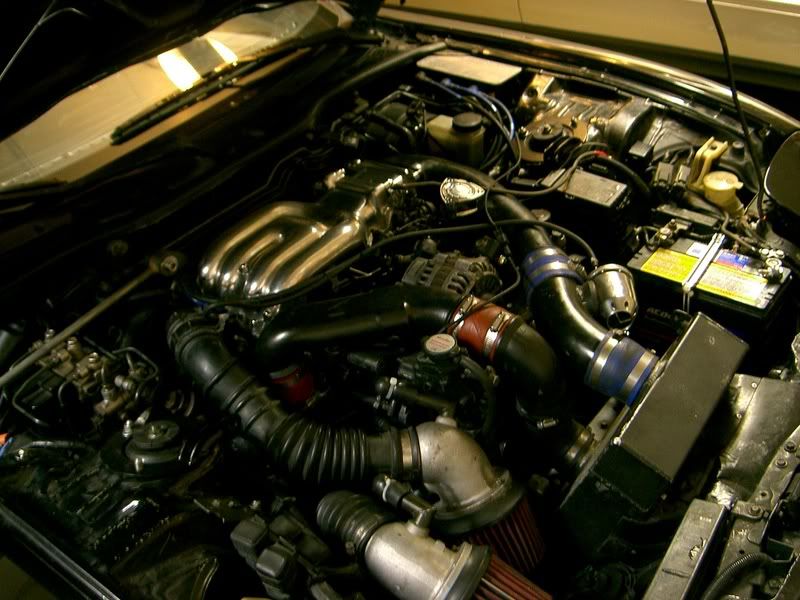 Notice the alternator also. This pic is before. The above pix show after I sand blasted and spray painted it. Looks much better IMO. |
|
|

|
|
|
#11 |
|
Rotary Fan in Training
Join Date: Feb 2008
Location: NORCAL
Posts: 89
Rep Power: 18  |
nice job
|
|
|

|
|
|
#12 |
|
The Ancient One
Join Date: Mar 2008
Location: Eastern Pennsylvania
Posts: 144
Rep Power: 18  |
Just re-posting Phoenix7's question...
"damn,props for jumping into it like this. Best way to learn is to do it yourself. You worked your ass off. How long from start to finish?" Gordon |
|
|

|
|
|
#13 |
|
Rotary Fanatic
Join Date: Mar 2008
Posts: 162
Rep Power: 18  |
Sorry I missed that question.
I think the total down time was about 3 months and some change. Waiting for parts took up a good bit of time, as did waiting to make enough money to order new parts. This was a slow learning experience. |
|
|

|
 |
| Bookmarks |
| Thread Tools | |
| Display Modes | |
|
|