|
|||||||
| Show your rotary car build up. Show off your Rotary Car build! |
 |
|
|
Thread Tools | Display Modes |
|
|||||||
| Show your rotary car build up. Show off your Rotary Car build! |
 |
|
|
Thread Tools | Display Modes |
|
|
#376 |
|
Rotary Fanatic
Join Date: Feb 2011
Posts: 210
Rep Power: 15  |
|
|
|

|
|
|
#377 |
|
Rotary Fanatic
Join Date: Feb 2011
Posts: 210
Rep Power: 15  |
|
|
|

|
|
|
#378 |
|
Rotary Fanatic
Join Date: Feb 2011
Posts: 210
Rep Power: 15  |
First of all I'm very proud to annouce this link
 http://www.build-threads.com/general...uilds-of-2013/ Back on topic. Builded some new benches to work on, and then started to assembly the dummy again to put back in the car for some measurements.    Tonight I was out on the highway and meet a friendly truckdriver from Czech Republic. He had brought a 20B flexplate from hIGGI on the Rx7Club-forum. Thanks alot for that hIGGi!  Also got some V-band-clamps today. Perfect size. Small and tight, just like we want them.  
|
|
|

|
|
|
#379 |
|
Home-brew Rotary
Join Date: Feb 2008
Location: GooseCreek SC
Posts: 552
Rep Power: 18  |
V-band might have vacuum leaks.
__________________
'89 RX7 GTU, half-Bridge-port S4/S5 NA, E6K, Full RB exhaust, weekend warrior. '83 RX7, The "this might take awhile" project. '87 RX7 GXL, Rest In Pieces. '98 Subaru Impreza Outback-sport, rx7 rescue vehicle, down for repair. '94 Ford Ranger, daily. |
|
|

|
|
|
#380 |
|
Don Mega
Join Date: Dec 2008
Location: Utopia
Posts: 1,688
Rep Power: 18  |
Nothing a recessed O'ring grove machined into the face with small O section O ring will not fix
 Easy solution did very similar on multiple similar joins in a physics lab when I was machinist there 
__________________
www.riceracing.com.au Worlds best Apex Seals Coil on Plug Water Injection ECU Calibration |
|
|

|
|
|
#381 |
|
Rotary Fanatic
Join Date: Feb 2011
Posts: 210
Rep Power: 15  |
Notice that this is just a test-housing. The port insert are in steel in this one just to get the shape.
When satisfied, its going to be aluminium with o-rings :-) |
|
|

|
|
|
#382 |
|
cxxxx|::::::::::::>
Join Date: Nov 2009
Posts: 315
Rep Power: 16  |
Tegheim seriously 1 of the best threads ever!
|
|
|

|
|
|
#383 |
|
Get off my lawn!!!
Join Date: Jun 2011
Location: At a USO near you!
Posts: 715
Rep Power: 15  |
I just read this whole thread from the beginning...all I can say is WOW!!! The thought and work going into this is incredible!
__________________
'94 Touring - Cursed '96 NA Miata '14 Mazda3 Hatch '14 Aprilia RSV4 R |
|
|

|
|
|
#384 |
|
Rotary Fanatic
Join Date: Feb 2011
Posts: 210
Rep Power: 15  |
Not much is happening at the moment.
I shortened my steering rack at last. Cut 220mm of an let 200mm be left. 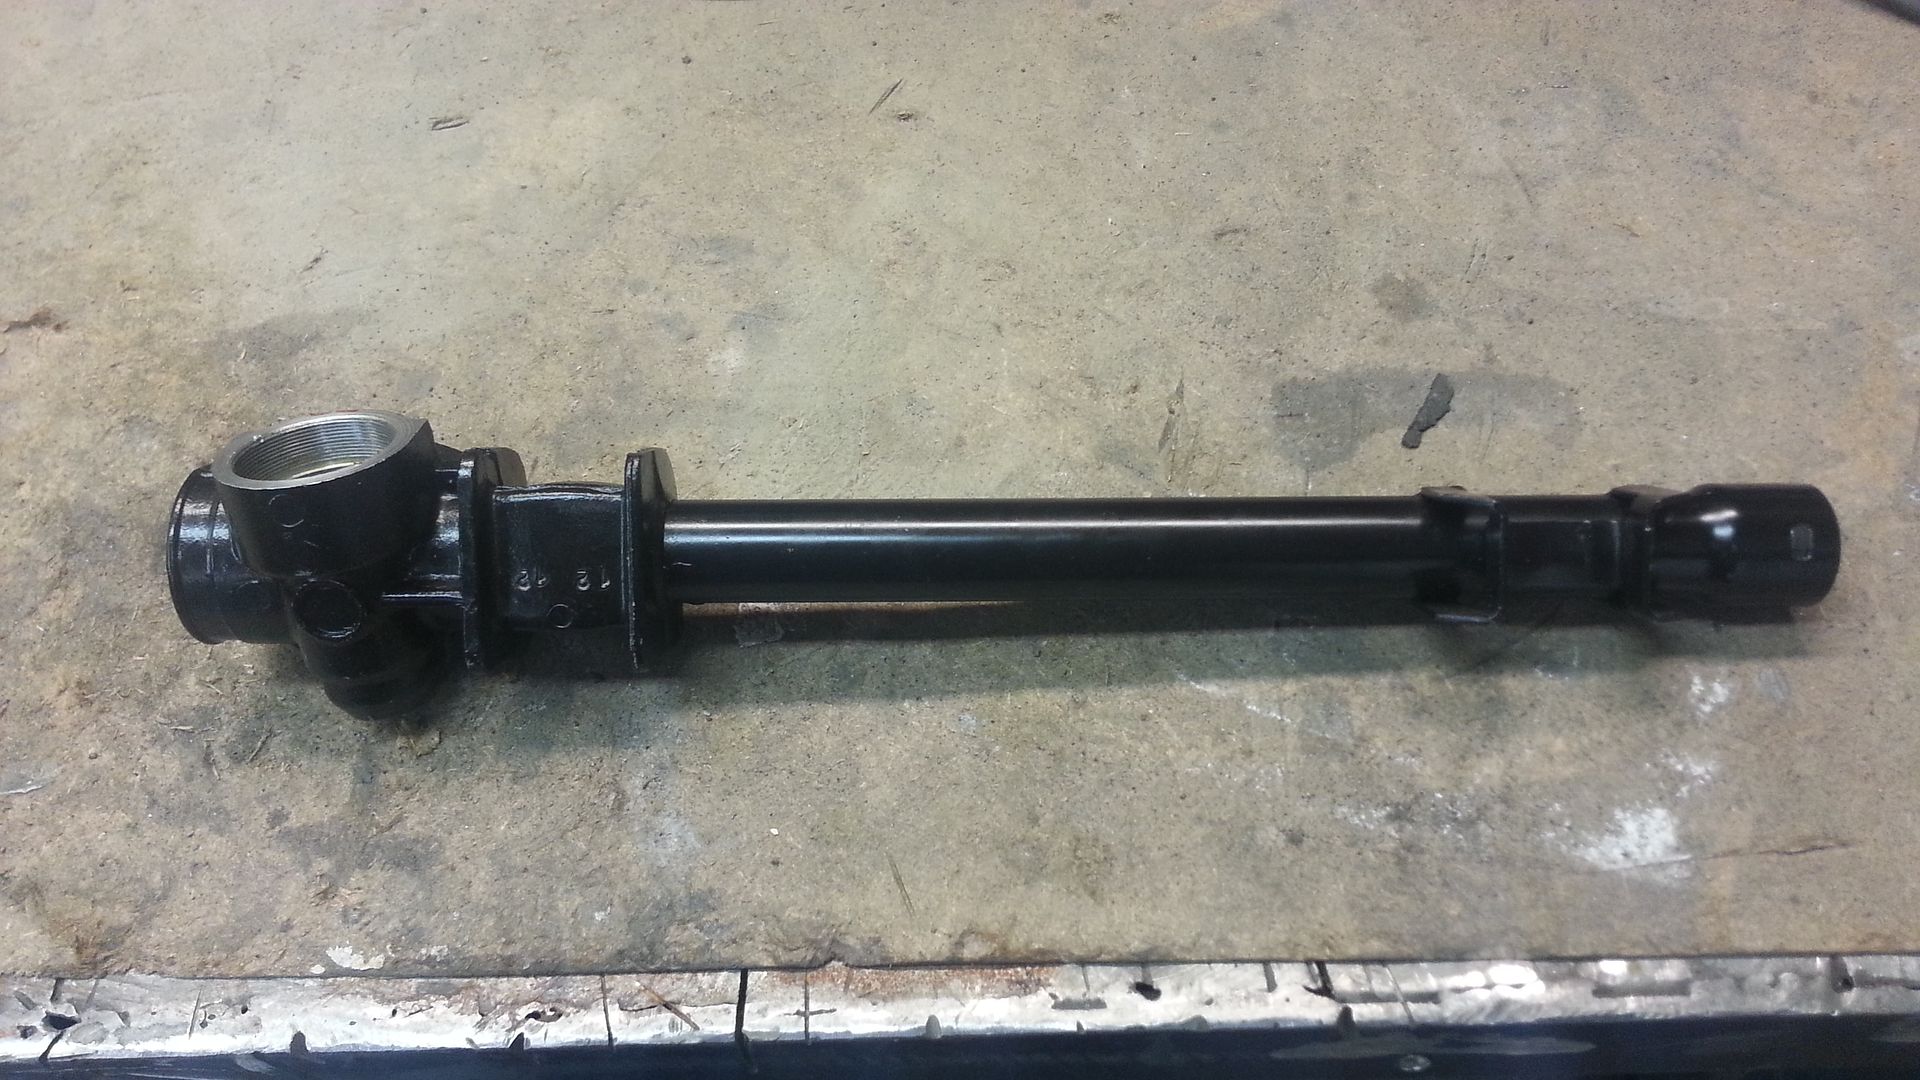  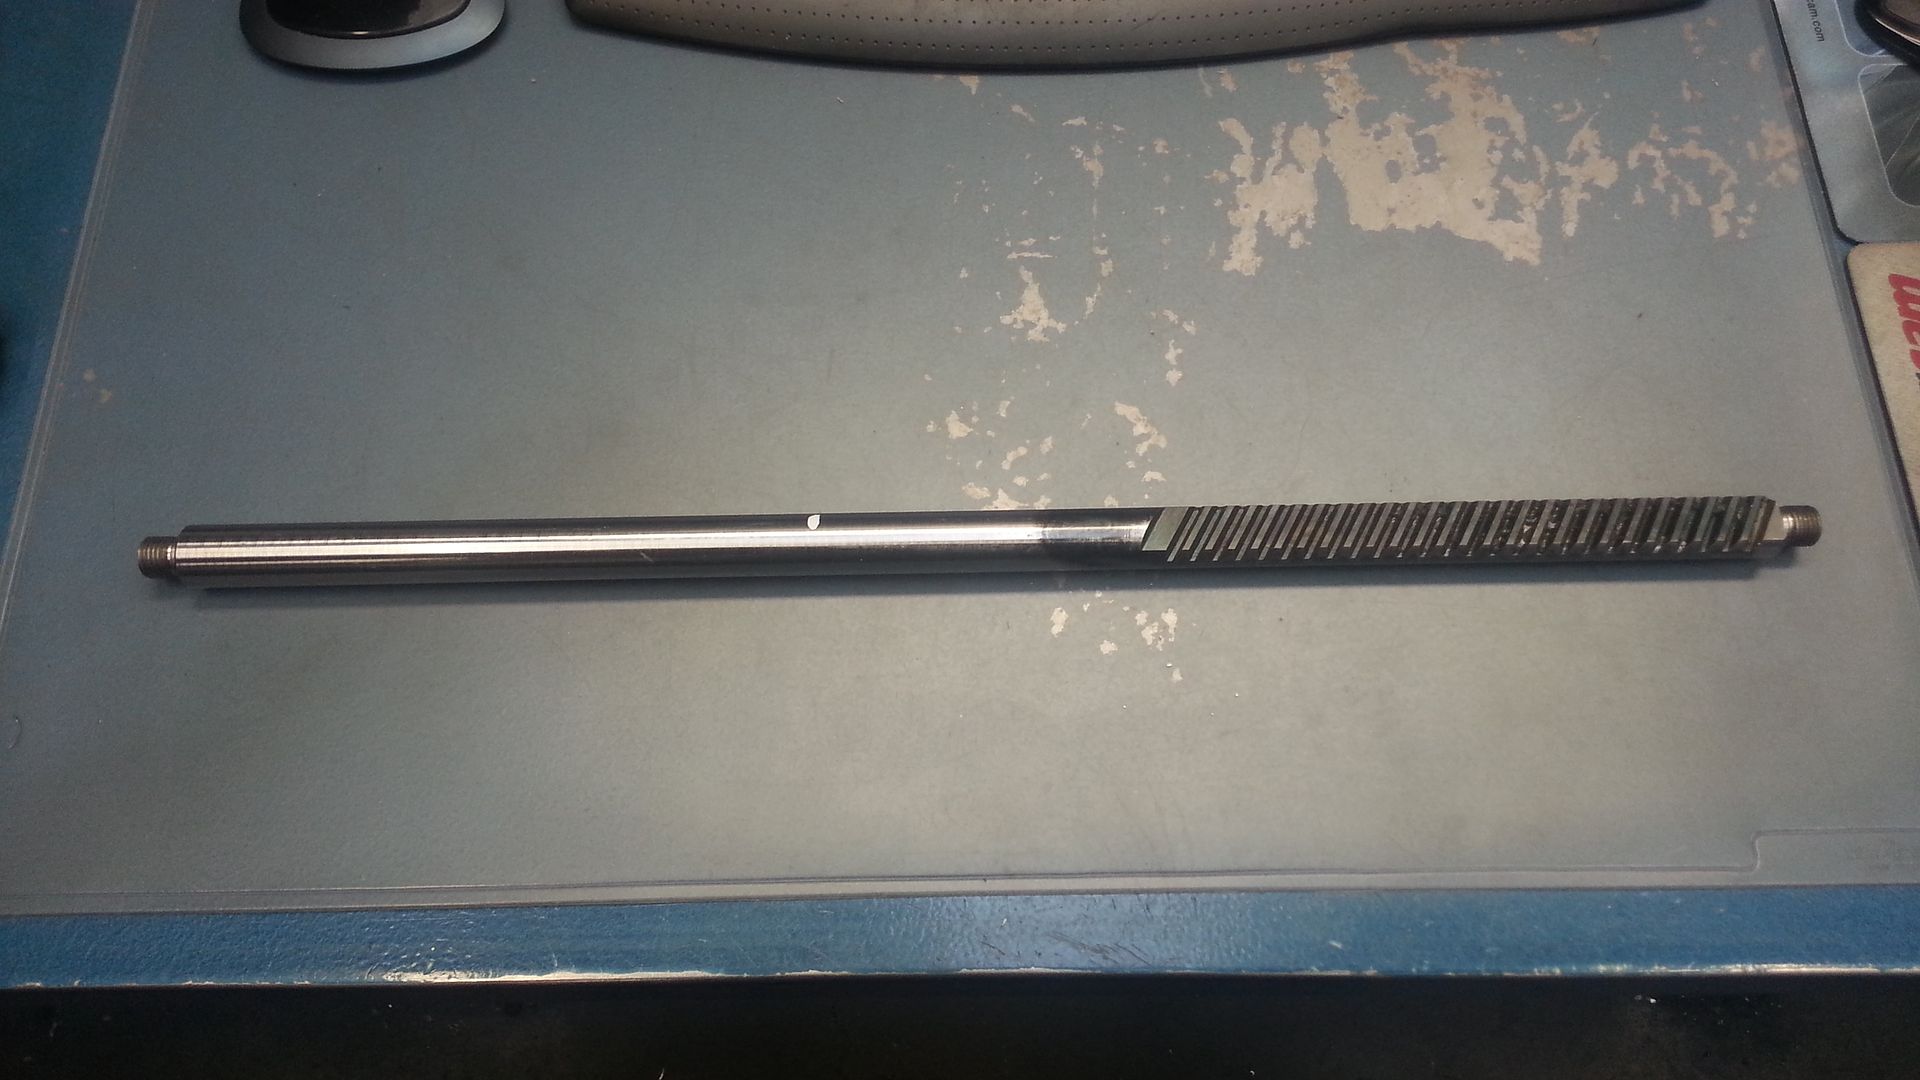  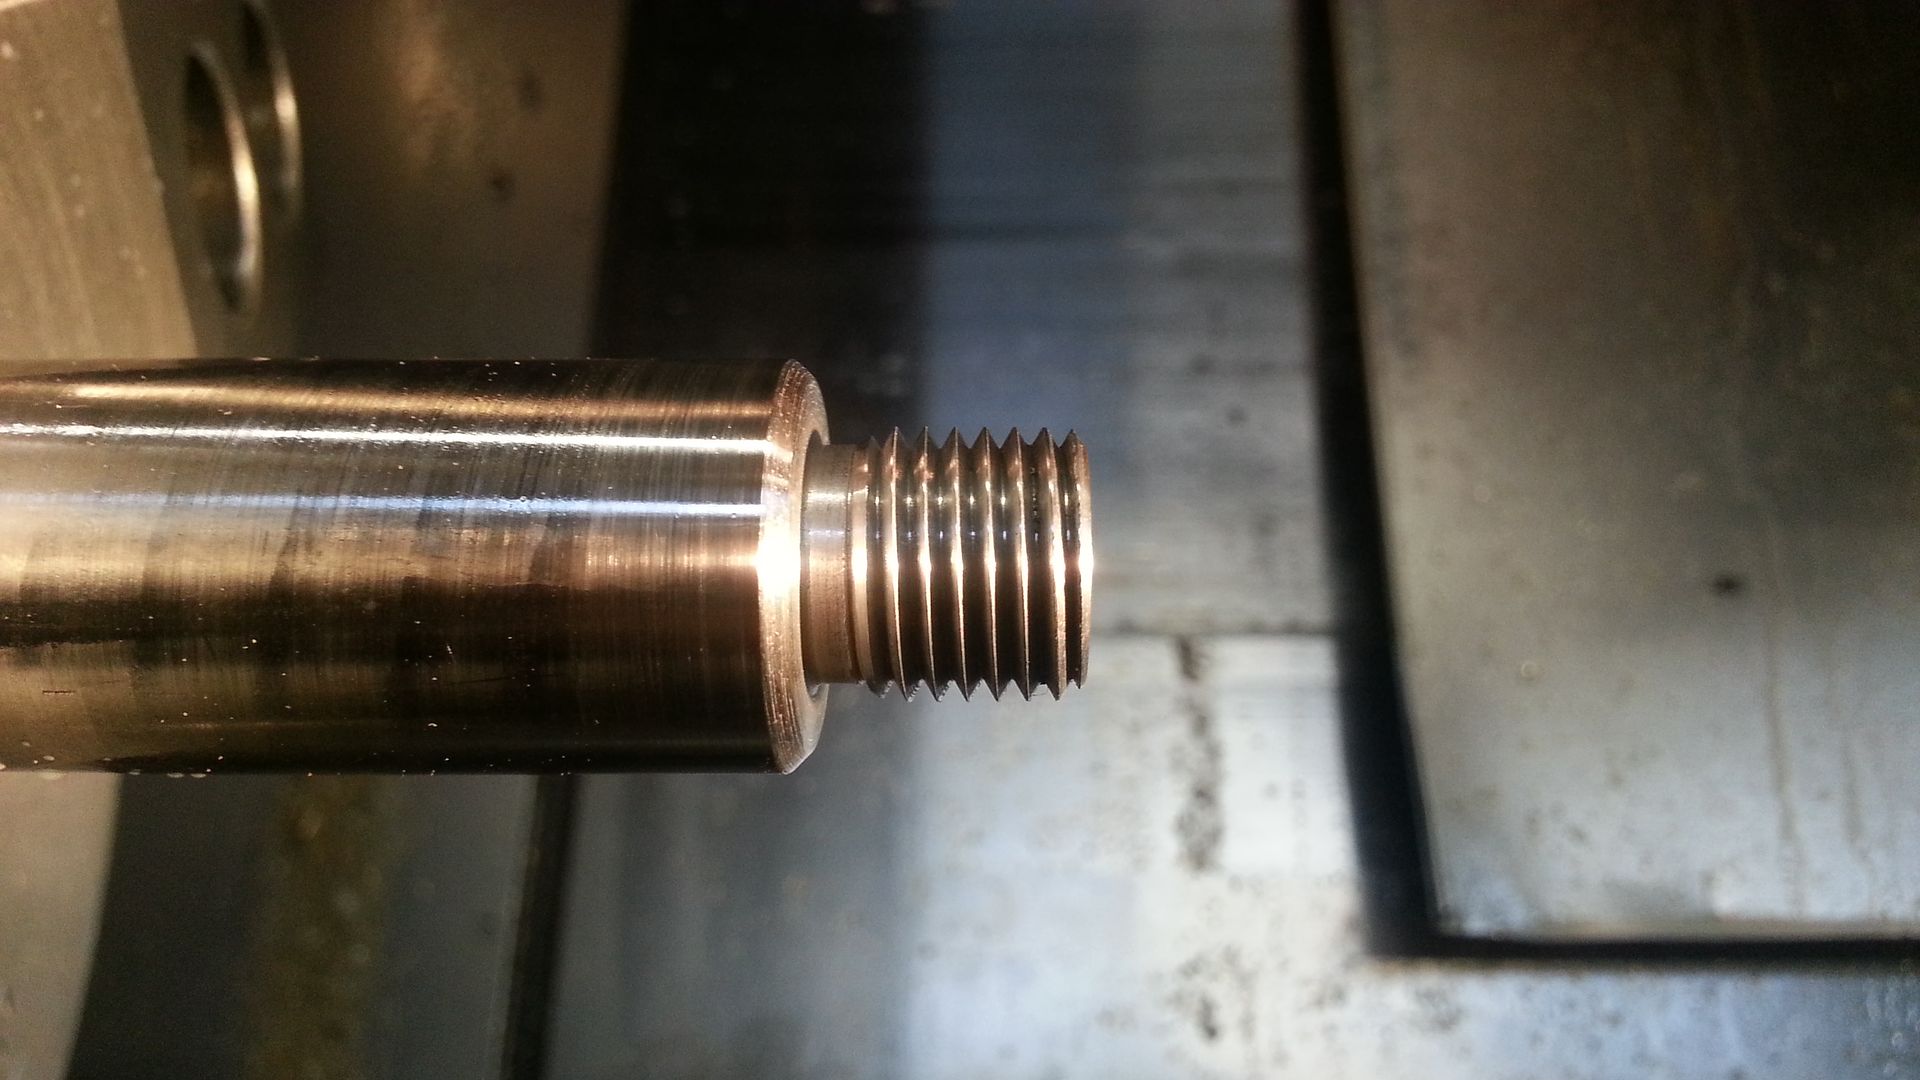     Took some M24-nuts and machined out the threads. Then put them over my 4-link rods for adjustments later on. Just a little work with the TIG, and they are ready for some paint.  Are going with these 15.99mm solid dowels straight through the engine. Better off than the OEM. 
|
|
|

|
|
|
#385 |
|
Rotary Fanatic
Join Date: Feb 2011
Posts: 210
Rep Power: 15  |
|
|
|

|
|
|
#386 |
|
Rotary Fanatic
Join Date: Feb 2011
Posts: 210
Rep Power: 15  |
|
|
|

|
|
|
#387 | |
|
⊙⊙
Join Date: Dec 2009
Location: Great Falls
Posts: 1,258
Rep Power: 17  |

__________________
Quote:
|
|
|
|

|
|
|
#388 |
|
Rotary Fanatic
Join Date: Feb 2011
Posts: 210
Rep Power: 15  |
Moment of truth, or point of no return for these housings...
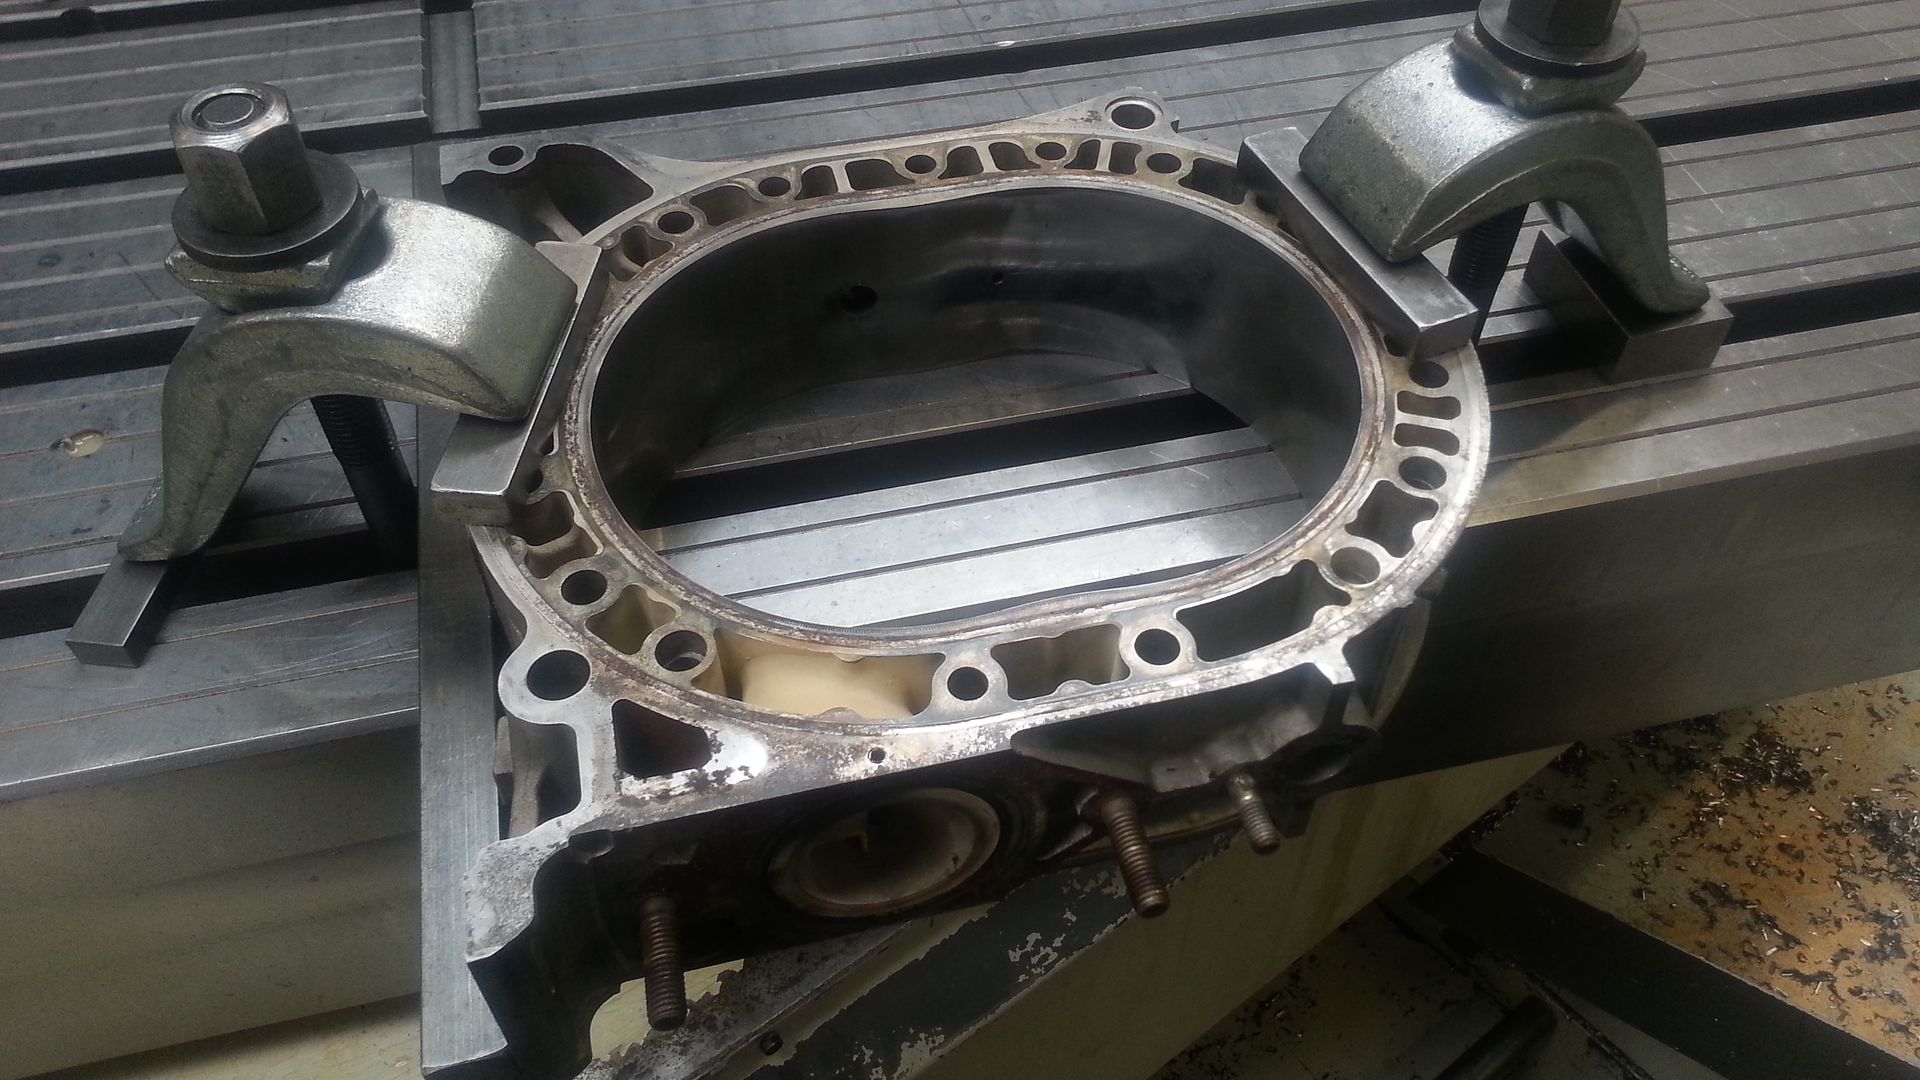 The original "oil-nozzle" must be removed before milling or else my tool, or my housing will be broken. 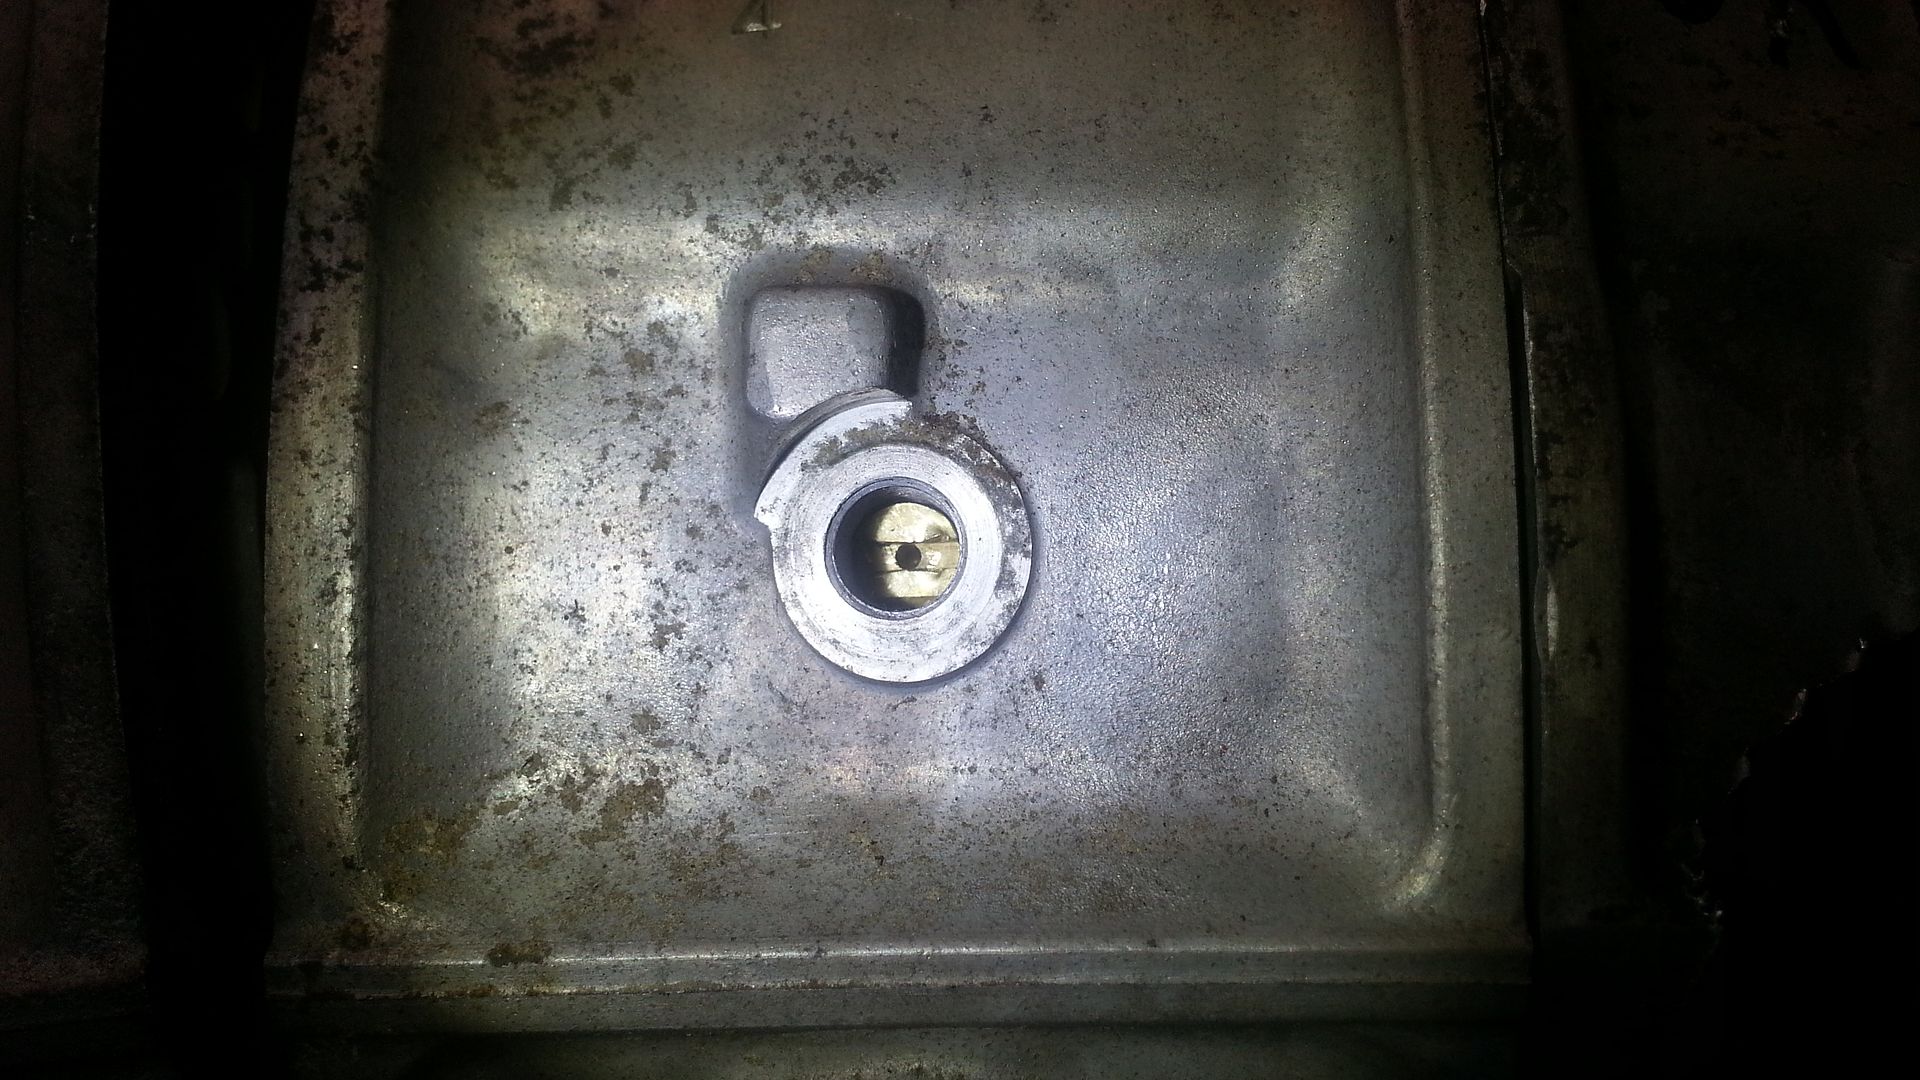 Started with a M10-bolt and drilled a Ø4.2mm hole to allign the drill. Threaded M5, and pulled it out with some washers and a M5-bolt.  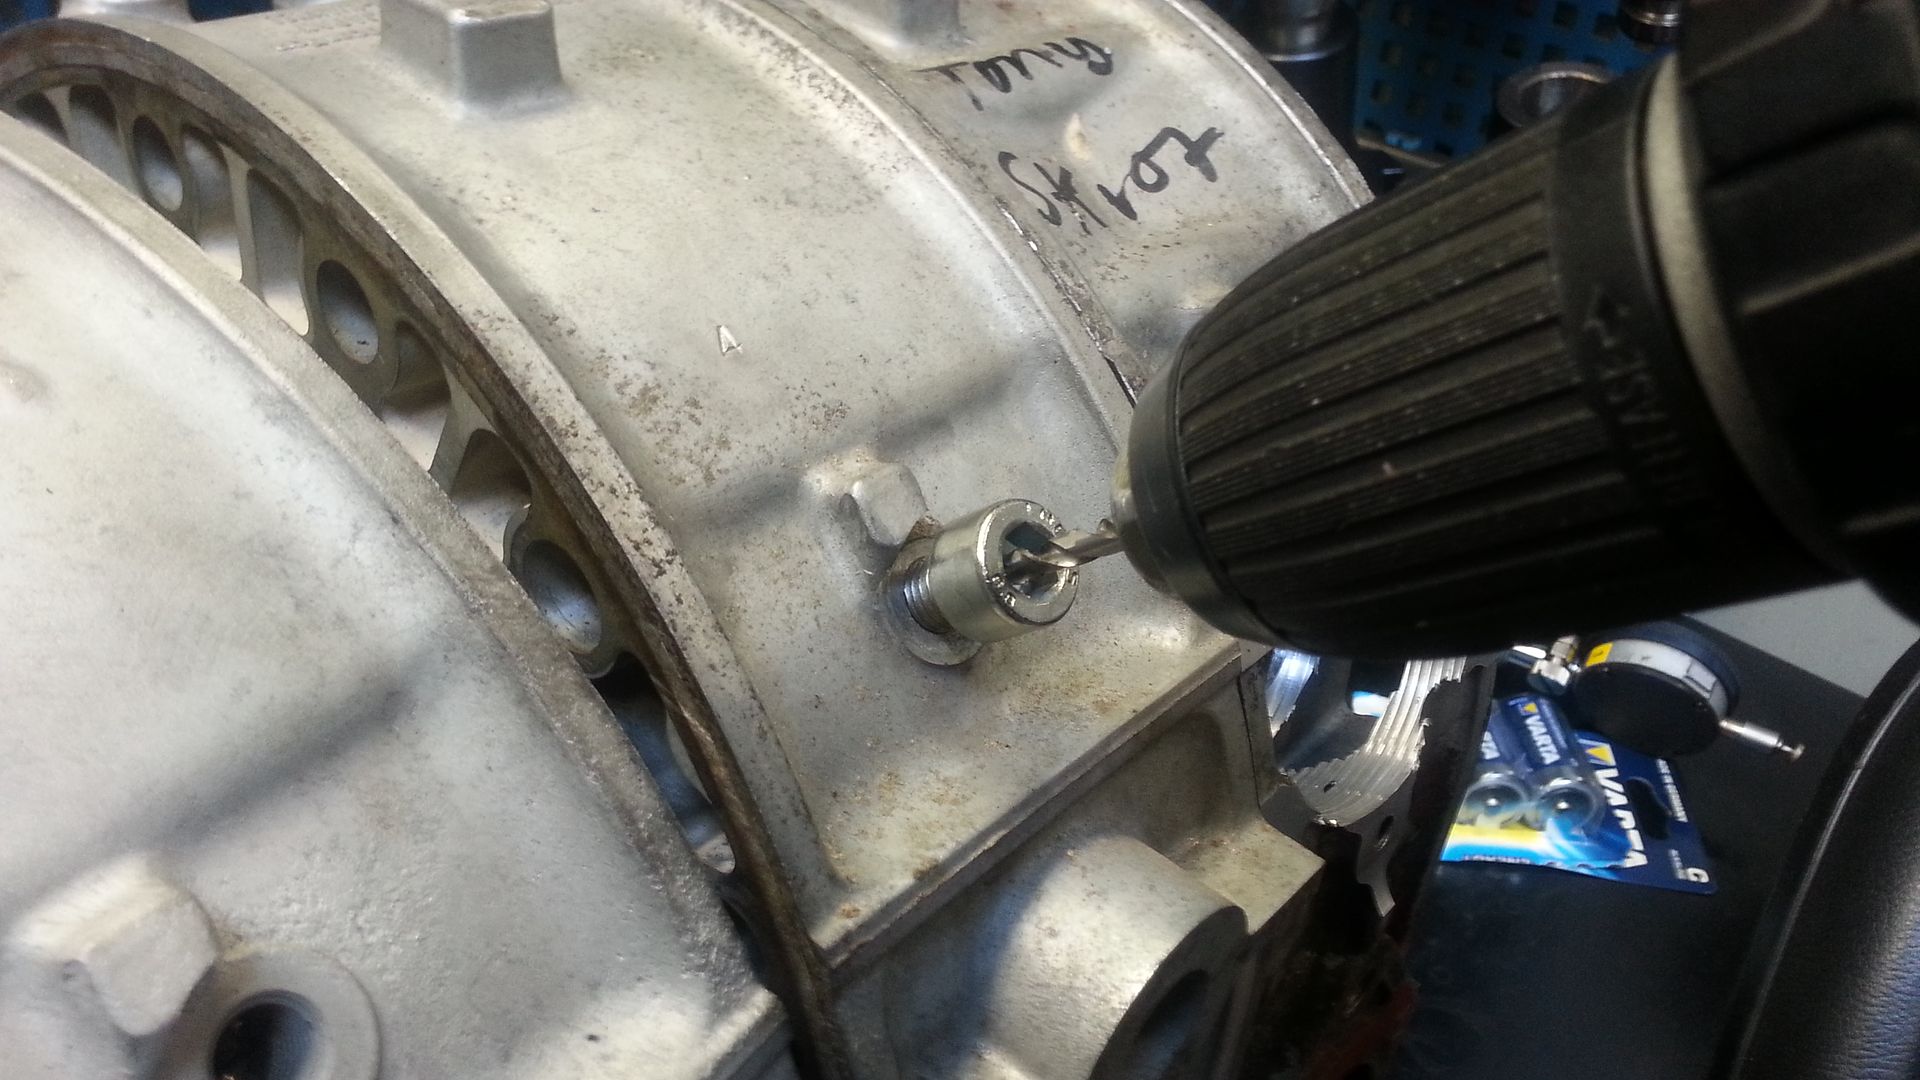  Machined a Ø63mm hole for the thread, and then removed all stuff the pointed out form the housing.   All done. Next step is the inserts! 
|
|
|

|
|
|
#389 |
|
Rotary Fanatic
Join Date: Feb 2011
Posts: 210
Rep Power: 15  |
Yesterday I continued with my Peripheral-inserts.
Because they are threaded into the housings there is imported to get the D-shape in the right angle to align with the pre-machined D-shape in the housings. The D-shape closest to the housing are bigger than the round hole and the runners, so therefore I need to machine this with the inserts on the side. I could have done a round hole in the center, and port the sleeves by hand. But I'm really not a "handyman"  And CNC-port are in my opinion the coolest. And CNC-port are in my opinion the coolest.It worked out pretty well! I was really nervous when I mounted the first insert... I very satisfied. Next is to deside how to couple the inserts with the runners, and also how my runners will look like, size and lenght. Butterfly-throttles or slides. 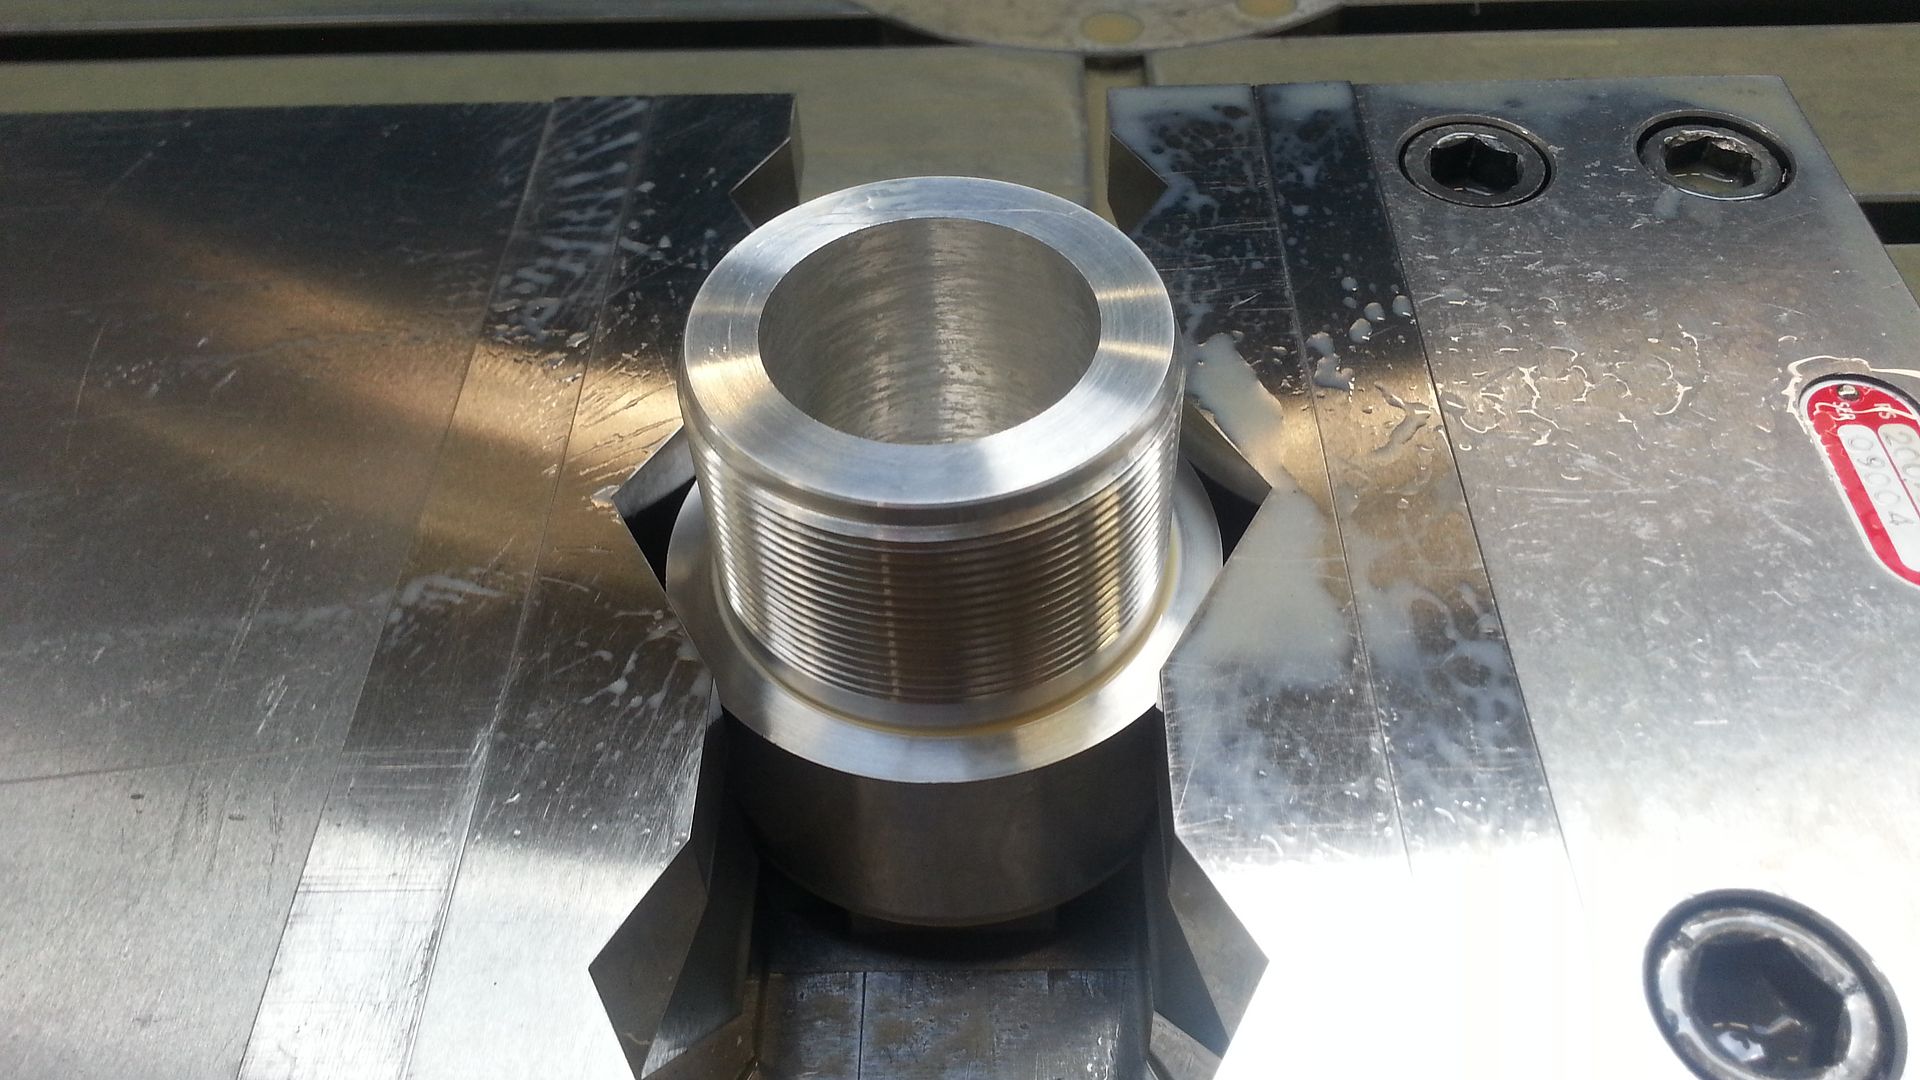  
|
|
|

|
|
|
#390 | |
|
⊙⊙
Join Date: Dec 2009
Location: Great Falls
Posts: 1,258
Rep Power: 17  |
Rotar Cave!
__________________
Quote:
|
|
|
|

|
 |
| Bookmarks |
| Thread Tools | |
| Display Modes | |
|
|