|
|||||||
| RX-7 1st Gen Specific (1979-85) RX-7 1979-85 Discussion including performance modifications and technical support sections |
 |
|
|
Thread Tools | Display Modes |
|
|||||||
| RX-7 1st Gen Specific (1979-85) RX-7 1979-85 Discussion including performance modifications and technical support sections |
 |
|
|
Thread Tools | Display Modes |
|
|
|
|
#1 |
|
Big Daddy
Join Date: Feb 2008
Location: Rhode Island
Posts: 419
Rep Power: 18  |
HOW-TO: Reupholster your door panels
DISCLAIMER: I am not a professional. A lot of my stuff is trial and error. If you know a better way, sweet! ALL of my HOW-TO threads are based on how I did it.
It helps to have someone who can run a sewing machine, and luckily, I've got a beautiful woman who can. This is what I'm started with... Ugly maroon: 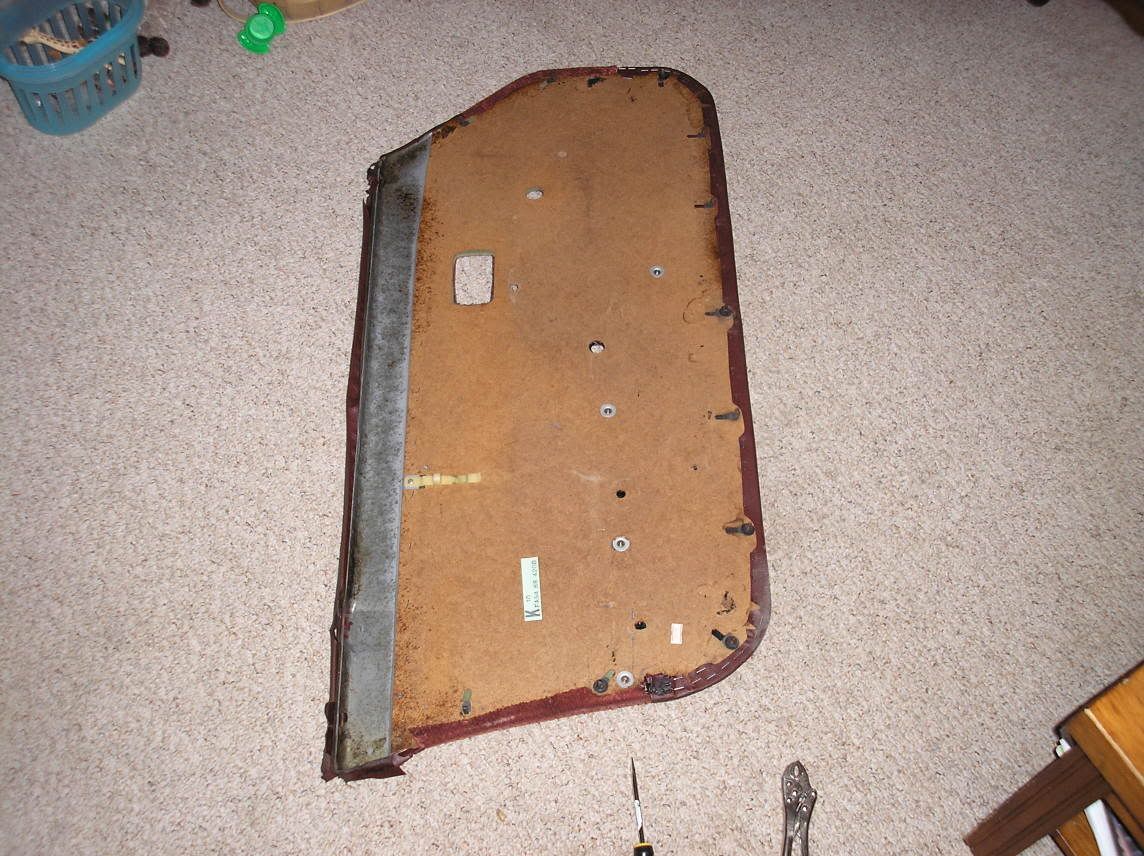 Start by removing all the staples at the bottom that hold the vinyl in place. I just popped 'em out with a flat head screwdriver. I thought it would be tougher, but the staples are actually really small. It only took a couple minutes to remove all of them. 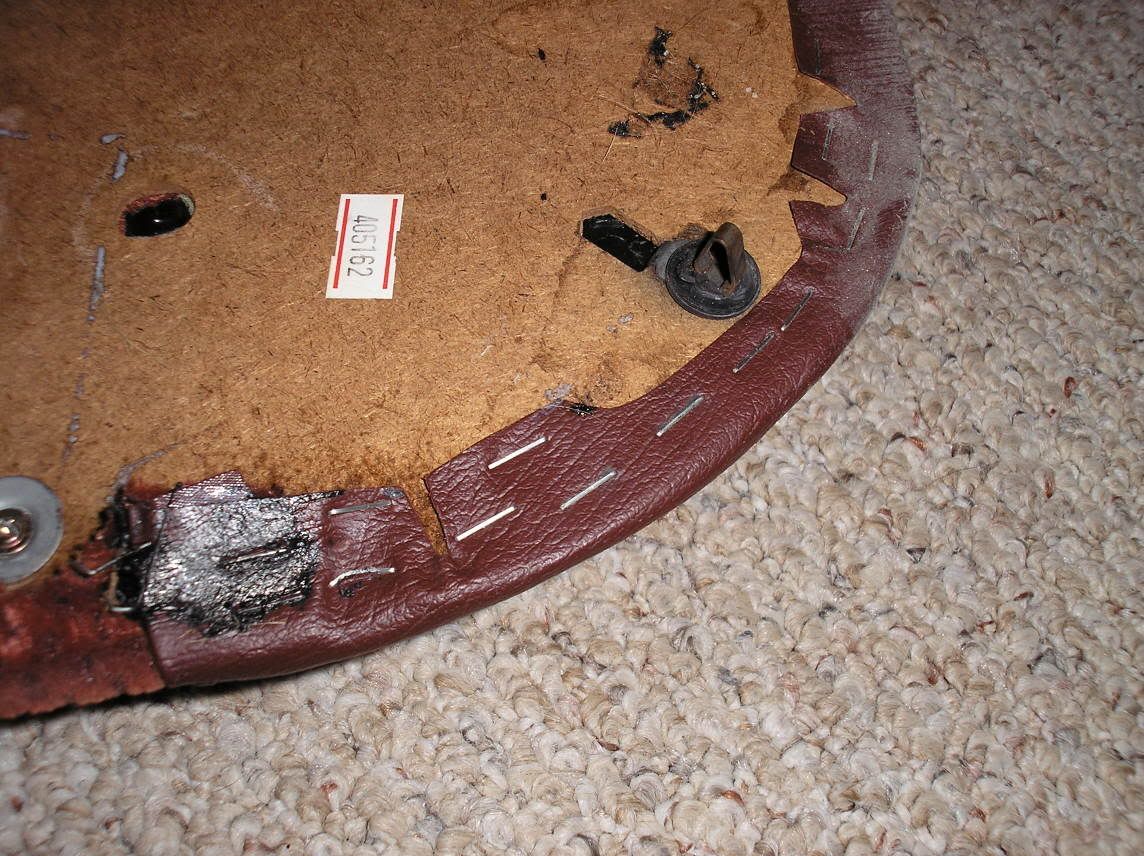 After you're done with that, remove the five screws that hold the armrest in place. Put them in a ziplock bag so you don't lose them, because you aren't putting it back together anytime soon. Pull off the armrest. The nasty carpet at the bottom of the door peels right off. Trash it. It's disgusting, and we're not putting carpet there. 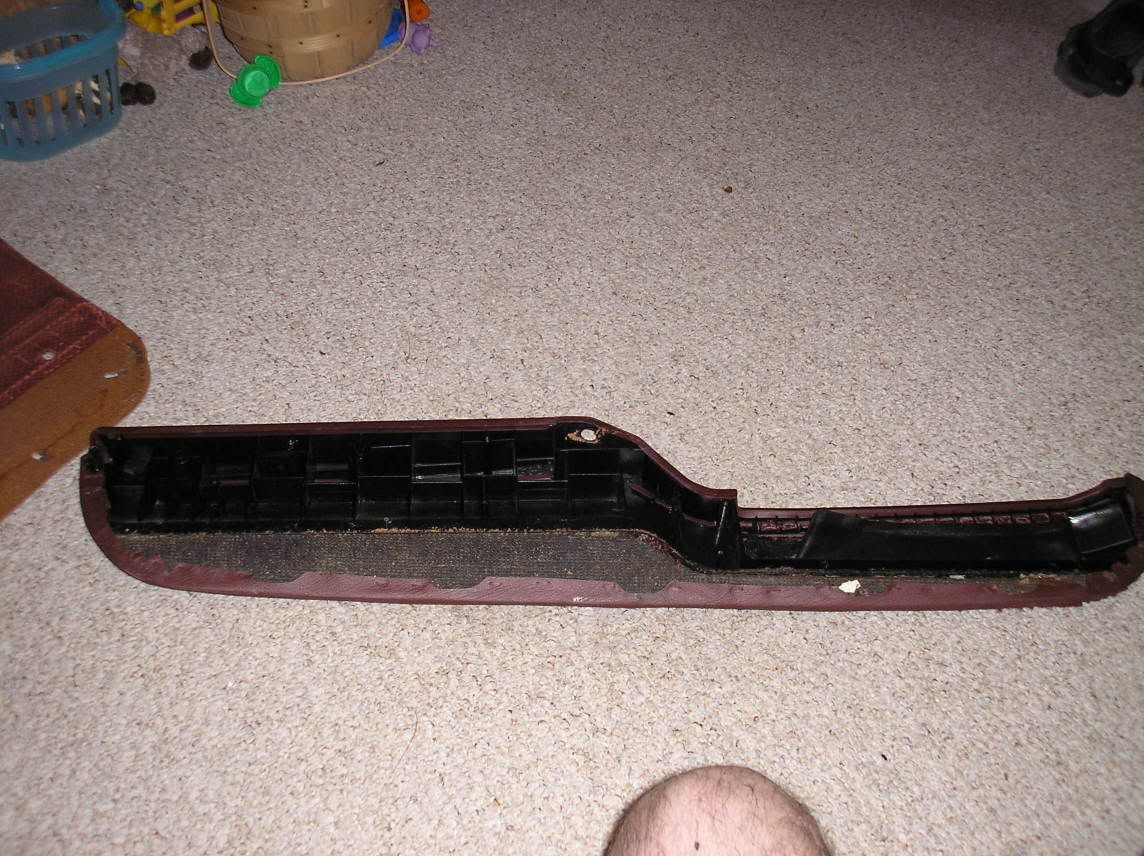 Now that you have the armrest off, you need to remove the rubber/vinyl/whatever this thing is made out of cover off the plastic piece of the armrest. You'll notice it's held on by an ass load of these tabs: 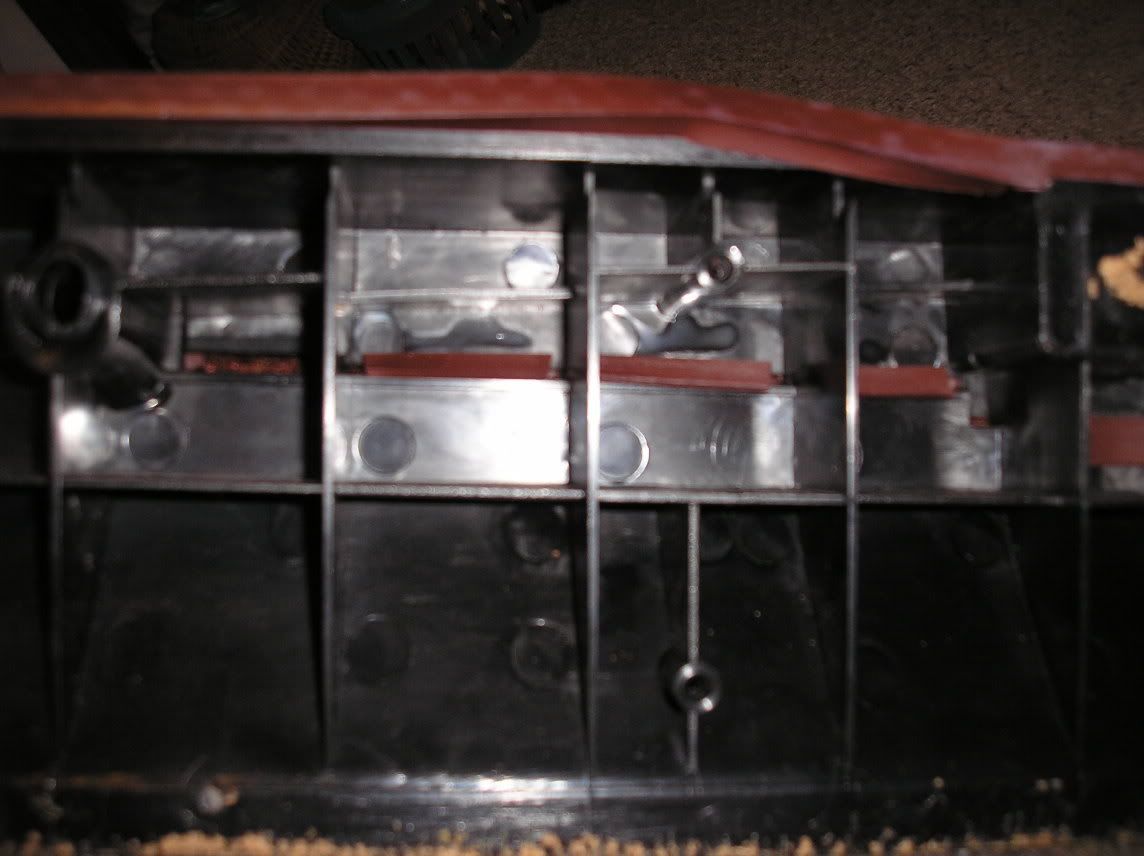 Easiest way to remove them? Pull the cover away from the plastic armrest, and take that same flathead screwdriver and give them a little push. They will pop right out. You're now left with this: 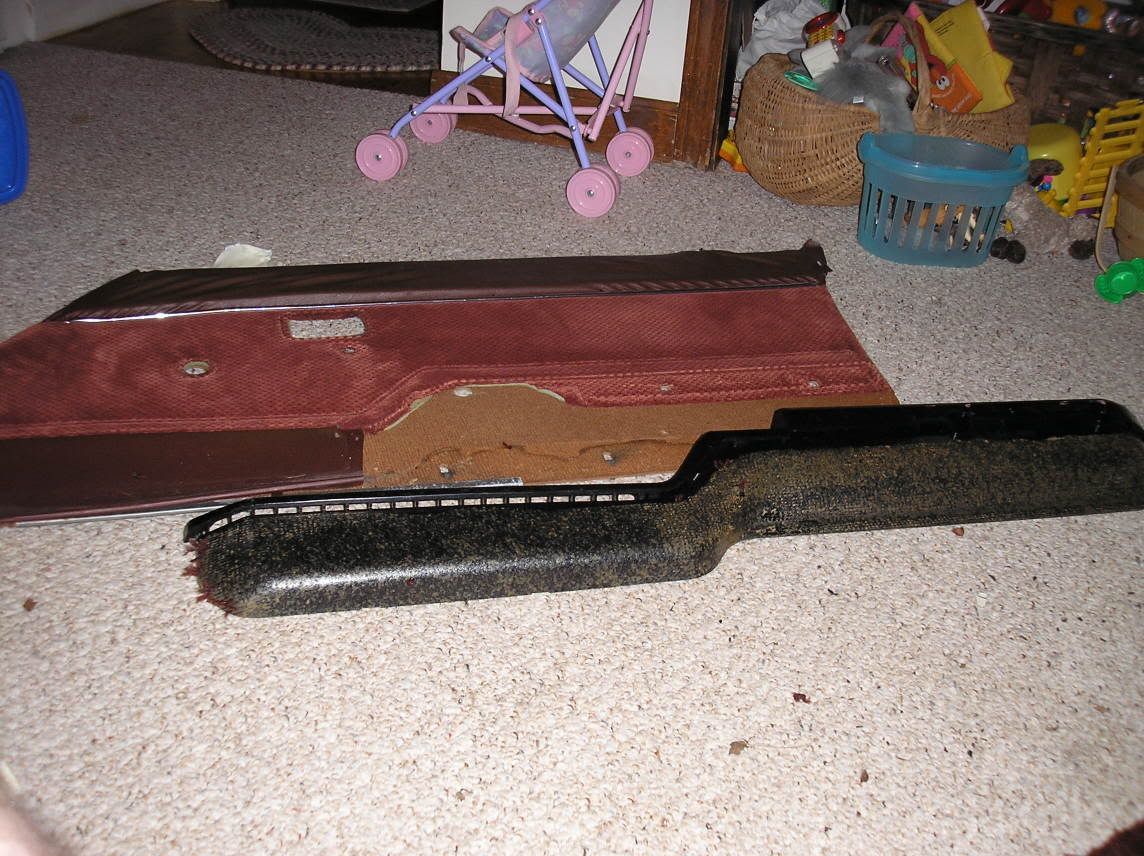 Removing the remaining fabric on the door panel is simple. Just pull up and away. There is some rubber padding and some foam padding that I'm going to replace, because it's A) old, and B) smells like shit. You can re-use yours if you want to, but just be very, very careful separating it from the fabric because it's going to tear. This is what's left now: 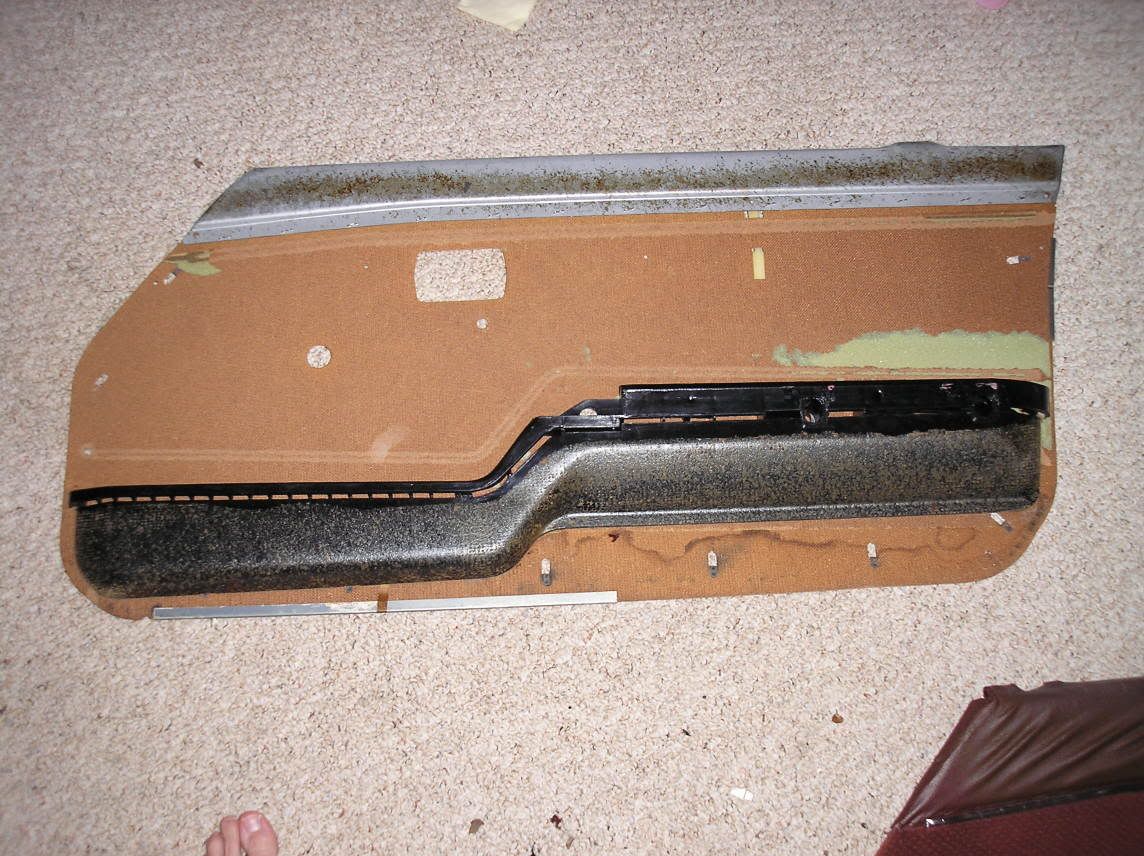 I'm taking some adhesive remover to mine to completely clean it up, then I'm going to prime and paint it. Yes, I'm going to prime and paint it even though I'm re-covering it. Why? Because I can. And, I need something to do while the door panels are being remade. Plus, it covers the stink of 25 year old door panel.  Later tonight: Measuring out the new door panels. Here's the material I'm using on mine. I bought black leather looking material (which Lynn calls "Pleather") and some grey fabric. It's all upholstery quality, and ran about $8 a yard. BUY MORE THAN ENOUGH, and make sure you buy UPHOLSTERY QUALITY. Remember, these are your door panels, they are going to take a beating. You want something that's going to last, so don't be cheap. I bought 2 yards of the black leather stuff, which is going to do the tops and bottoms of my door panels (to replace the current vinyl and the shitty carpet), the little wheelwell covers, the tiny section of paneling in the hatch, and to cover my new custom kickpanels I'm building. I bought 3 yards of the gray material, which is doing the center of the door panels, as well as covering some of the other plastic stuff. 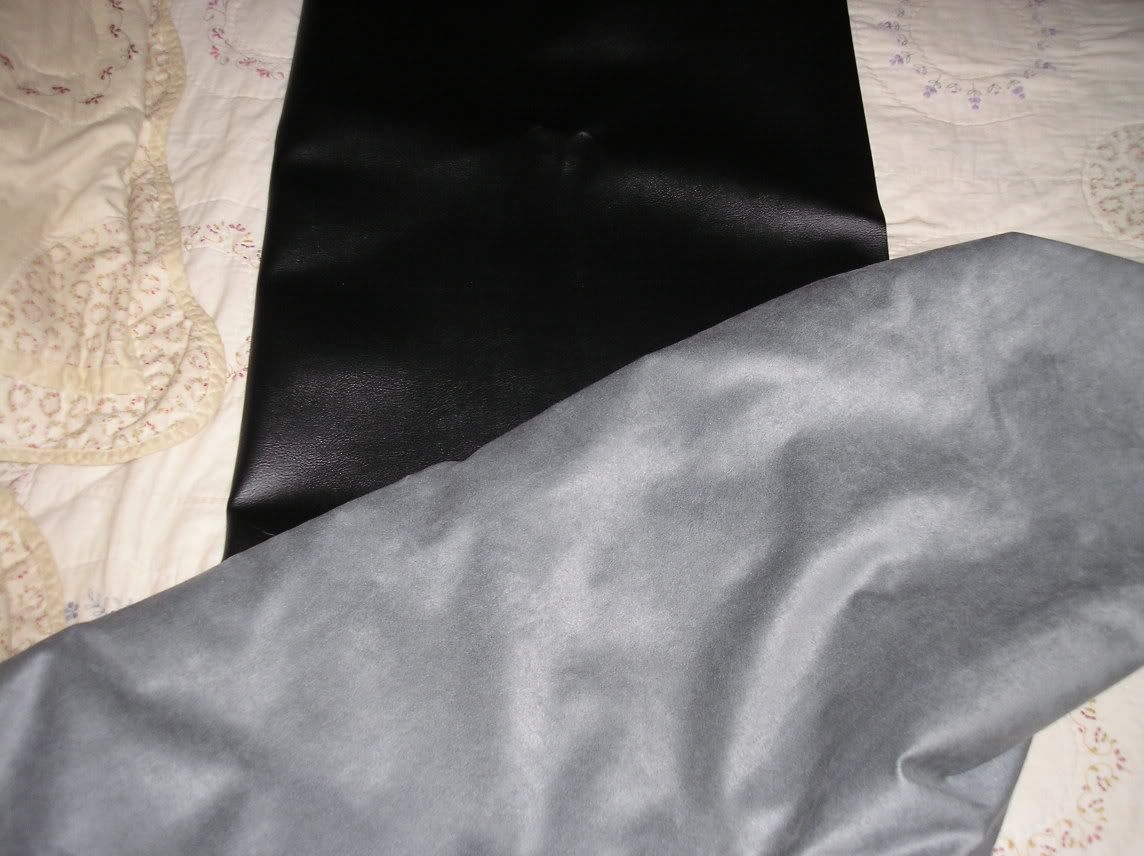
Last edited by $100T2; 03-02-2008 at 09:23 PM. |
|
|

|
|
|
#2 |
|
Big Daddy
Join Date: Feb 2008
Location: Rhode Island
Posts: 419
Rep Power: 18  |
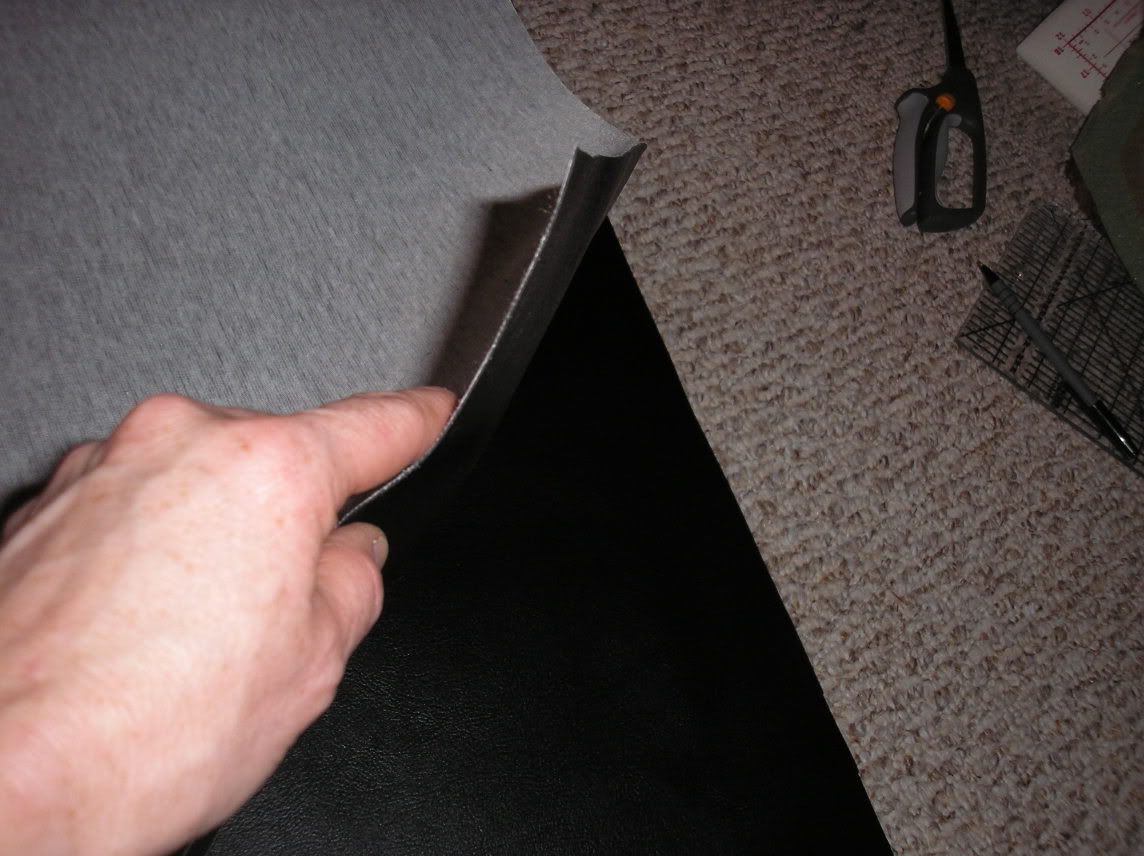
Since we are making two identical door panels, the first thing you do is, lay the fabric surface to surface. This is the artificial leather:
 Next, Lynn took a pattern she made on plain brown paper and laid it down on the fabric. Once she was happy with it's position, she pinned it in place: 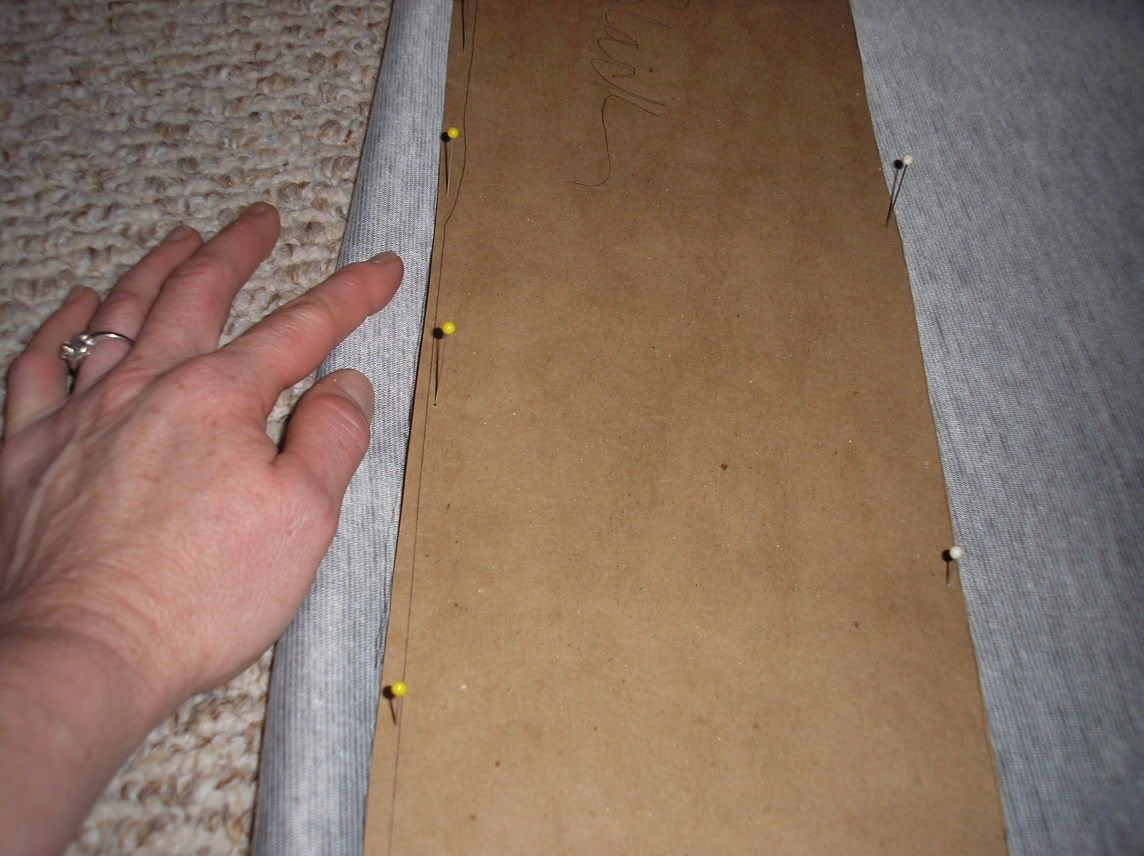 Then, she traced the pattern onto the fabric: 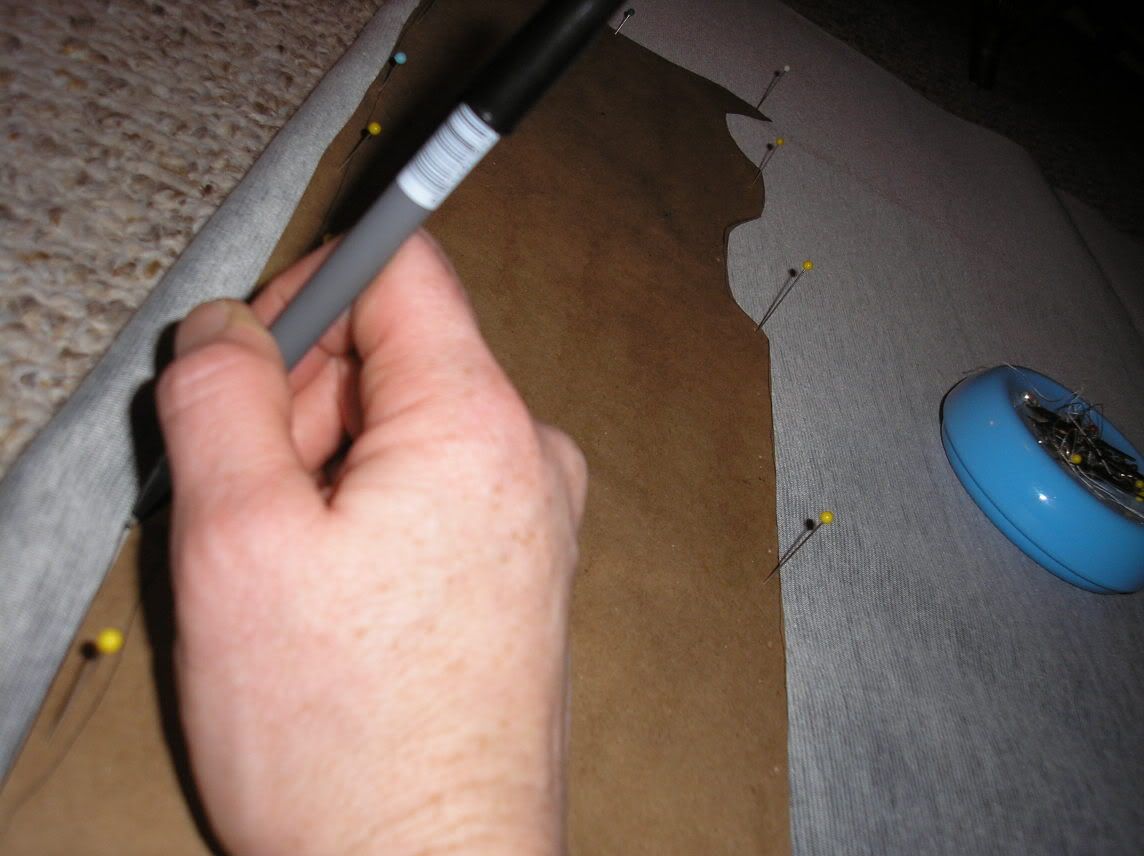 Cutting out the pattern. I told her to take pics step-by-step: 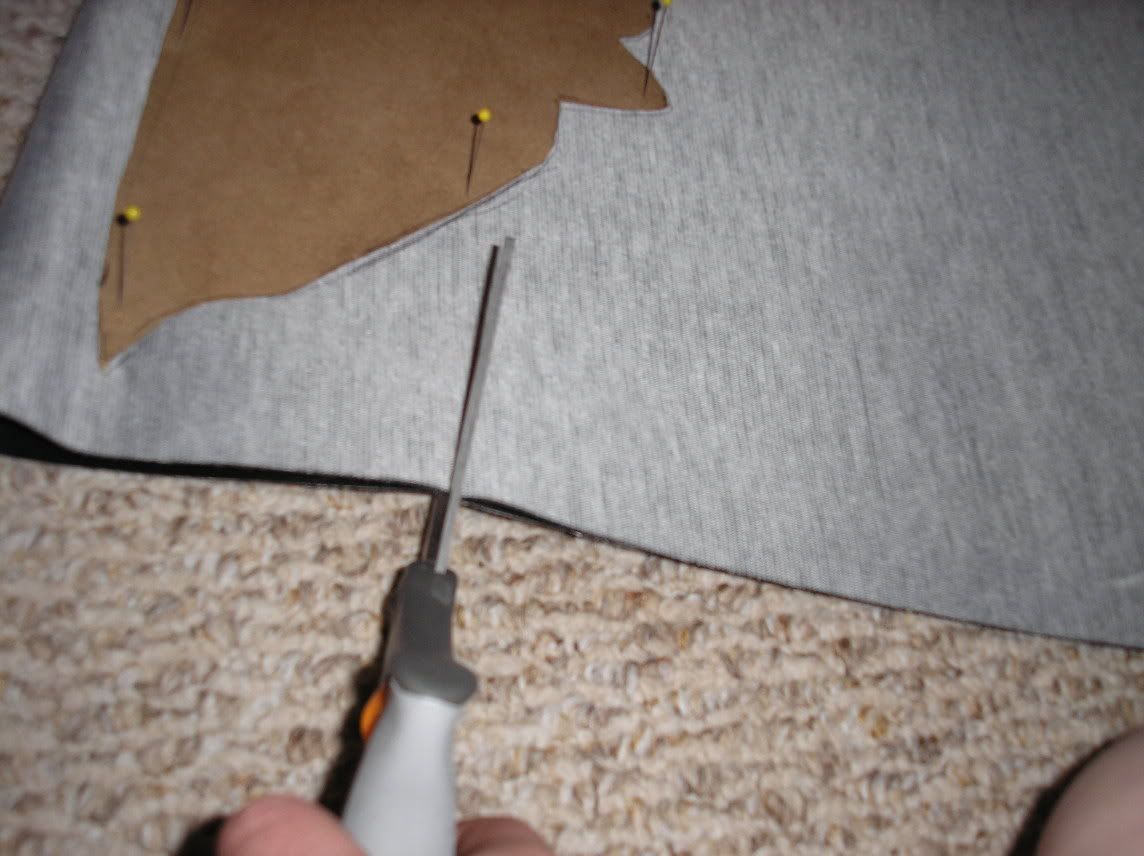 Here she is, working on the gray suede part: 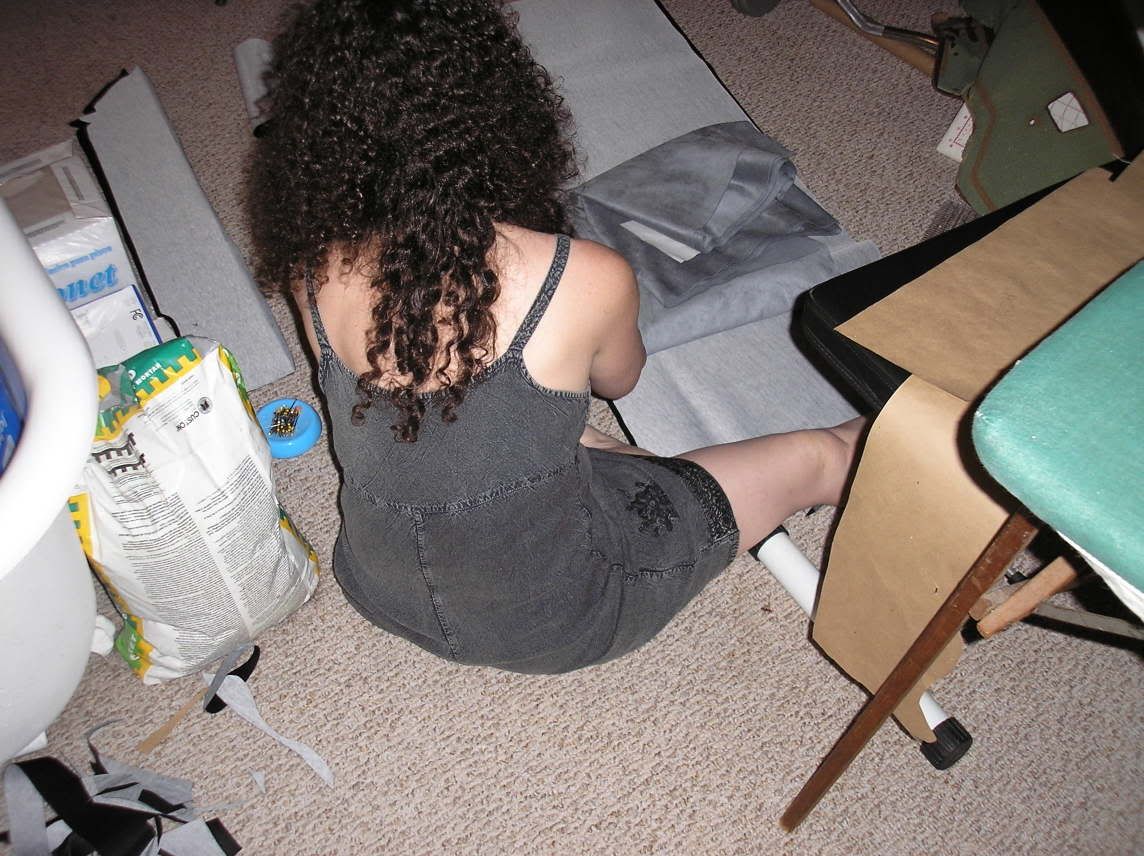 Feel free to make your patterns bigger than the exact Mazda patterns, you can always trim down later. Now that she got all the pieces cut out, it's time to pin them together. Since we're hiding the seams, you will notice that the back of the artificial leather is what's showing. We just matched 'em up the way Mazda did theirs. 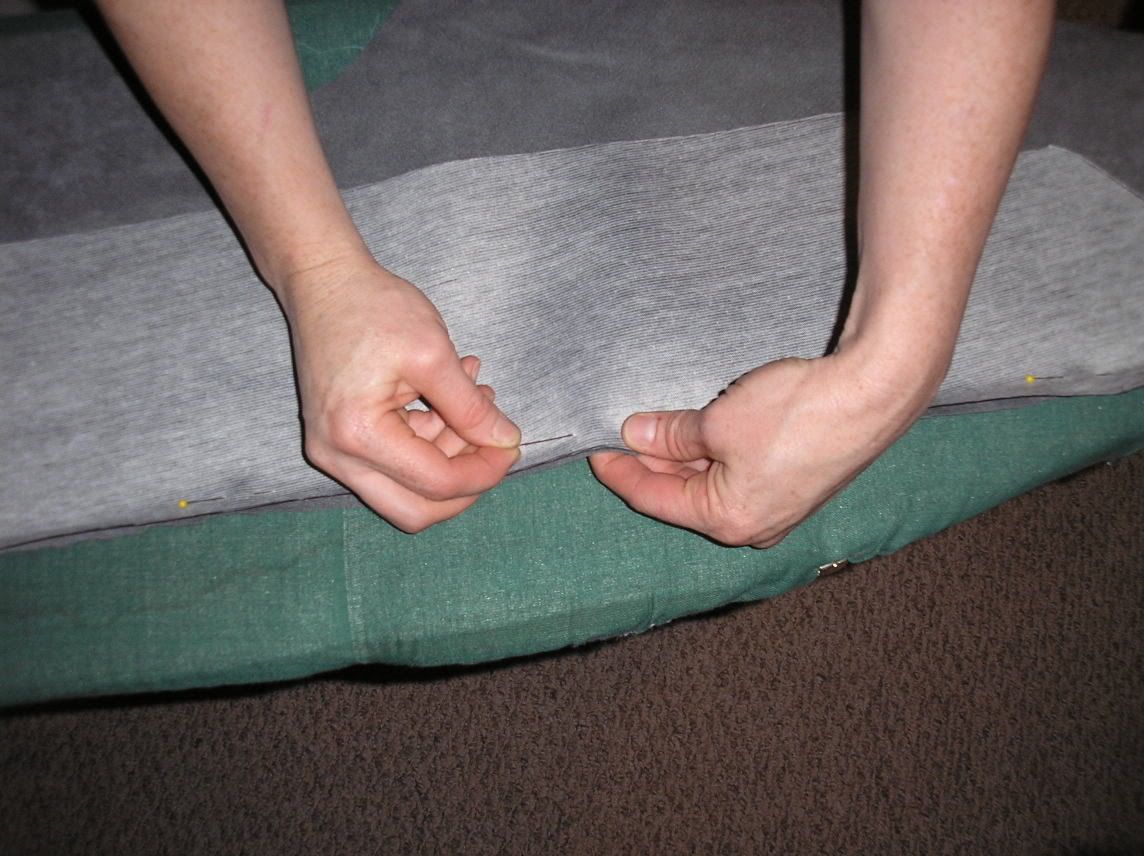 Here it is all pinned together... Is that just hot sex on a platter, or what? 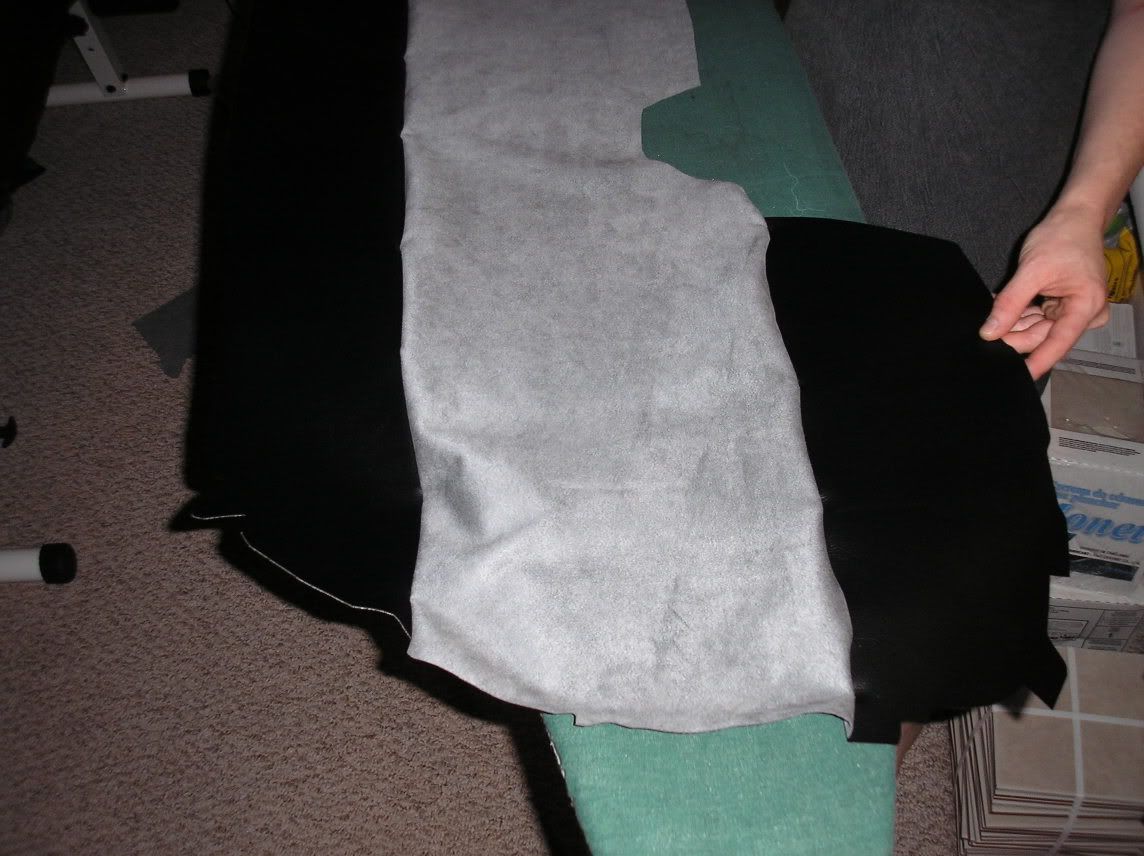 Here's the other side being pinned: 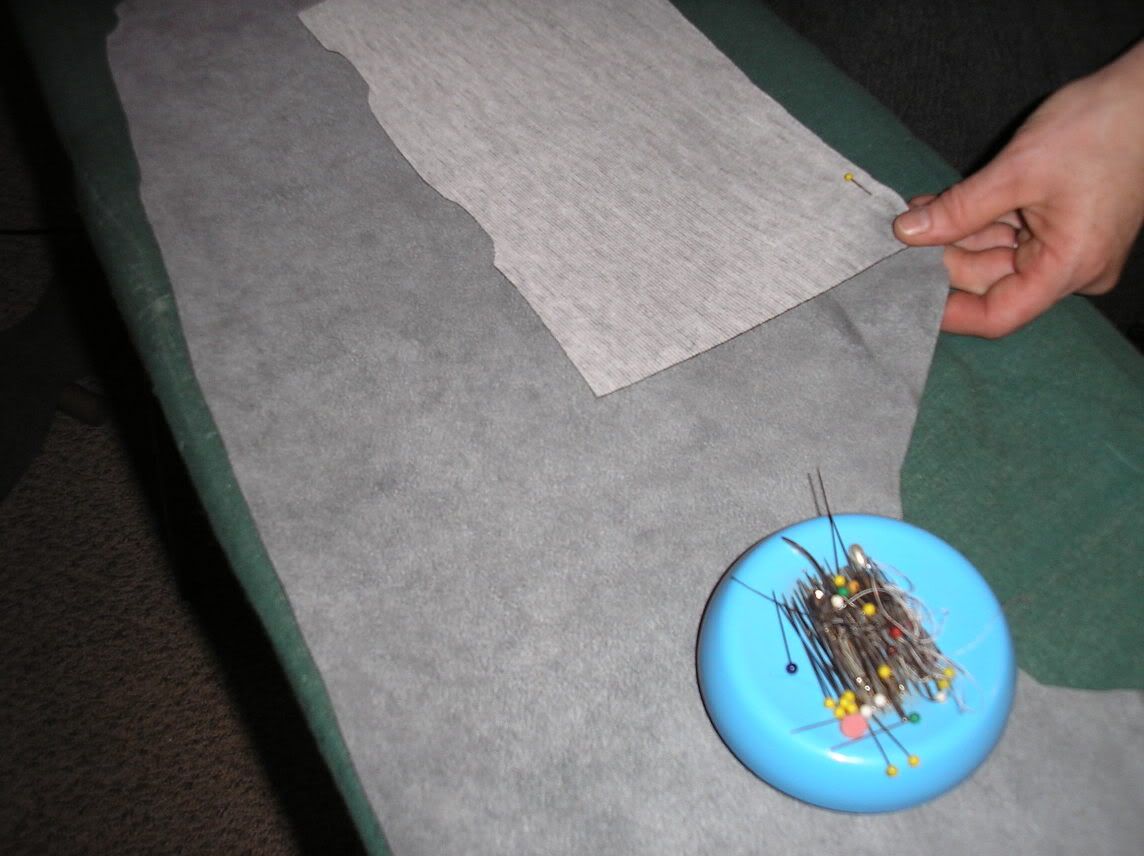 She's sewing them up right now after a couple practice runs. Now, remember, she has a hardcore sewing machine... It's a Bernina... It's no fuckin' Singer that your Grandma has in her closet, these are a couple grand a pop. Last edited by $100T2; 03-02-2008 at 09:15 PM. |
|
|

|
|
|
#3 |
|
Big Daddy
Join Date: Feb 2008
Location: Rhode Island
Posts: 419
Rep Power: 18  |
Here's the killer machine:
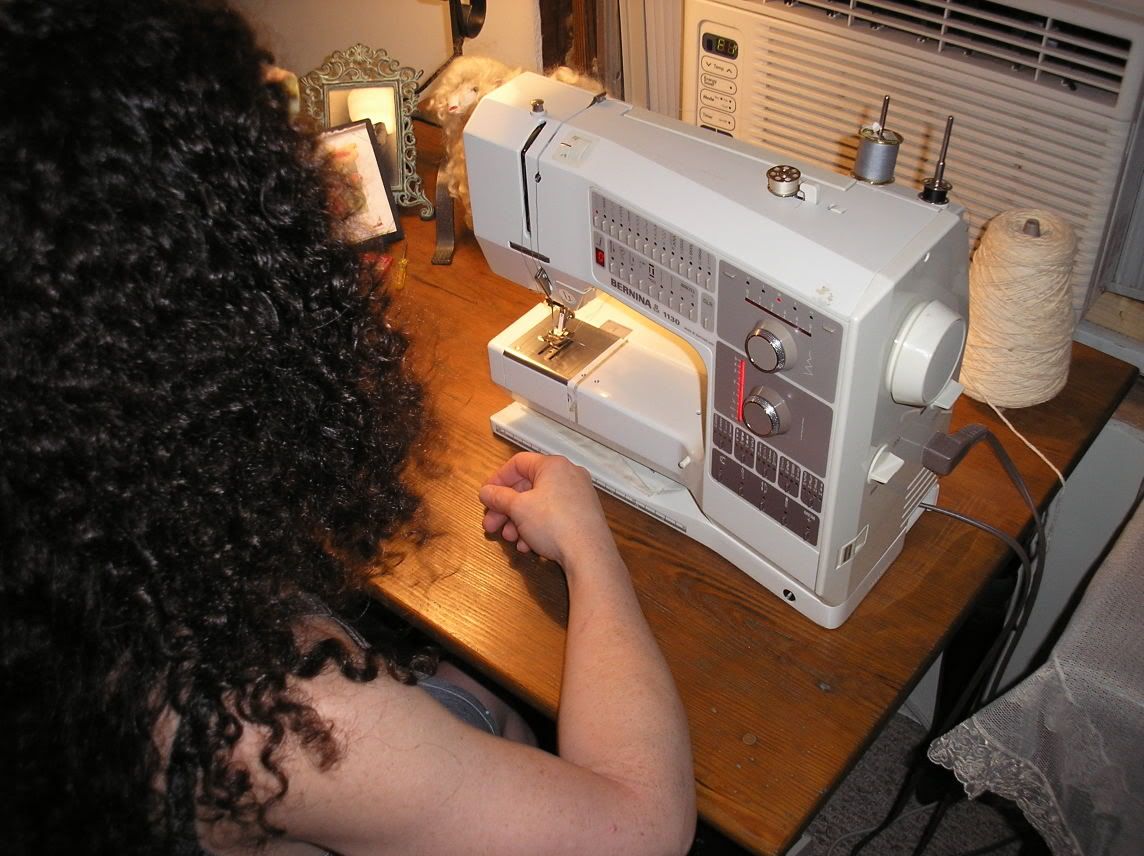 Here's a practice piece: 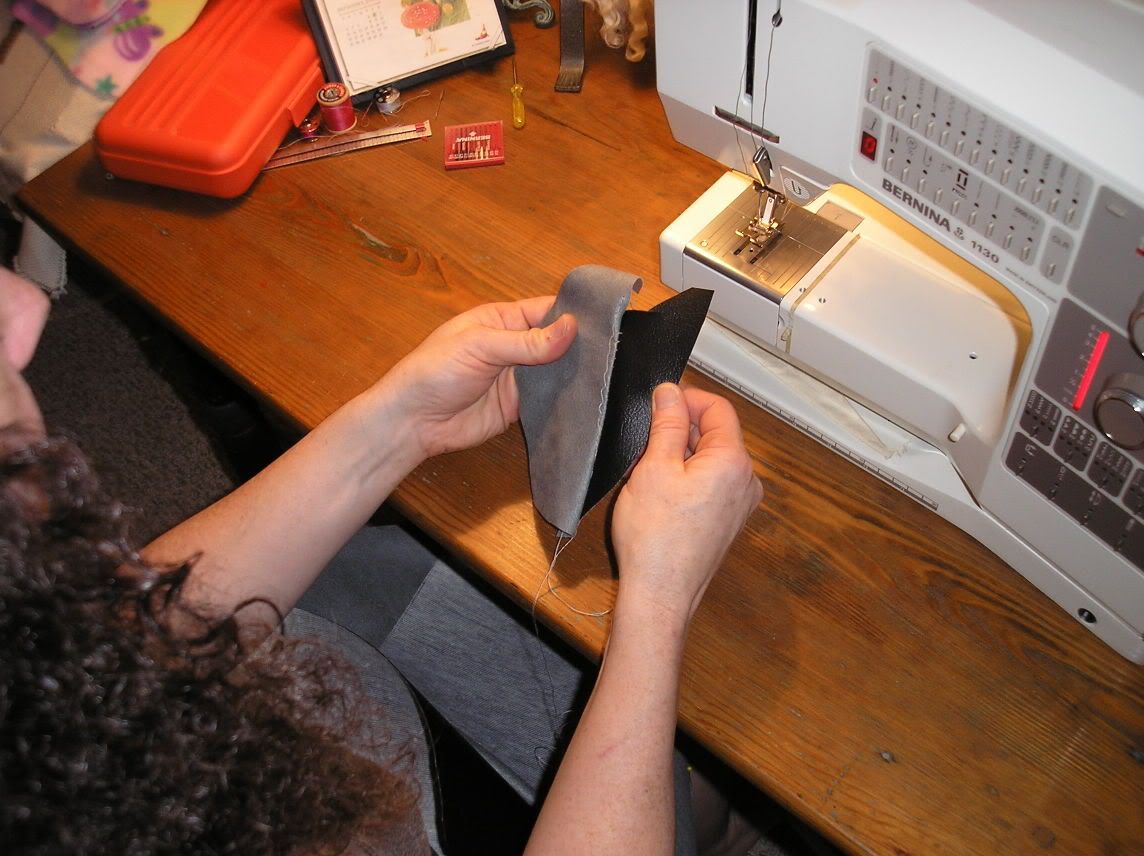 She did a plain, simple stitch just to make sure it's sized up right: 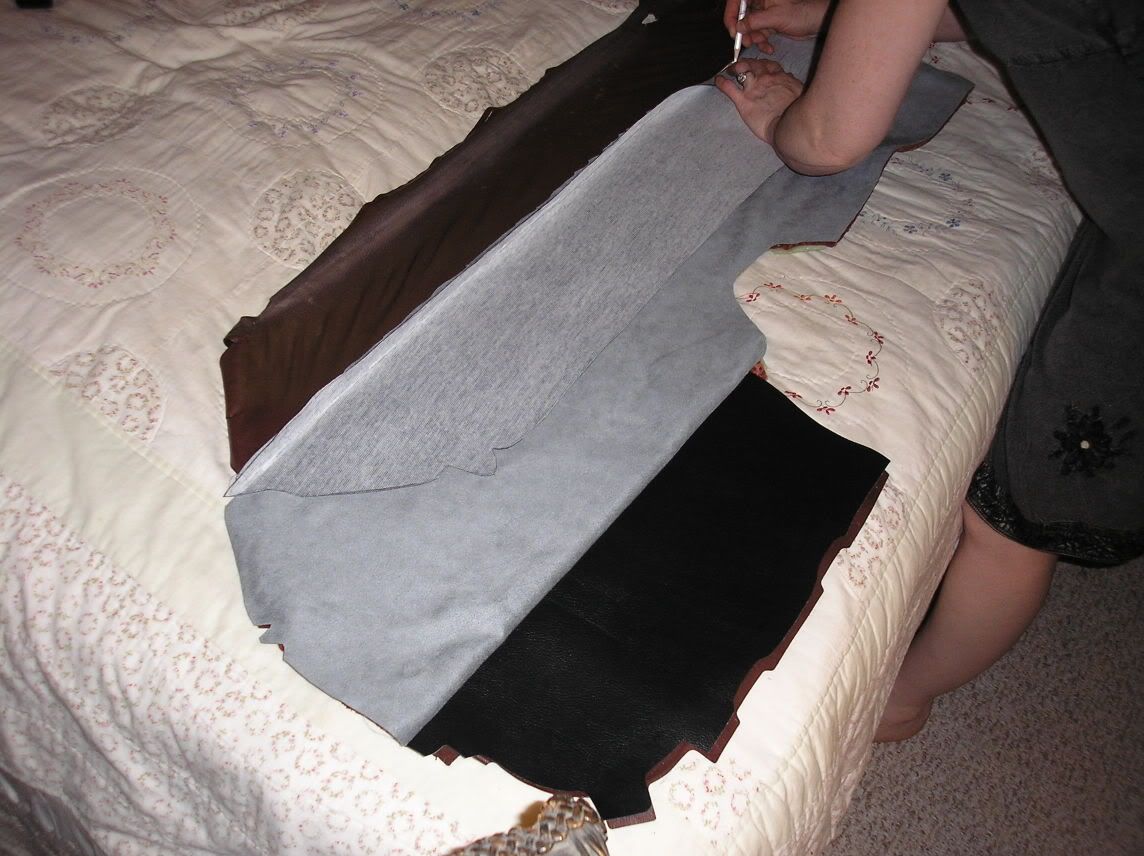 Now, she's doing a little adjustment to the piece to make sure it lines up just like the OEM part: 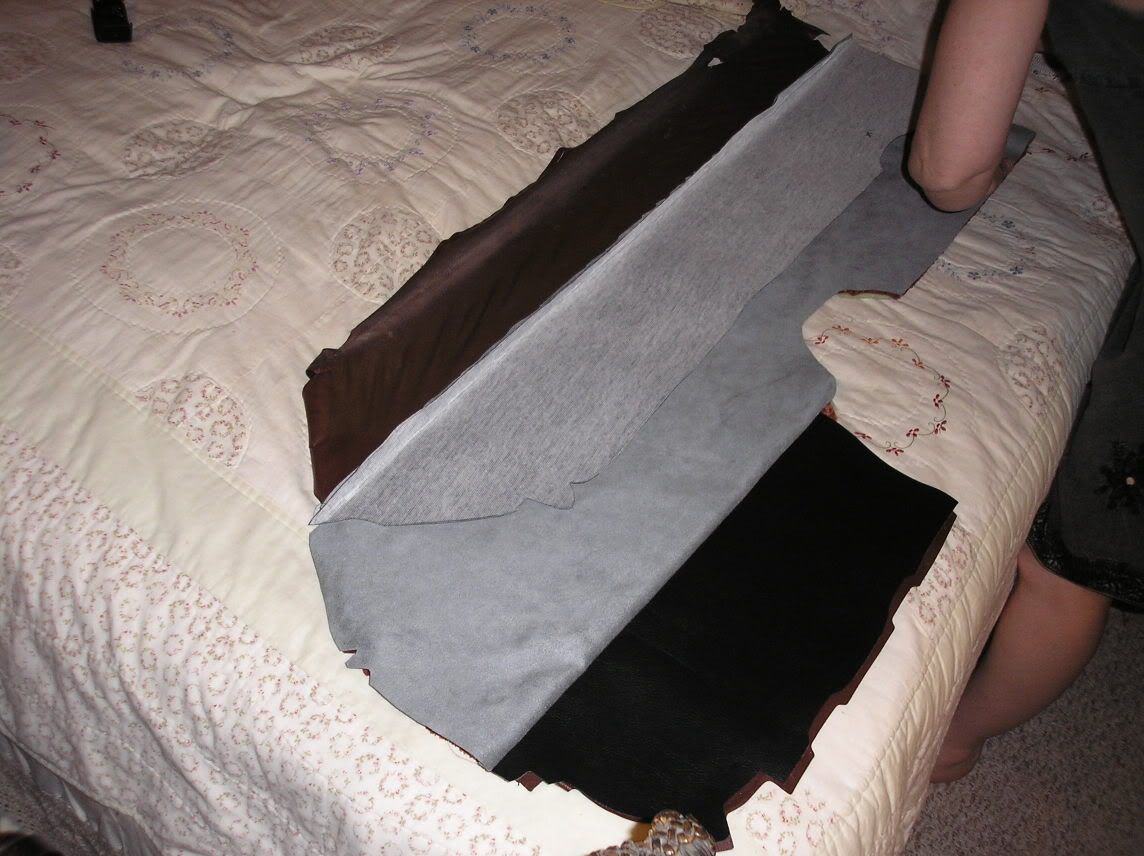 Her words: "Holy shit, this machine is going through this fabric like buttah!!!" Well, Lynn finished sewing the door panels last night. I have to cut out the foam pieces for the door panels, then we are going to attach the new fabric to the doors. Hopefully that will be done tonight. In the meantime, here's the finished panels. She still has to do the lower piece: 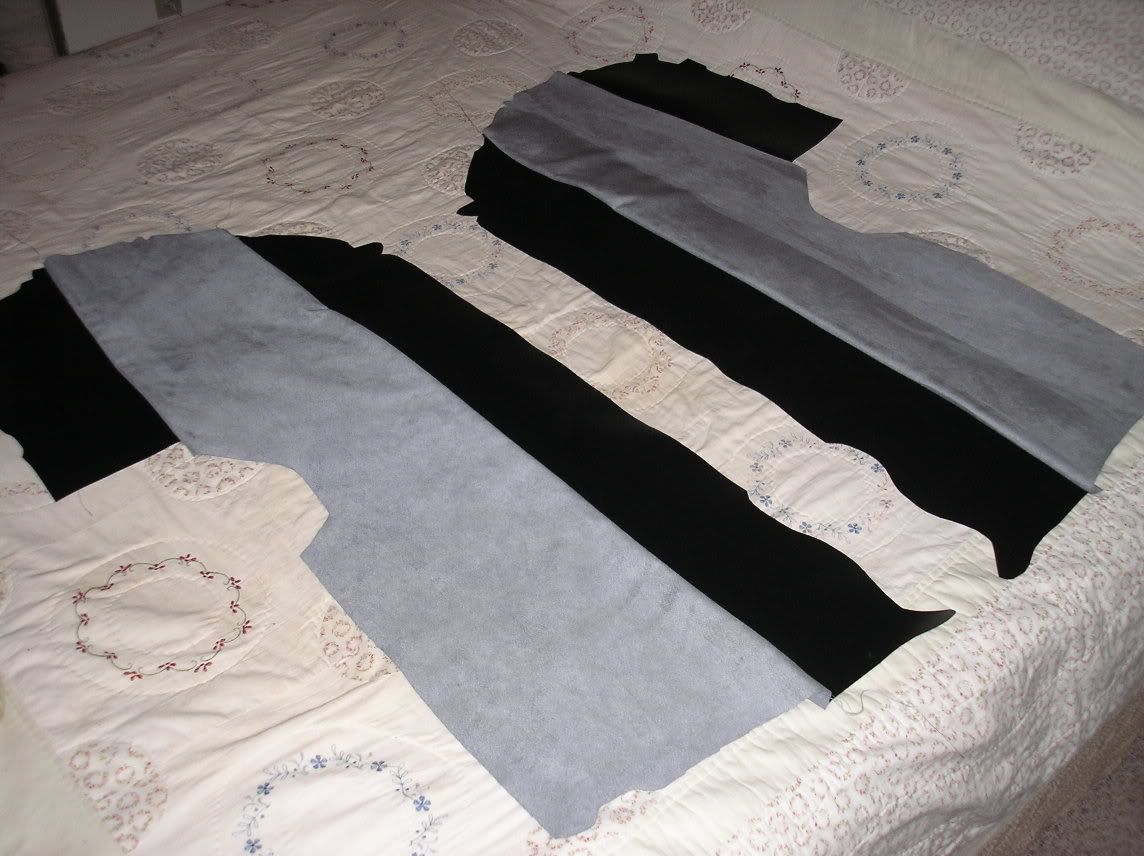 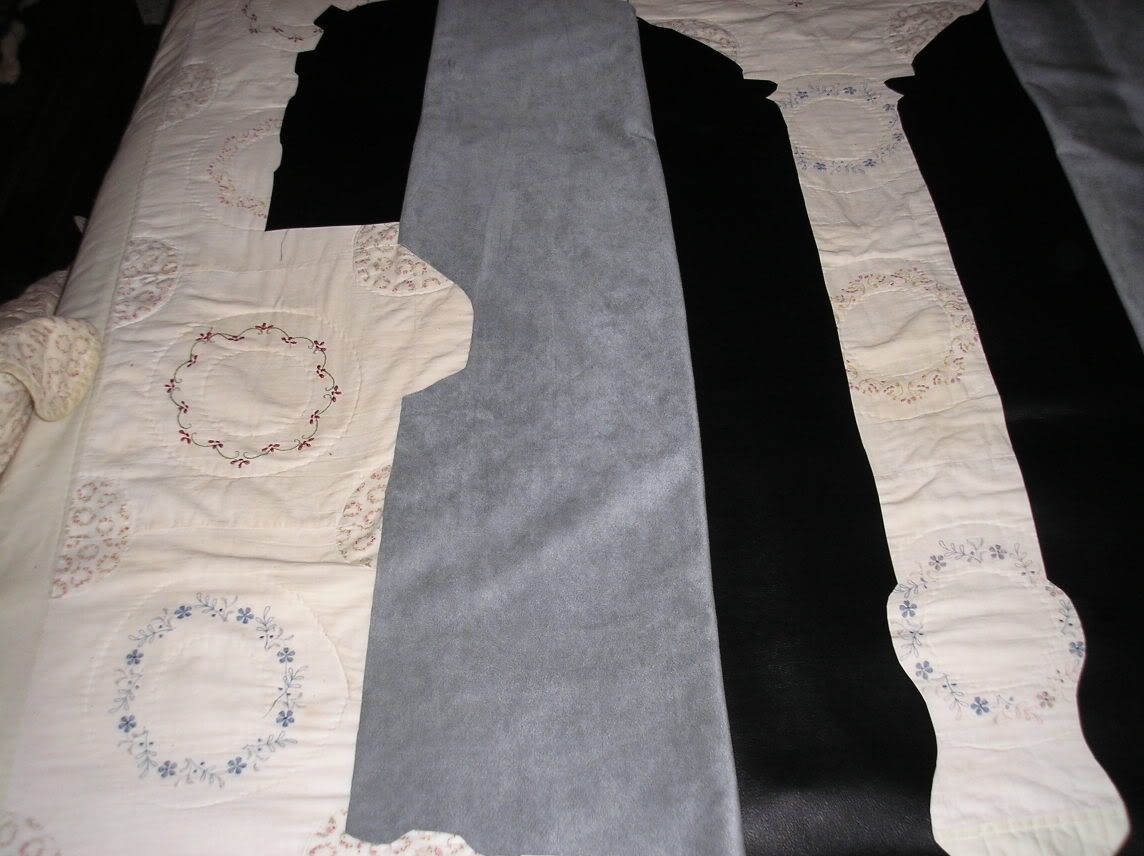
|
|
|

|
|
|
#4 |
|
Big Daddy
Join Date: Feb 2008
Location: Rhode Island
Posts: 419
Rep Power: 18  |
Now, go to Home Depot. Get some of these:
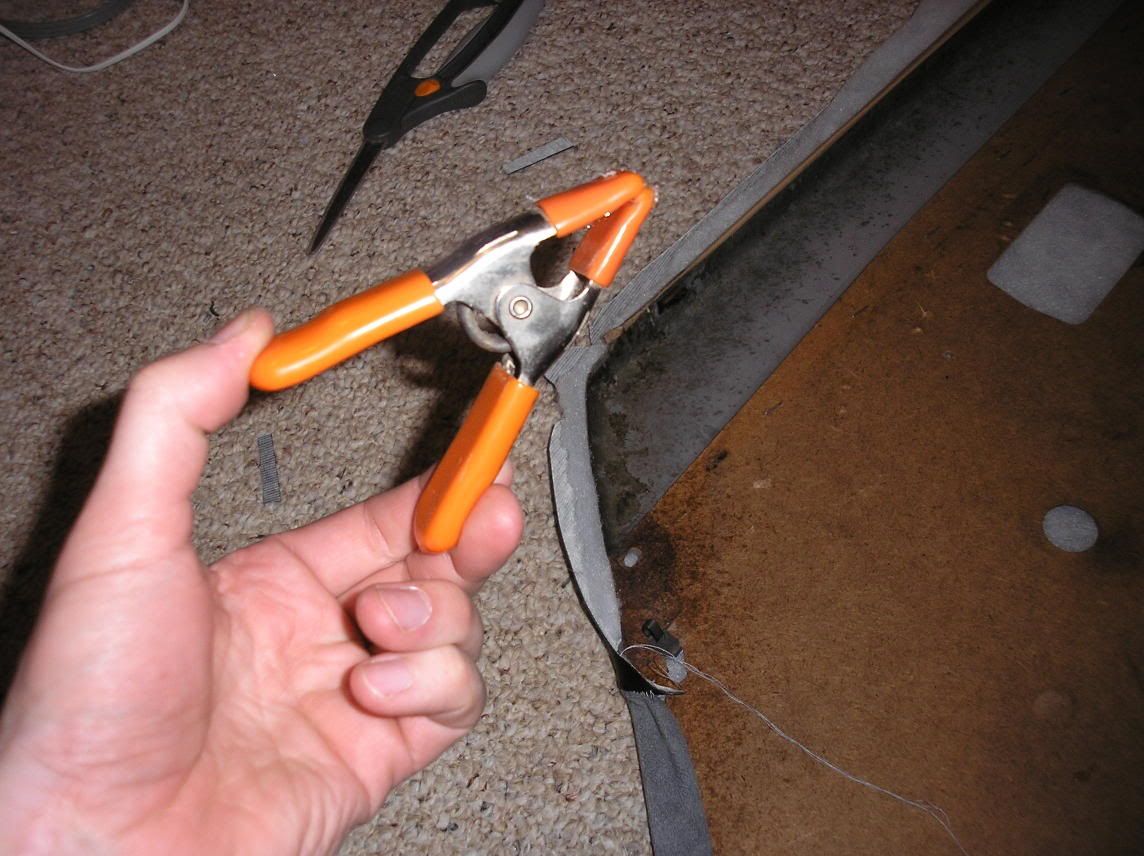 The hot glue is HOT!!! It will burn you, trust me on this. You are going to get burned. The clip is to help avoid it, especially when you are doing tight areas like this: 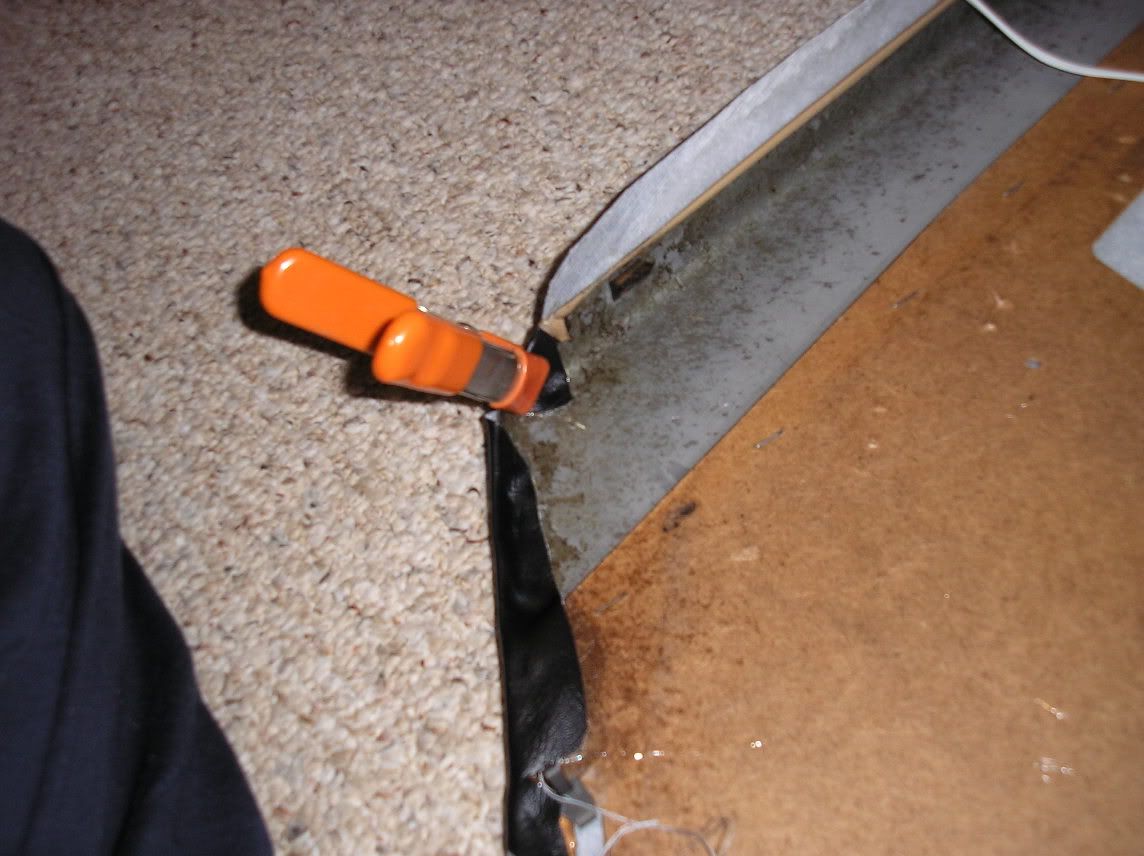 Now we have our main panels attached, it's time to do the REALLY difficult part. 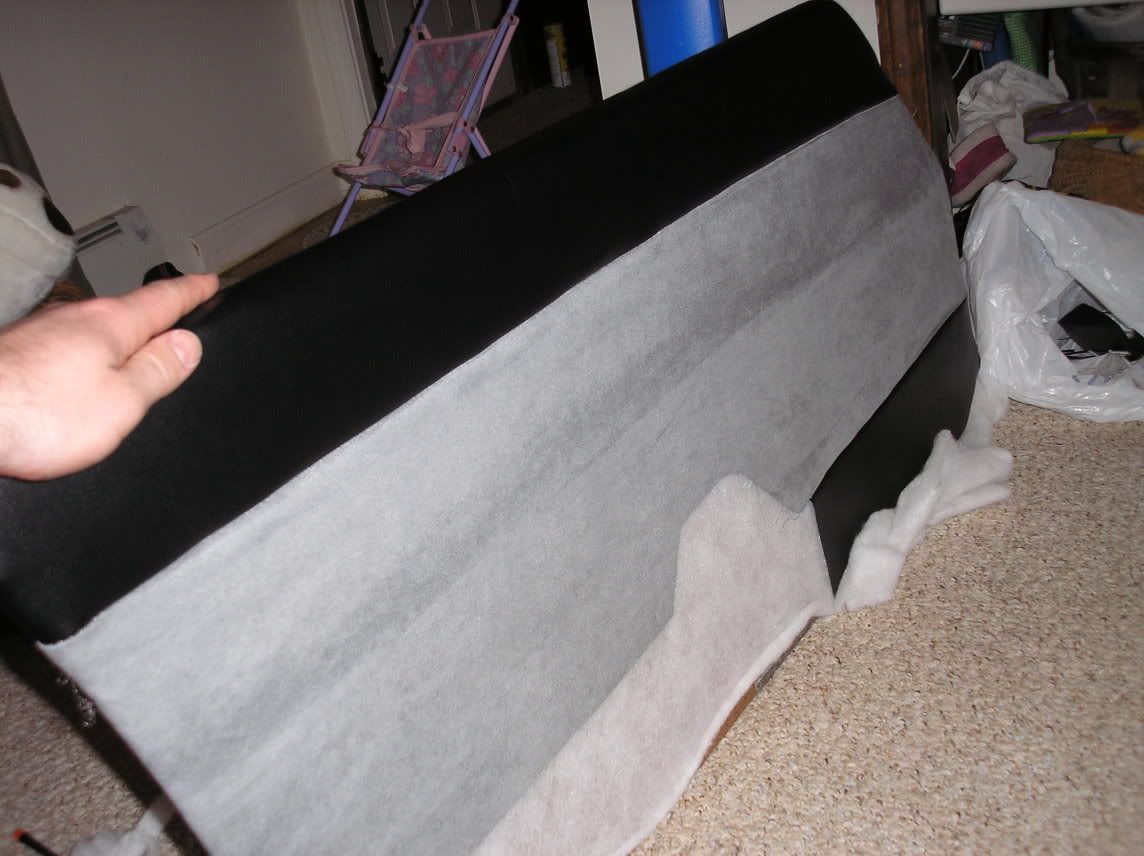 You should have removed the rubber from the armrests. Be careful, because it's glued on there and can/will rip. The only way to avoid the rips is patience, maybe try heating it gently with a heat gun. Now, we're going to cut our leather a good bit bigger than we need it, because A) it makes our lives easier, and B) we can trim later. 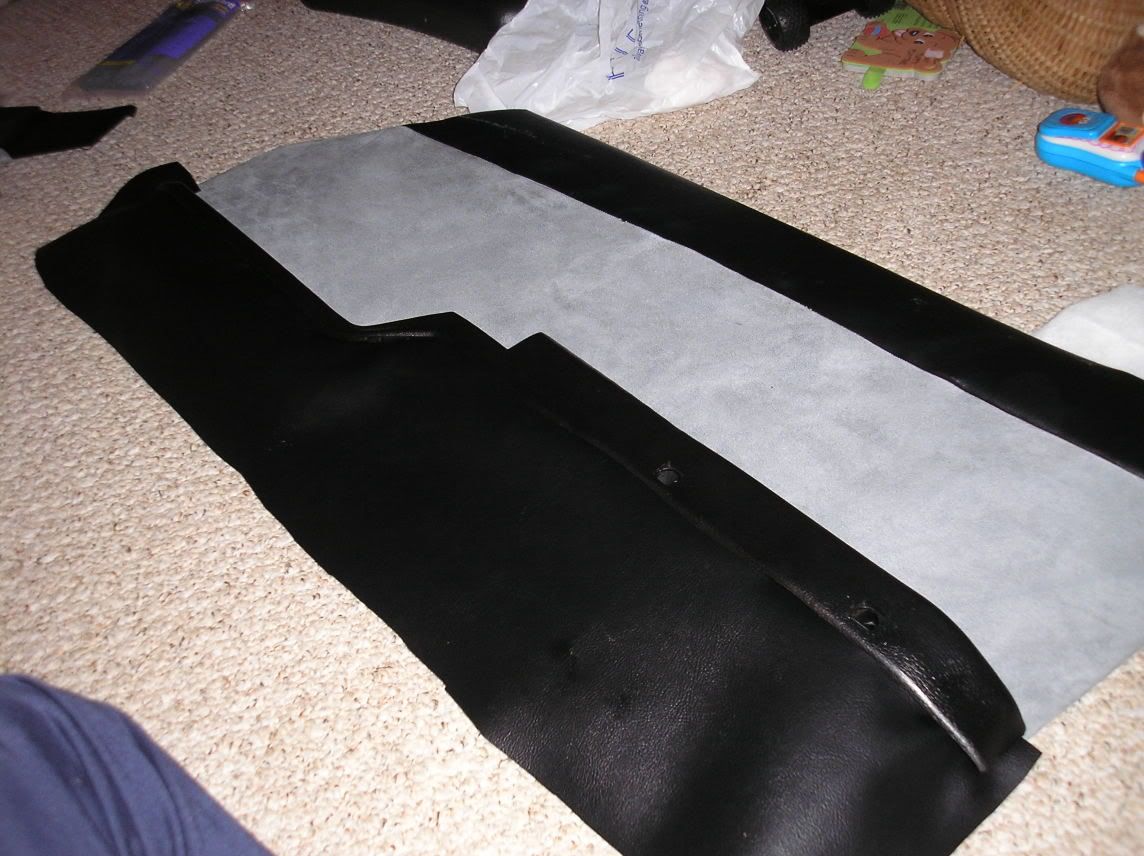 Why did we cut it bigger? Well, simple. So that we can cut slits in it and thread it through the grooves on the armrest where the rubber cover goes! 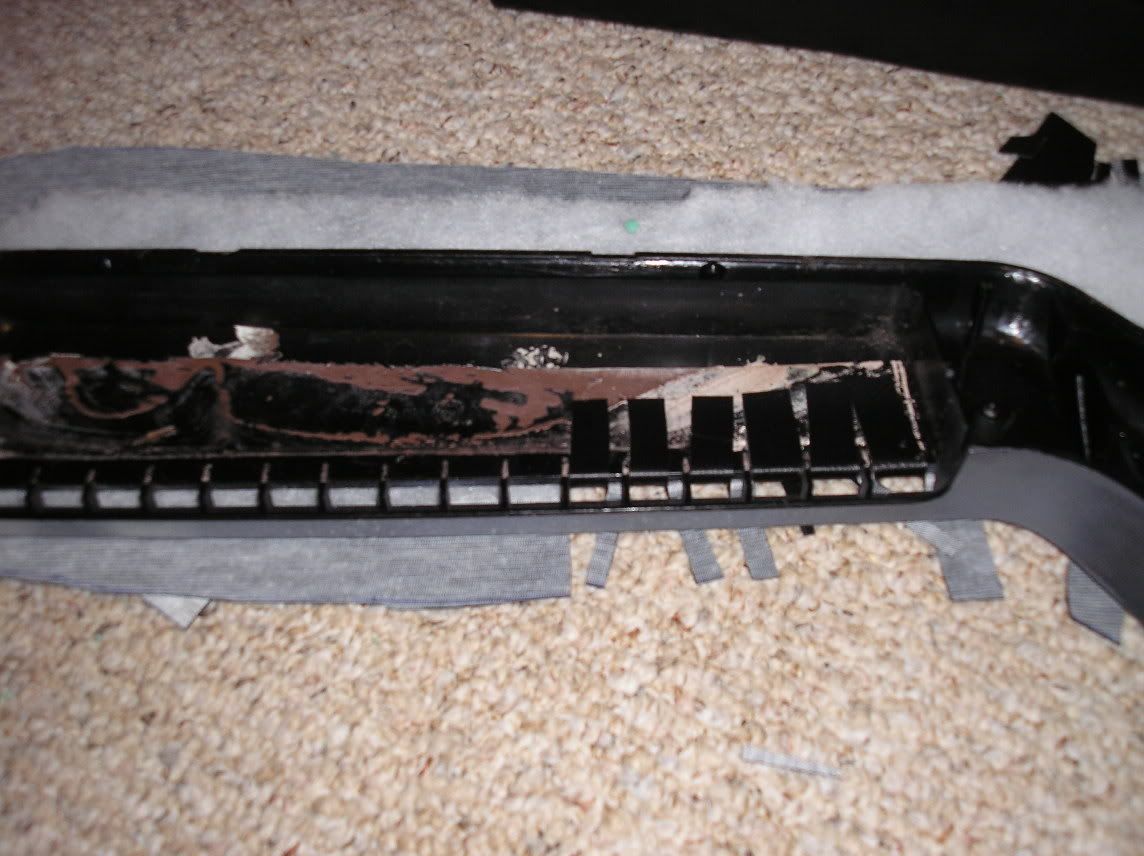 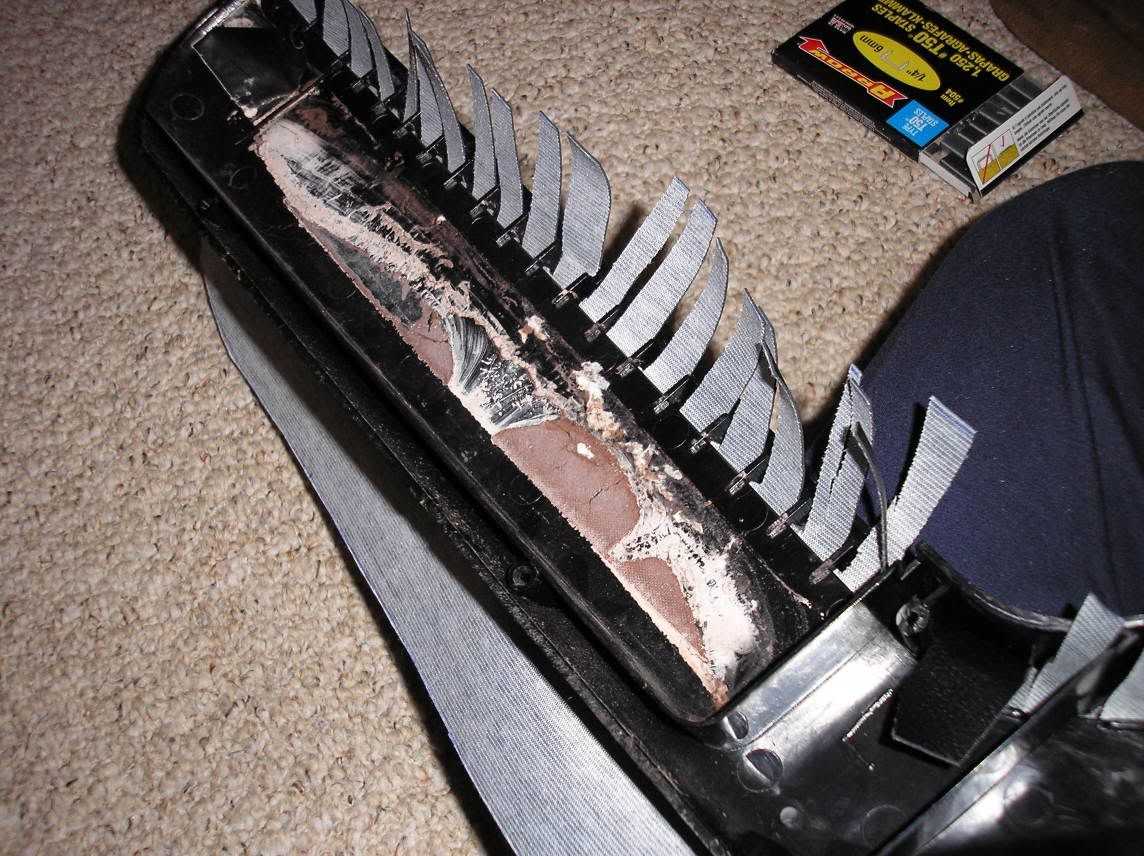 Glue all those tabs down with the hot glue gun. |
|
|

|
|
|
#5 |
|
Big Daddy
Join Date: Feb 2008
Location: Rhode Island
Posts: 419
Rep Power: 18  |
The next couple steps have no pics, basically because they are pretty simple. Put the rubber back on the armrest. Use a flatheaded screwdriver to push them back through the slots. Then, put the armrest back on the door. Your big piece on the bottom will be loose on the sides and bottom. Insert the desired amount of batting underneath it to pad it up a bit. I used more than I had planned, because getting the fake leather to follow the contours the way the shag carpeting did was a real bitch. Once you have it padded the way you like it, glue the back down the same way you attached the other piece.
You're almost finished! Carefully cut out the openings for the window crank, door handle and door lock. DO NOT CUT ALL THE MATERIAL AWAY. Simply cut an "X" across, fold the pieces back on the inside of the door, and hot glue 'em into place. Your end result will probably look a little something like this: 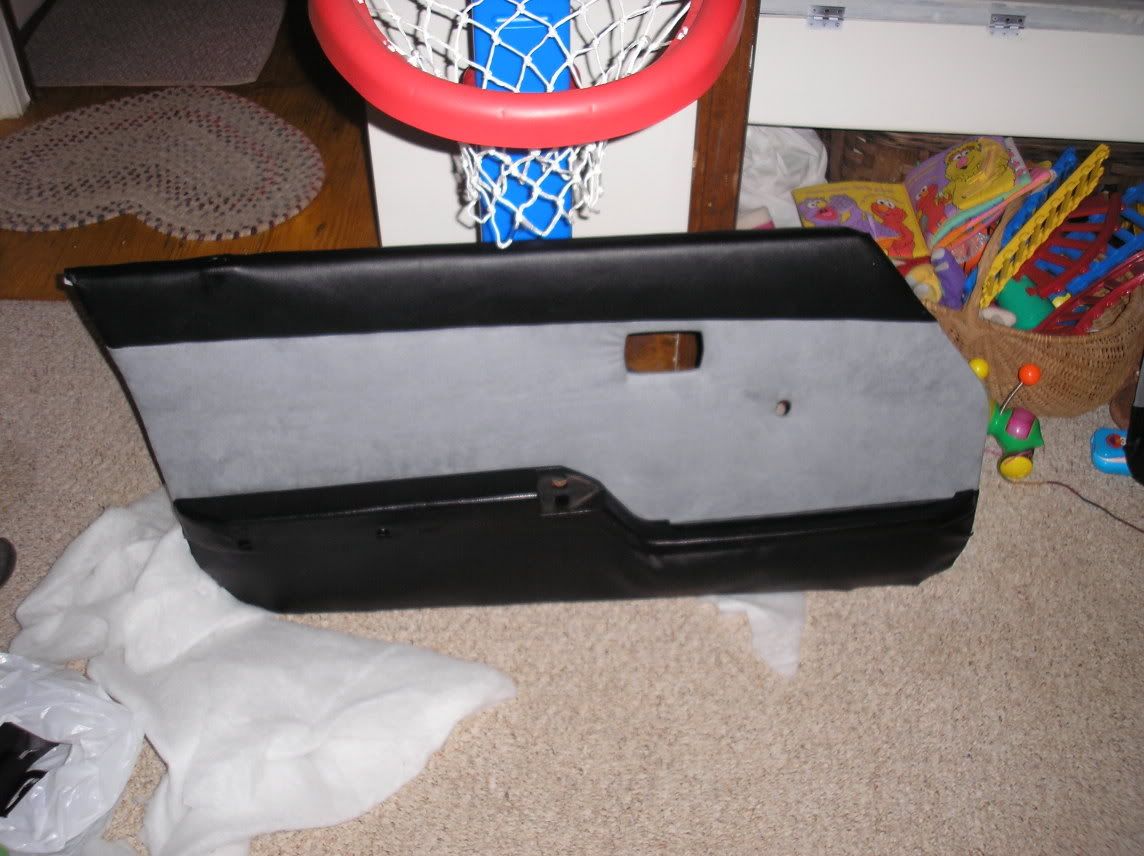 Ignore the diagonal hash lines on the passenger side door. That's from where we had considered doing some decorative stitching. It's tailors chalk, and I'm just going to wipe it off. That's it guys, the door panels are done. The finishing panels behind the doors that extend into the hatch are covered the same way to match the doors, and look pretty fucking nice if I do say so myself. |
|
|

|
|
|
#6 |
|
RCC Contributor
Join Date: Feb 2008
Location: WA State
Posts: 651
Rep Power: 18  |
WOW! That's a GREAT write-up! Thanks for sharing the information!
__________________
Michael Pinto 2008 PDXCGP Drag Racing Season Champion 83 RX-7 GSL; 12A/5-Speed, Red/Red; 100% Stock - 16.072@83.39 01 CV Police Interceptor; 4.6 SOHC V8/4R70W, Dk Blue/Grey; K&N FIPK/RP Oil/Optima/Superchips/Flowmaster 40's/2.5" cat-back - 14.854@92.37 Read my Rx-7 Build Thread! http://rotarycarclub.com/rotary_foru...ed=1#post70955 Get on the new RCC 1/4 Mile ET List! http://www.rotarycarclub.com/rotary_...read.php?t=368 Vote for the ROTM! http://rotarycarclub.com/rotary_foru...play.php?f=125 |
|
|

|
|
|
#7 |
|
Rotary Fan in Training
Join Date: Mar 2008
Location: Orlando, Fl
Posts: 59
Rep Power: 18  |
Nice job!
|
|
|

|
|
|
#8 |
|
Custom User Title
Join Date: Feb 2008
Location: Seattle, WA / Pullman, WA
Posts: 350
Rep Power: 18  |
Many thanks for the writeup. Looks excellent!
|
|
|

|
|
|
#9 |
|
The Newbie
Join Date: Feb 2008
Posts: 1
Rep Power: 0  |
way better than mine (getting drunk, and finding some black and red felt = not the best. still better than the turd brown though).
you never cease to impress with your general skillsets... |
|
|

|
|
|
#10 |
|
Sigh.....
Join Date: Feb 2008
Location: Murfreesboro, TN
Posts: 2,377
Rep Power: 20  |
Looks great and I like where this whole Lynn thing is going...

__________________
1986 Sport: 132k miles, 5A (Sapphire Blue Metallic), Tokico Blues, Racing Beat Springs, Custom LED tailights (only S4 LED tails in the world), SSR Mark II, Racing Beat exhaust, S5 black interior, Rotary Resurrection rebuild at 120k miles Community Service Manual RotorWiki "Imagination costs nothing; we could build square locomotives or fly to Mars" - Felix Wankel Yesterday is history, tomorrow is a mystery, but today is a gift. That is why it is called the "present." |
|
|

|
|
|
#11 |
|
Big Daddy
Join Date: Feb 2008
Location: Rhode Island
Posts: 419
Rep Power: 18  |
*ahem*

__________________
Hell hath no fury like a rotor blown. |
|
|

|
|
|
#12 |
|
Sigh.....
Join Date: Feb 2008
Location: Murfreesboro, TN
Posts: 2,377
Rep Power: 20  |
I'm confused with this picture.
1: Why is it not resizable? 2: Why is there not an accompanying shot of the goodies? 3: Why are there so many clothes involved?  For real though, she looks like a nice lady and if she's willing to help you with the 7, I'm not sure why she's still only your g/f. I give her a
__________________
1986 Sport: 132k miles, 5A (Sapphire Blue Metallic), Tokico Blues, Racing Beat Springs, Custom LED tailights (only S4 LED tails in the world), SSR Mark II, Racing Beat exhaust, S5 black interior, Rotary Resurrection rebuild at 120k miles Community Service Manual RotorWiki "Imagination costs nothing; we could build square locomotives or fly to Mars" - Felix Wankel Yesterday is history, tomorrow is a mystery, but today is a gift. That is why it is called the "present." |
|
|

|
|
|
#13 | |
|
Big Daddy
Join Date: Feb 2008
Location: Rhode Island
Posts: 419
Rep Power: 18  |
Quote:
__________________
Hell hath no fury like a rotor blown. |
|
|
|

|
|
|
#14 |
|
Sigh.....
Join Date: Feb 2008
Location: Murfreesboro, TN
Posts: 2,377
Rep Power: 20  |
I approve (because you can't get married without that...
 ). ).
__________________
1986 Sport: 132k miles, 5A (Sapphire Blue Metallic), Tokico Blues, Racing Beat Springs, Custom LED tailights (only S4 LED tails in the world), SSR Mark II, Racing Beat exhaust, S5 black interior, Rotary Resurrection rebuild at 120k miles Community Service Manual RotorWiki "Imagination costs nothing; we could build square locomotives or fly to Mars" - Felix Wankel Yesterday is history, tomorrow is a mystery, but today is a gift. That is why it is called the "present." |
|
|

|
|
|
#15 |
|
ZOMG WTF BBQ!!!
Join Date: Mar 2008
Location: Mobile, Al
Posts: 280
Rep Power: 18  |
Didn't you do a wright up on dying carpet too?
|
|
|

|
 |
| Bookmarks |
|
|