|
Show your rotary car build up. Show off your Rotary Car build! |
Welcome to Rotary Car Club. You are currently viewing our boards as a guest which gives you limited access to view most discussions and access our other features. By joining our free community you will have access to post topics, communicate privately with other members (PM), respond to polls, upload content and access many other special features. Registration is fast, simple and absolutely free so please, join our community today! If you have any problems with the registration process or your account login, please contact contact us. |
|
Thread Tools | Display Modes |
|
03-16-2013, 03:38 PM | #1 |
Rotary Fanatic
|
RXtacy's slooow build up
I guess it's about time I started one of these. I've had my FD since 2004, and she just turned 20 this year becoming eligible for historic plates here in MD
Background: The car started life as a vintage red touring model with tan interior. Attain Bumper Gaurd 009.jpg DGRR 2010 045.jpg The paint was in pretty rough shape, and the tan interior had to go. I tackled the interior first. Stripped the interior and removed a lot of the sound deadening. Then I used quiet coat before installing a new black carpet, and black interior. 002.jpg Used the dust off cans flipped upside down to freeze off the sound deadening. 010.JPG Applying quiet coat. 019.JPG Last edited by RXtacy; 08-06-2015 at 08:18 AM.. |
03-16-2013, 03:44 PM | #2 |
Rotary Fanatic
|
Dash pulled and ready to install the new carpet.
010 (2).jpg Carpet in, and dash reinstalled. 001.JPG 004 (2).JPG 005 (2).JPG I don't seem to have any final pictures, but I replaced the AC, shifter surround, and transmission tunnel cover with brand new OEM 93 finish plastics. The 93 finish is gorgeous when new IMHO. Also put in used black quarter panels, door panels, and rear divider. |
03-16-2013, 03:53 PM | #3 |
Rotary Fanatic
|
Once the interior was up to snuff, I moved on to the exterior. The VR paint had to go, and I spent a LOONG time trying to decide what color I wanted to go with. Mentally went through just about every color in the rainbow before deciding. I ended up going with Frozen Grey Metallic off the special edition BMW M3. It is a satin finish silver color. In certain light it has a bit of a purple hue to it. I also went with Shine Auto Feed front bumper and front fenders.
DSC04830.jpg Shaved the rear antenna and filled the holes that the stock spoiler mounted to. DSC04835.jpg Took care of some minor rust along the windshield. DSC04839.jpg Fender fitment wasn't the best, but the body shop did a great job getting all the seems right. DSC04840.jpg DSC04841.jpg |
03-16-2013, 03:56 PM | #4 |
Rotary Fanatic
|
All sanded and primed. Also test fitting the new kicks.
Last edited by RXtacy; 08-05-2015 at 03:17 PM.. |
03-16-2013, 04:05 PM | #5 |
Rotary Fanatic
|
The results! How she looked when I picked her up from the body shop.
Last edited by RXtacy; 08-05-2015 at 03:19 PM.. |
03-16-2013, 04:14 PM | #6 | |
⊙⊙
|
Nice whats so slow about this build. You have made much more progress then I have. Haha
__________________
Quote:
|
|
03-16-2013, 04:34 PM | #7 |
Rotary Fanatic
|
That's all historic stuff that's happened over the years I haven't gotten to the current progress yet
|
03-16-2013, 04:13 PM | #8 |
Rotary Fanatic
|
Once I got her back home I installed Stance GR+ coilovers. I had Tein flex coilovers before, but wanted a bit updated technology.
Once I got the ride height set, I took her in for an alignment. These are the specs I went with. After ride height and alignment. DGRR 2011 Last edited by RXtacy; 08-05-2015 at 03:22 PM.. |
03-16-2013, 04:33 PM | #9 |
Rotary Fanatic
|
Not much changed between 2011 and 2012. My buddy Tharek took some bad ass pictures at DGRR 2012 though. He came all the way from England to check out the best rotary event
Last edited by RXtacy; 08-05-2015 at 03:25 PM.. |
03-16-2013, 05:51 PM | #10 |
Rotary Fanatic
|
Up until this point performance wise she wasn't anything special. Custom SMIC, Apexi intakes, full exhaust, PFC, etc... She made 320 whp when Brian (TitaniumTT) and I tuned her just after DGRR 2012. Then "tragedy" struck Hit overboost on the highway on my way in to work and detonated. I drove it another ~8-10 miles into work on one rotor. Then drove it 25 miles back home. It died literally just as I was pulling into my driveway The carnage was impressive to say the least.
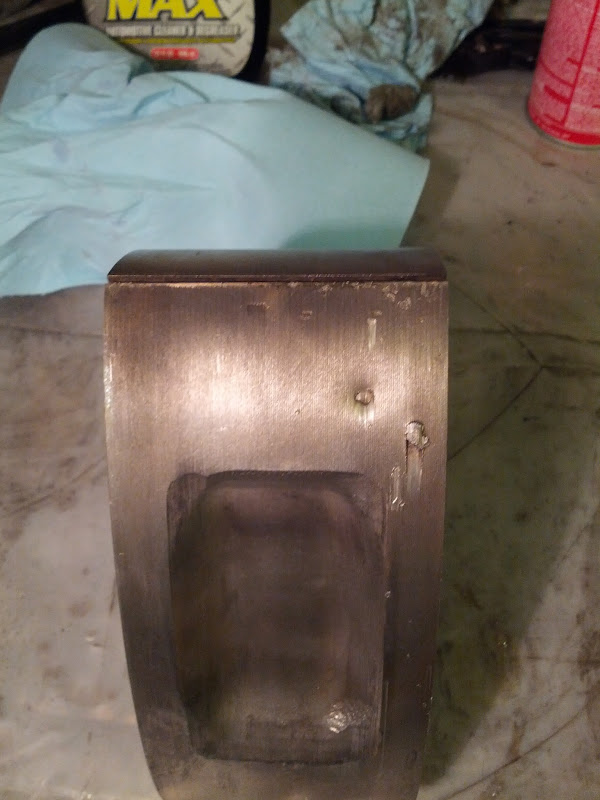
Pulled it out with Brian, Dave, and Levi lending a hand. Much appreciated fellas. Don't have any pics from the pull, or the tear down. But have some of the aftermath. After tear down/inspection Front rotor. The culprit. The housings looked about the same. The irons were salvageable, but for the most part the engine was a total loss. So I picked up a used keg from Josh (XLR8) on the 7club. It was pulled while running with great compression, and the internals showed it. They were pristine! Disassembly of the new block. "New" engine on the stand after the internals were removed/inspected. This block was a great candidate to rebuild. All the internals were well within spec, and looked great. All the accessories organized (somewhat) Last edited by RXtacy; 08-05-2015 at 06:31 PM.. |
03-20-2013, 12:37 PM | #11 |
Get off my lawn!!!
|
You know I had COMPLETELY forgotten that your FD started off life as a VR!!
Need to get that keg stacked up and the break-in started ^_^
__________________
'94 Touring - Cursed '96 NA Miata '14 Mazda3 Hatch '14 Aprilia RSV4 R |
03-20-2013, 01:54 PM | #12 | |
Rotary Fanatic
|
Quote:
I'll update more probably some time this week. Still haven't caught up with where I actually am in the build. |
|
10-10-2013, 01:48 PM | #14 |
Rotary Fanatic
|
UPDATE!
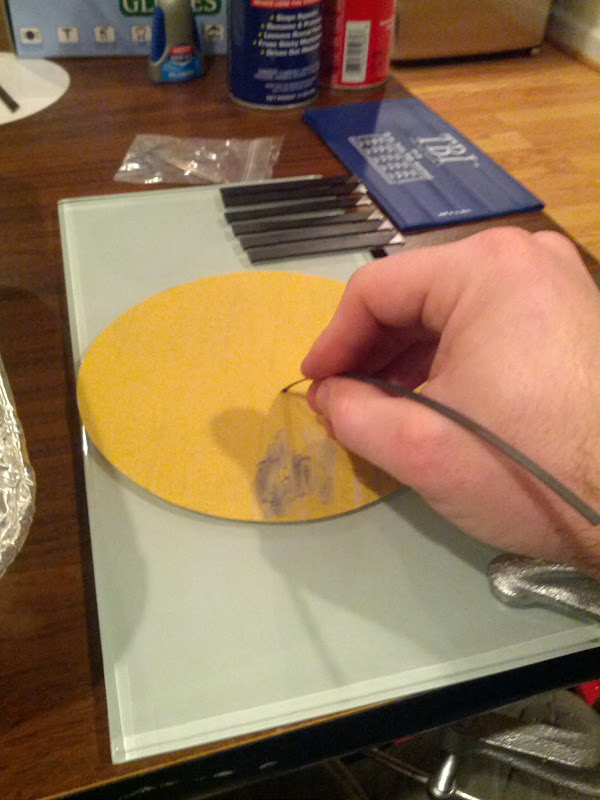
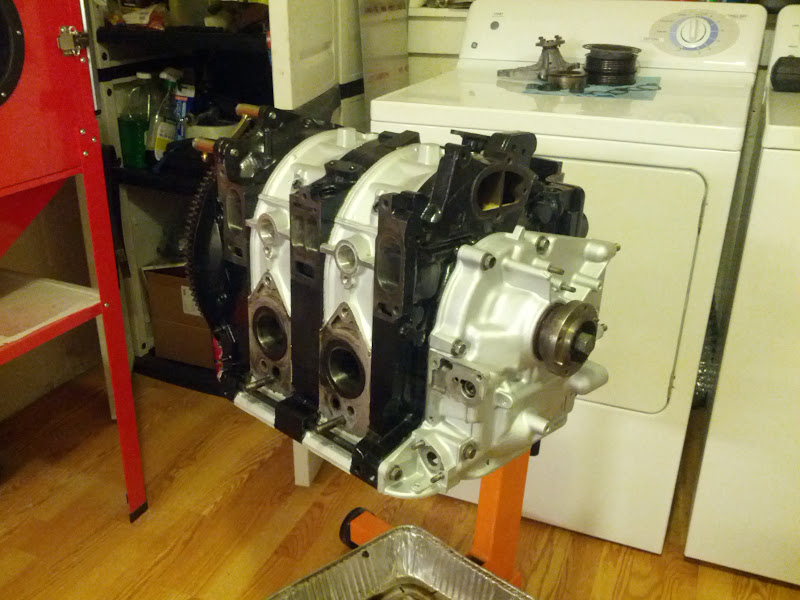
After tear down of the good used block the clean up, inspection, measurement commenced. Rotors after cleaning. Ordered up all the soft seals, new side seals, corner seals etc. Also got my ID 1000 primary injectors and new RX-8 e-shaft. Cleaned up primary and secondary ports. Didn't enlarge much at all, just cleaned up the casting for the most part. I wanted to keep them as close to stock as possible. I have another way of increasing air into the engine Last edited by RXtacy; 08-05-2015 at 06:40 PM.. |
10-10-2013, 02:06 PM | #15 |
Rotary Fanatic
|
How do I plan to get more air into the engine while keeping the side ports mostly stock you ask? With these little guys.
Those little guys? I wouldn't worry about those little guys Once all the porting was done, I primed and painted the block. Then started clearancing/assembling the rotors to get ready to stack the keg. Setting side seal clearance. Rotor assembly. Get the lube! Once again got some help from great friends to stack the keg. Thanks Brian and Whoopie! Keg together. Front cover installed. Last edited by RXtacy; 08-05-2015 at 06:55 PM.. |