|
|||||||
| RX-7 3rd Gen Specific (1993-2002) RX-7 1993-2002 Discussion including performance modifications and Technical Support Sections. |
 |
|
|
Thread Tools | Display Modes |
|
|||||||
| RX-7 3rd Gen Specific (1993-2002) RX-7 1993-2002 Discussion including performance modifications and Technical Support Sections. |
 |
|
|
Thread Tools | Display Modes |
|
|
|
|
#1 |
|
Sua Sponte
Join Date: Feb 2008
Location: Killeen, TX
Posts: 839
Rep Power: 18  |
Quick Reference on how to Wet Sand
If you read my project thread in the builds section, you will understand why I'm having to do all this wetsanding recently
 Thought I'd share the process with the community so they could have a better understanding. Disclaimer: I'm posting this to show my experience on wetsanding and to give others a general idea how to do it. I take no responsibility for what you do to your car... good or bad. Proceed at your own risk. Here is my standard kit. I have a few different buffers... and I change from foam or wool depending on what I am doing. For the novice, I would highly suggest you use a foam pad. They are much more forgiving... and what I mean by that is they don't burn the paint as easy. What you need: -a bucket or spray bottle of warm water(never hurts to add a few drops of soap to the water) -various sandpaperI(I normally keep 1000, 1200, 1500, and 2000 around) -a couple of different rubbing compounds/glazes(I use 3M products mostly) -a buffer(picked the one in the picture up from the pawn shop... or you can borrow one from a buddy), you can also buff by hand -foam pad 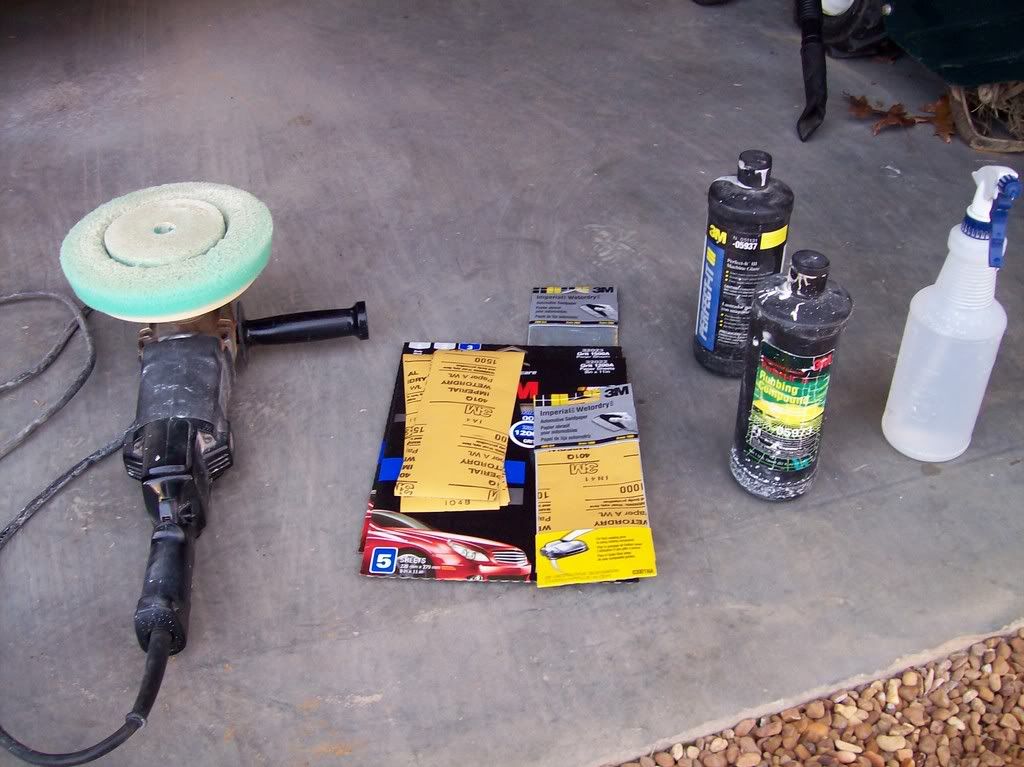 It is always better to start off with a higher number sandpaper... I would not reccommend starting any lower than 1500(I would suggest starting with 2000). Spray the area you are about to sand and your sand paper with the warm water until it is saturated. The key to wetsanding is to not be afraid to use the water. Once its nice and wet. Begin to sand the area. You can use all kinds of methods depending on what you are wanting to do. I normally get a sanding block, but sanding back and forth with the sand paper in your hand will work just fine for a smaller area. Wetsanding will make your paint look very dull and like it does not have any clear coat on it... this is normal. A word of caution though... unless you know how much clearcoat was put on your car... go very easy, you do not want to break through to the base coat. The car pictured here has 4 coats... so I can cut pretty deep if I need. Check your work every few minutes... Here is a beginning picture of a run I wetsanded out. Note the dull finish on the paint now after wetsanding with 1500, the reason for the darker spots are because they are still wet: 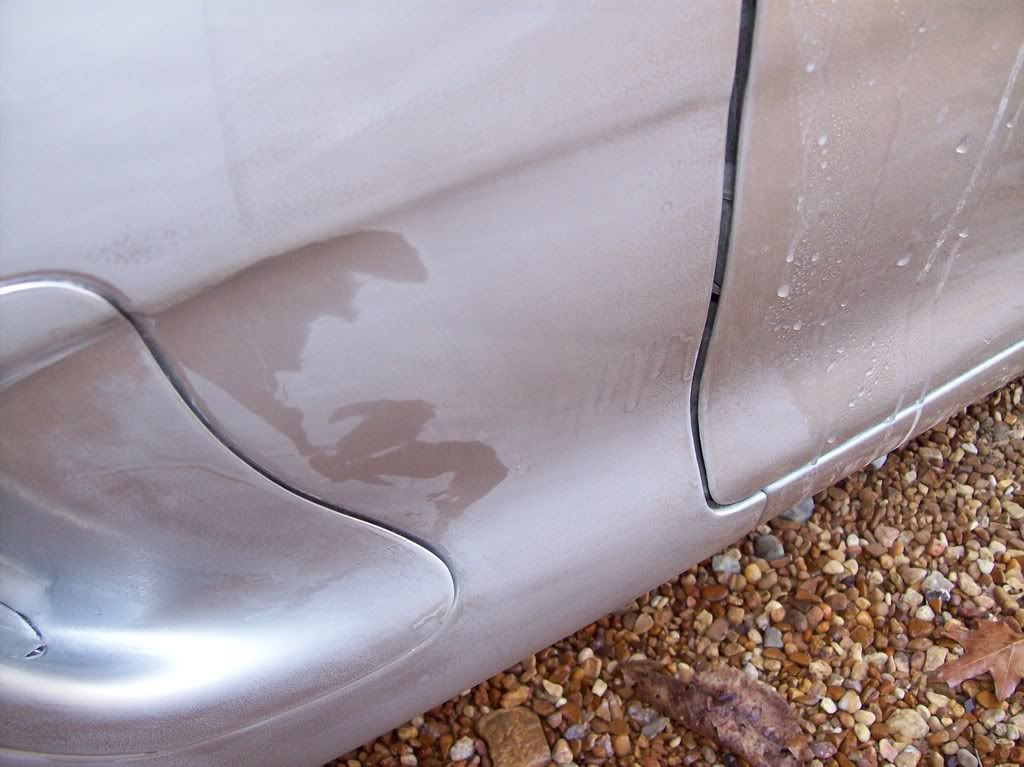 Continued to sand side to side, starting to disappear: 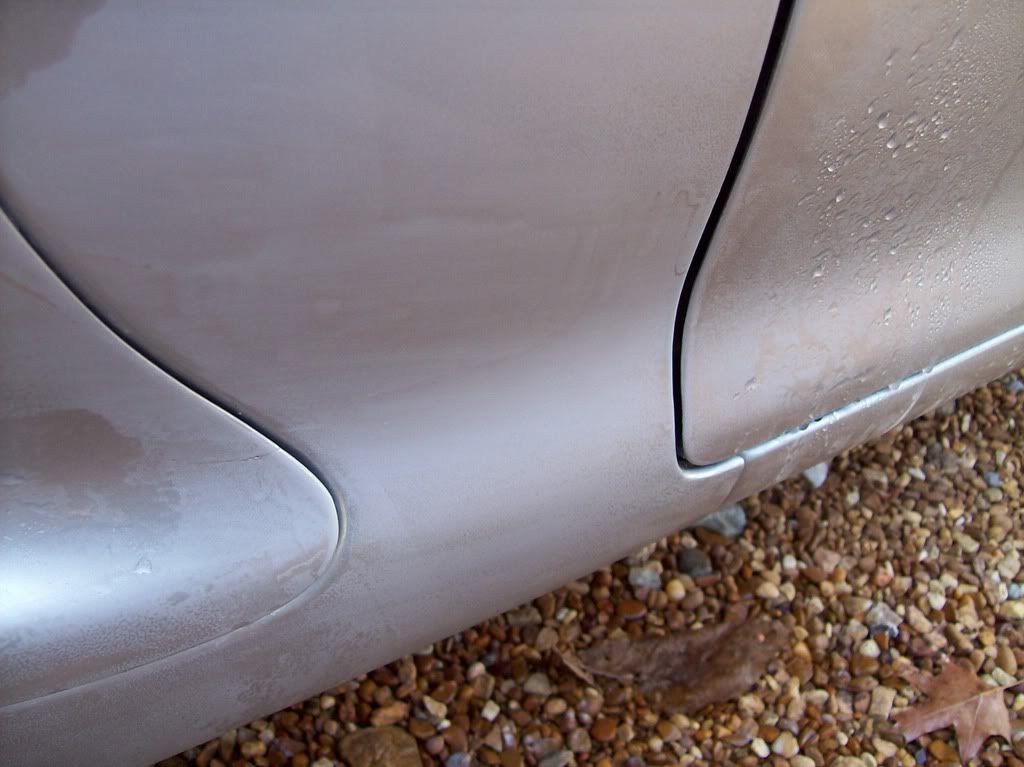 I managed to get the rest out but didn't get any pictures of it. Once you get the imperfection out, whether it be a run, orange peel, trash in the paint, or lines left by emlems once you remove them you want to buff it with some type of compound. I use this... 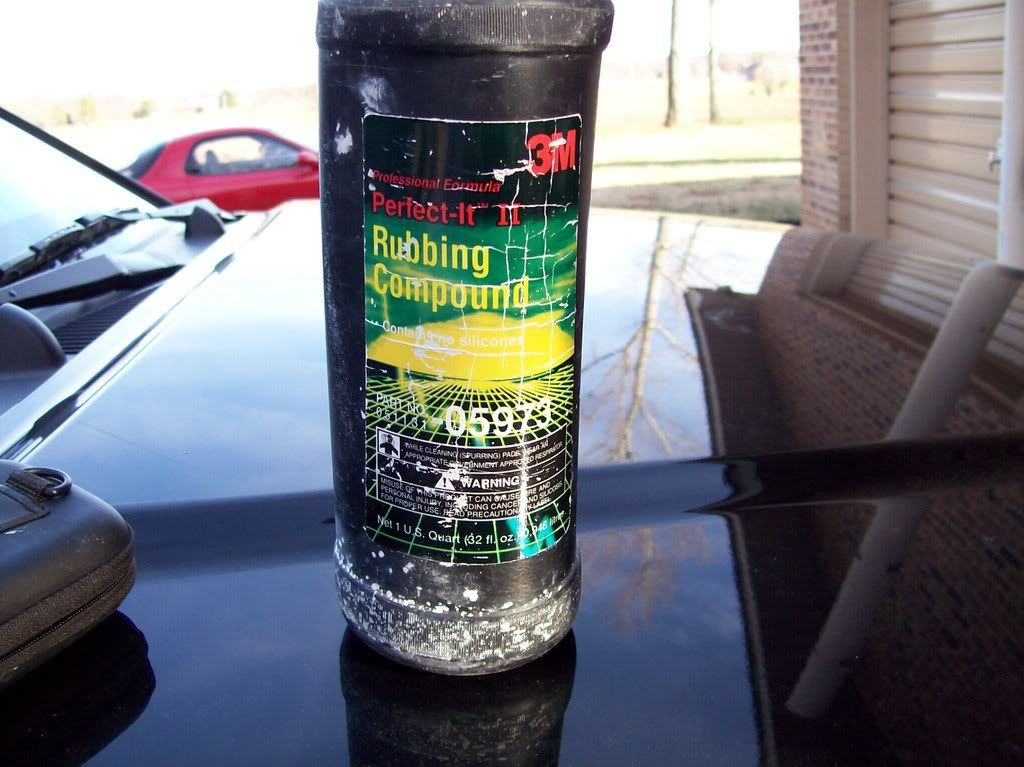 Dab it on sparingly, this is enough to do the entire fender... 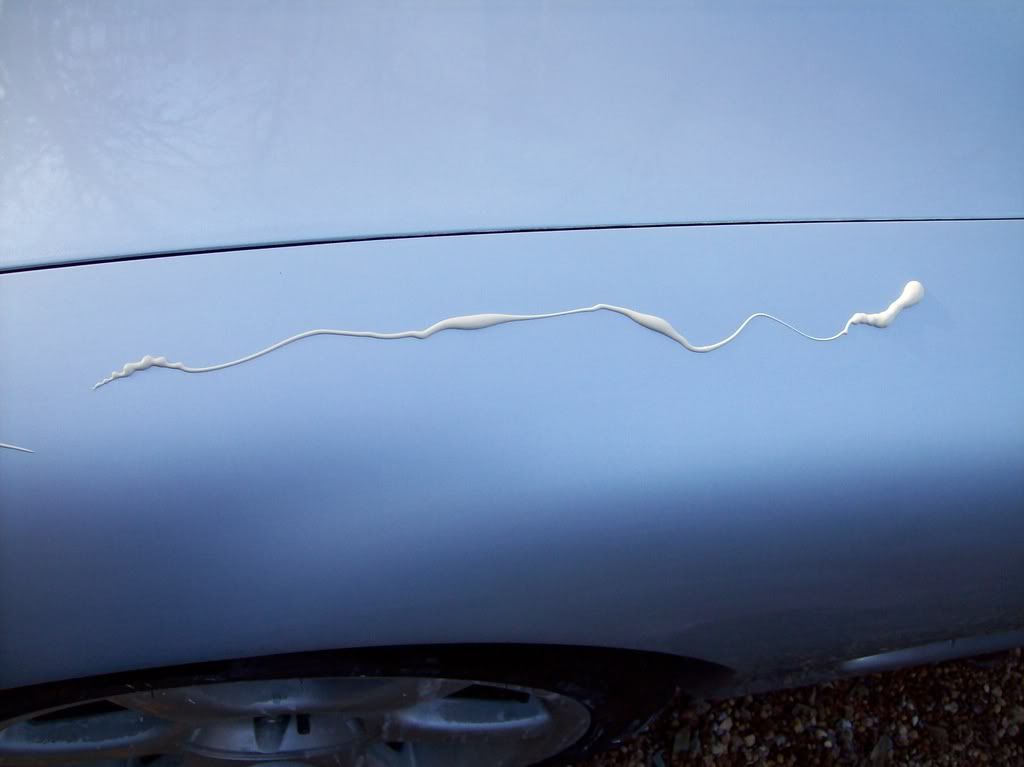 Once you dab it on, take the foam pad on the buffer and smear it in so that once you start the buffer it doesn't splatter everywhere. Turn on the buffer and place the buffer evenly in the center of the pad. Do not put much pressure on it and let the buffer do the work. Continuously move the buffer... do not leave it in one spot for any amount of time. Once the paint begins to shine a little, stop buffing. As stated above, you can do this by hand without a buffer, but it will take some more time and effort. Take a towel and wipe off the residue. It should look like this... 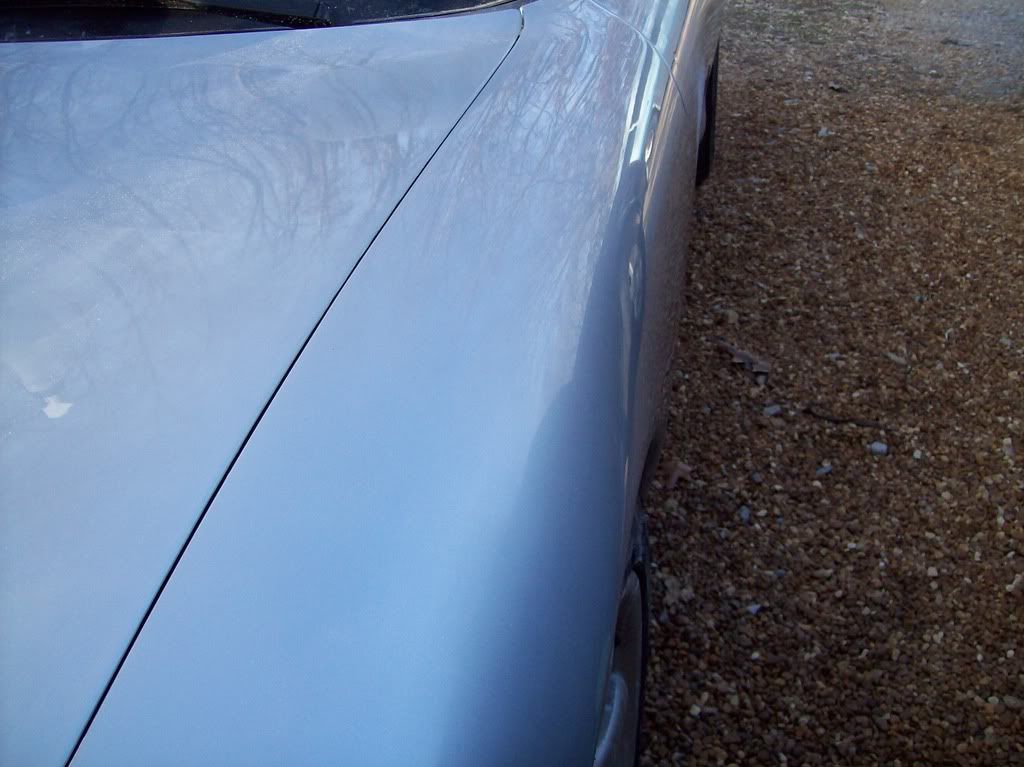 After that, you will need to polish it. You can use normal car wax... but I don't like using wax period. All kinds of information available online you can read up on. I use a special kind of 3m polish sealent. If anyone is interested, I can post it up. For the car pictured, my buddy screwed up painting the car... but put plenty of clear on it so I could fix the problem by wetsanding it. Not the preferred technique, but a technique. IMO, there are many factors that make a good paint job... one of which is how clear the reflection is(basically how much orange peel is in the paint). The more obscured the object is, the more orange peel. The sun was already setting when I took this picture, so the metallic and clear aren't really showing... but you can see how clean the lines on the reflection of the foam pad are... thats alot of wetsanding compared to how it started out 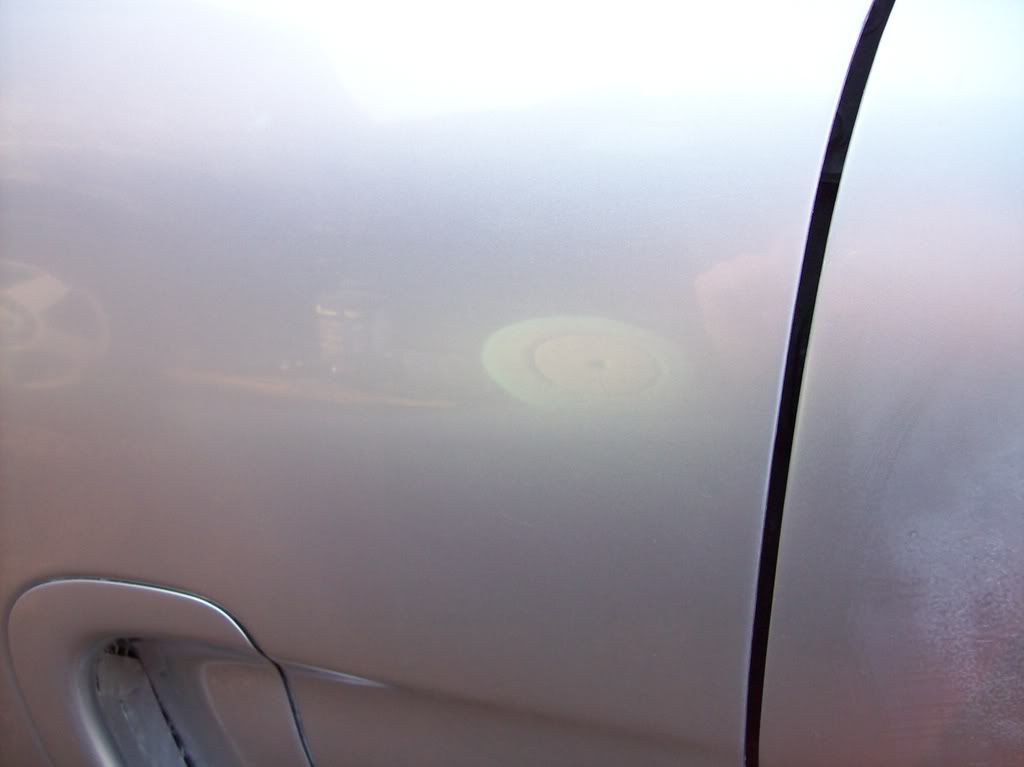
__________________
Road Atlanta August 2011 NASA TT 1:33 http://www.youtube.com/watch?v=IFY00PAK_Ps Traqmate's video of my car from the 2011 UTCC at VIR http://www.youtube.com/watch?v=2Zcn6...layer_embedded Video of Yellow LS1 FD at NASA TT at VIR http://www.youtube.com/watch?v=e6k0lJkcwrM |
|
|

|
|
|
#2 |
|
Founder/Administrator/Internet Pitbull :)
Join Date: Jan 2008
Posts: 644
Rep Power: 10   |
Great POST!!!
__________________
 DGRR 2013 - Year of 13B www.DealsGapRotaryRally.com http://www.facebook.com/Herblenny |
|
|

|
|
|
#3 |
|
Rotary Fan in Training
Join Date: Feb 2008
Location: NORCAL
Posts: 89
Rep Power: 18  |
this wouldn't take out any scratches though huh!?
|
|
|

|
|
|
#4 |
|
Sua Sponte
Join Date: Feb 2008
Location: Killeen, TX
Posts: 839
Rep Power: 18  |
Yes, it will take out scratches given it didn't go into your base coat. That is pretty much one of the main reasons for wetsanding
 Be warned though, I wetsanded a car that was keyed all the way down the driver's side one time, just the scratches. When I was finished, the area looked great... it actually made the rest of the car look worse. The trick is to try to not cut into the clear any more than you have to or to do the entire car. The human eye is trained to look for imperections in paint jobs. As long as the orange peel is equal, no one will notice. It's mind blowing to me that the majority of new cars have a good bit of orange peel... ranging from Civic's to Corvette's. Be warned though, I wetsanded a car that was keyed all the way down the driver's side one time, just the scratches. When I was finished, the area looked great... it actually made the rest of the car look worse. The trick is to try to not cut into the clear any more than you have to or to do the entire car. The human eye is trained to look for imperections in paint jobs. As long as the orange peel is equal, no one will notice. It's mind blowing to me that the majority of new cars have a good bit of orange peel... ranging from Civic's to Corvette's.
|
|
|

|
|
|
#5 | |
|
Rotary Fanatic
Join Date: Feb 2008
Location: AL
Posts: 379
Rep Power: 18  |
Quote:
|
|
|
|

|
 |
| Bookmarks |
| Thread Tools | |
| Display Modes | |
|
|