|
Show your rotary car build up. Show off your Rotary Car build! |
![]() |
|
Thread Tools | Display Modes |
![]() |
#1 |
Backyard Mechanic
Join Date: Dec 2010
Posts: 50
Rep Power: 15 ![]() |
Project: MAZ-DUSA
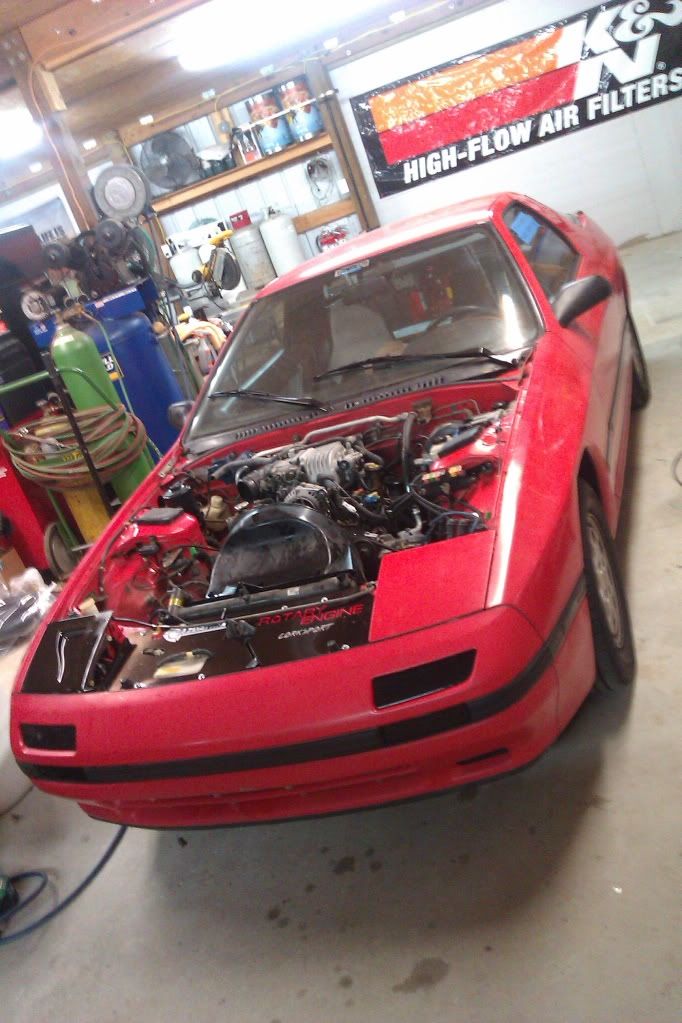
Well I bought my FC back in December and now I am finally getting off my ass and starting a build thread. When I bought it, it did not run. The guy who had it before me didnt know what he was doing and did some shotty wiring and and ignition wire burnt up. He had no clue what was wrong with it, and for some reason thought it would magically fix the problem if he shove a screwdriver in the ignition. Then after I got it running I found another problem, the passenger rear brake caliper wasn't installed but zip tied to the subframe, I guess whoever changed the brake pads lost the caliper bolts and thought this would fly.
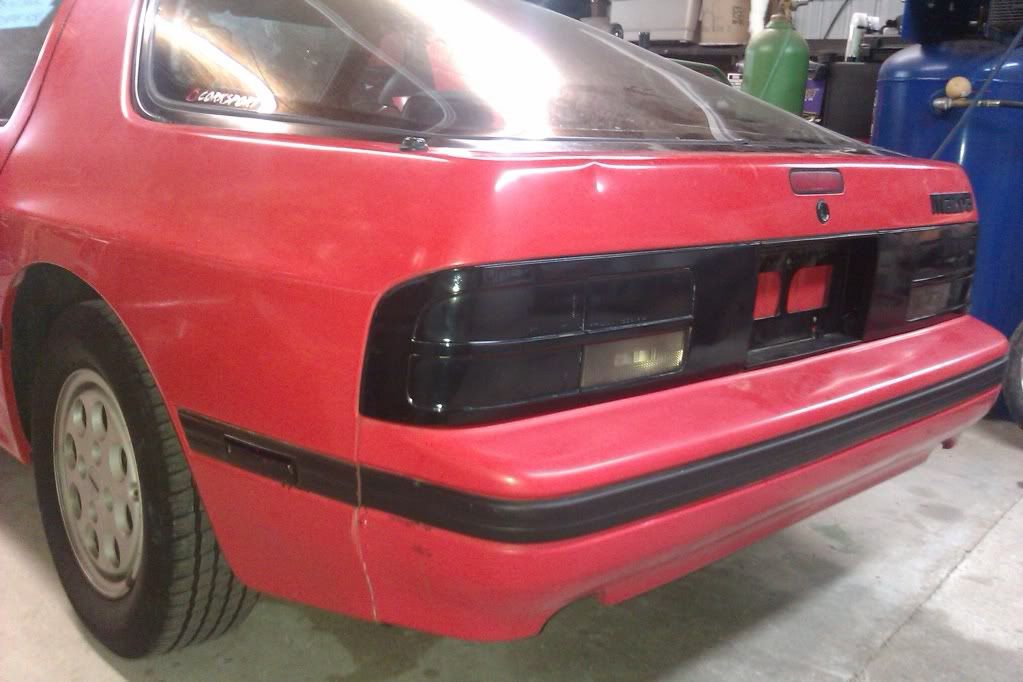
This is how she looked shortly after I got her running, I tinted the tails and FTP, installed Corksport radiator panel and headlight cover installed, and replaced the interior pieces that were broken ![]() ![]() ![]() |
![]() |
![]() |
![]() |
#2 |
Backyard Mechanic
Join Date: Dec 2010
Posts: 50
Rep Power: 15 ![]() |
![]() Retro spec carbon fiber console bezel ![]() |
![]() |
![]() |
![]() |
#3 |
Backyard Mechanic
Join Date: Dec 2010
Posts: 50
Rep Power: 15 ![]() |
Then I started the tear down
![]() Old exhaust ![]() New Racing Beat road race exhaust ![]() |
![]() |
![]() |
![]() |
#4 |
Backyard Mechanic
Join Date: Dec 2010
Posts: 50
Rep Power: 15 ![]() |
Painted intake manifolds and Dynamic chamber, silicone vacuum lines, new oil injector lines, rebuilt OMP, new heater hoses, rats nest removal, and Atkins aux port sleeves.
![]() New water pump, silicone radiator hoses, HKS intake, Magnacore plug wires, new plugs, FD alternator and duel pulley, and custom air box ![]() |
![]() |
![]() |
![]() |
#5 |
Backyard Mechanic
Join Date: Dec 2010
Posts: 50
Rep Power: 15 ![]() |
removed rear seat and relocated battery
![]() Temporary mount for Pro Sport water temp, oil temp, and fuel pressure gauges ![]() |
![]() |
![]() |
![]() |
#6 |
Backyard Mechanic
Join Date: Dec 2010
Posts: 50
Rep Power: 15 ![]() |
and this is how she sat for a while
![]() ![]() |
![]() |
![]() |
![]() |
#7 |
Backyard Mechanic
Join Date: Dec 2010
Posts: 50
Rep Power: 15 ![]() |
And this is how she sits now
![]() Rear suspension removed and powder coated. Poly bushings installed and solid subframe bushings installed ![]() DTSS eliminator bushings, five lug hubs and ARP studs installed ![]() Rebuilt front calipers, with Hawk brake pads ![]() |
![]() |
![]() |
![]() |
#8 |
Backyard Mechanic
Join Date: Dec 2010
Posts: 50
Rep Power: 15 ![]() |
Right now I am waiting on some parts from mazdatrix, and waiting on funds for ground control coil overs for my AGXs so I can reinstall suspension. I still need to put my racing beat sway bars. While I am waiting on parts I am going to fix my leaky oil pan, and install an oil pan baffle and brace.
I also got a set of wide body fenders for cheap that I am currently installing. |
![]() |
![]() |
![]() |
#9 |
Backyard Mechanic
Join Date: Dec 2010
Posts: 50
Rep Power: 15 ![]() |
I finished welding in the sheet metal for the wider rear fenders. This is my first time welding anything this thin so don't bash my welds too much.
Drivers side ![]() ![]() Passengers side, I put a coat of paint on this side. I had to use 2 pieces of sheet metal on this side, since I got a little trigger happy with the cutoff wheel. ![]() ![]() ![]() I plan using some seam sealer between the new fender well and the new fenders. |
![]() |
![]() |
![]() |
#10 |
Turbo Vert
Join Date: Aug 2010
Location: Elyria
Posts: 68
Rep Power: 15 ![]() |
Nice. I like that you took the time and had the rear subframe Done. I think you could have spent more time making new inner wheel wells but it is what it is.
|
![]() |
![]() |
![]() |
#11 |
Backyard Mechanic
Join Date: Dec 2010
Posts: 50
Rep Power: 15 ![]() |
Yea I am not 100% happy with them, but they will get the job done. If i was to do it again I would cut the old fenders differently.
|
![]() |
![]() |
![]() |
#12 |
Backyard Mechanic
Join Date: Dec 2010
Posts: 50
Rep Power: 15 ![]() |
Ok I was unhappy with the way me inner fender wells turned out so I decided to redo them. I think my problem last time was I was using such thin metal, so I this time I decided to use trailer fenders. This is the drivers side I finished today I still need to cut out and redo the passengers side. I am much happier with the way these came out.
![]() ![]() |
![]() |
![]() |
![]() |
#13 |
Down with OPP
Join Date: Mar 2010
Posts: 50
Rep Power: 16 ![]() |
Nice engine bay. Kinda makes me miss when my car was n/a.
I may have missed it but what does the project's name mean?
__________________
86 base, TII swapped, Rtek 2.1, some other things. Daily driven. |
![]() |
![]() |
![]() |
#14 |
Backyard Mechanic
Join Date: Dec 2010
Posts: 50
Rep Power: 15 ![]() |
My girlfriend came up with the name, she said that the car was taking up all the time I could be spending with her. So the always called the car "that bitch Medusa" and later changed the name the Maz-dusa.
I cut out the passenger side wheel well to day and started welding in the new one, Ill post pics when I am finished. In the mean time Ive started putting the rear subframe back together and adapted my hard fuel lines to AN fittings. ![]() ![]() |
![]() |
![]() |
![]() |
#15 | |
cxxxx|::::::::::::>
Join Date: Nov 2009
Posts: 315
Rep Power: 16 ![]() |
Quote:
![]() Tell her she can spend time with you, she just needs to start turning some wrenches. |
|
![]() |
![]() |
![]() |
Bookmarks |
|
|